Classroom Seating Chart Maker
Build a class seating chart in minutes: choose rows, pairs, pods or a U-shape, paste your roster, lock the seats that matter and shuffle the rest. Free for teachers, with no account.
Teachers change seats more often than anyone else who uses a seating chart — for a new unit, a new term, a lab week or a difficult Friday. This free classroom seating chart maker is built for that rhythm. You arrange desks once, then rearrange people as often as you like without losing the placements you made on purpose.
It works as a class seating chart maker for one room or a classroom seating plan maker for every period you teach: each chart is saved separately in your browser, and you can duplicate one to start the next.
What this mode includes
- Desk layouts in one step
- Locked seats
- Keep apart and sit together
- Avoid repeated neighbors
- Print on US Letter or A4, PNG, CSV and backup
- Free, no account, saved on your device
Controls built for classrooms.
-
Desk layouts in one step
Rows of single desks, pairs, pods of four or six, or a U-shape. Choose the counts, preview the room, then apply — a copy of the old chart is kept if you want one.
-
Locked seats
Lock a student’s seat and it stays put when you shuffle. Locks are separate from locking a desk’s position on the plan.
-
Keep apart and sit together
“Keep apart” means not in adjacent seats by default. Select any desk to see which seats count as adjacent, and change the distance if your room is tight.
-
Avoid repeated neighbors
Save each arrangement as a version (“Week 3”), then ask the next shuffle to avoid seating the same neighbors together again.
-
Teacher’s view
Turn the plan around so the front of the room is at the bottom — how you see the class from your desk. Seats and assignments don’t change.
-
Reserved and blocked desks
Keep a desk free for a new student, or block a broken one. The status bar keeps “empty on purpose” separate from “still needs a seat.”
How to make it, step by step
- Pick a layout. Open the classroom tools and choose rows, pairs, pods or a U-shape, or start from a template such as 30-seat rows.
- Add your roster. Paste one name per line or import a CSV exported from your gradebook or student information system. Duplicate names stay separate.
- Seat students. Tap a name and then a desk, drag it onto a desk, or use “Seat everyone who needs a seat.”
- Lock and add rules. Lock the seats that must not move and add a few keep-apart or sit-together rules. Mark each as a must or a preference.
- Shuffle and save a version. Shuffle unlocked seats whenever you want a change, then save the result with a name like “Unit 4.”
- Print. Print a student-facing or teacher-facing chart on Letter or A4, plus an alphabetical list for a substitute.
Example: a rotating plan for Period 3
A teacher has 27 students in a room of pods of four, plus a seat kept free near the door. She locks two students who need to sit near the board and one who works best near the door, adds a keep-apart rule for one pair, and shuffles. Two weeks later she adds an “avoid previous neighbors” preference that compares with the first version and shuffles again — the three locked students stay, everyone else gets new neighbors where possible, and the comparison shows exactly who moved.
No reasons are written anywhere. The chart records where students sit, not why.
Names and people in examples are fictitious.
Templates to start from
Each opens as a real chart you can change. Try it with sample names, or start empty.
-
24-seat rows
Four rows of six single desks facing the board. A quiet, familiar starting point for tests and direct instruction.
-
30-seat rows
Five rows of six single desks with a door marker at the back. Room for a full class with clear aisles.
-
Pairs
Twelve two-person desks in four rows. Built for partner work and quick turn-and-talk moments.
-
Pods of four
Six table groups of four. Small enough that everyone can hear each other, large enough for roles.
-
Pods of six
Five table groups of six for a class of thirty. Fewer groups to visit when you circulate.
-
U-shape
Twenty-four desks in a U that opens toward the board. Everyone can see everyone during discussion.
Printing tips
- Choose US Letter or A4, portrait or landscape. Landscape usually suits rows and pods.
- Print the teacher’s view for your desk and the student view for the door or a substitute folder.
- Add an alphabetical list so a substitute can find any student quickly.
- If the readiness check says names will print small, split the chart across two pages — splits fall between desks, never through a pod.
More detail: How to print a seating chart on Letter or A4 paper.
Limits, stated plainly
- One chart holds up to 400 people and 600 seats; classes of 60 are within the tested range.
- The plan is a diagram, not a scaled floor plan. Measure your room for spacing and access routes.
- The tool has no fields for grades, diagnoses or behavior notes, and it doesn’t make placement decisions for you.
- Charts are saved in this browser only. Download a backup to move them to another device.
Guides for this kind of chart
-
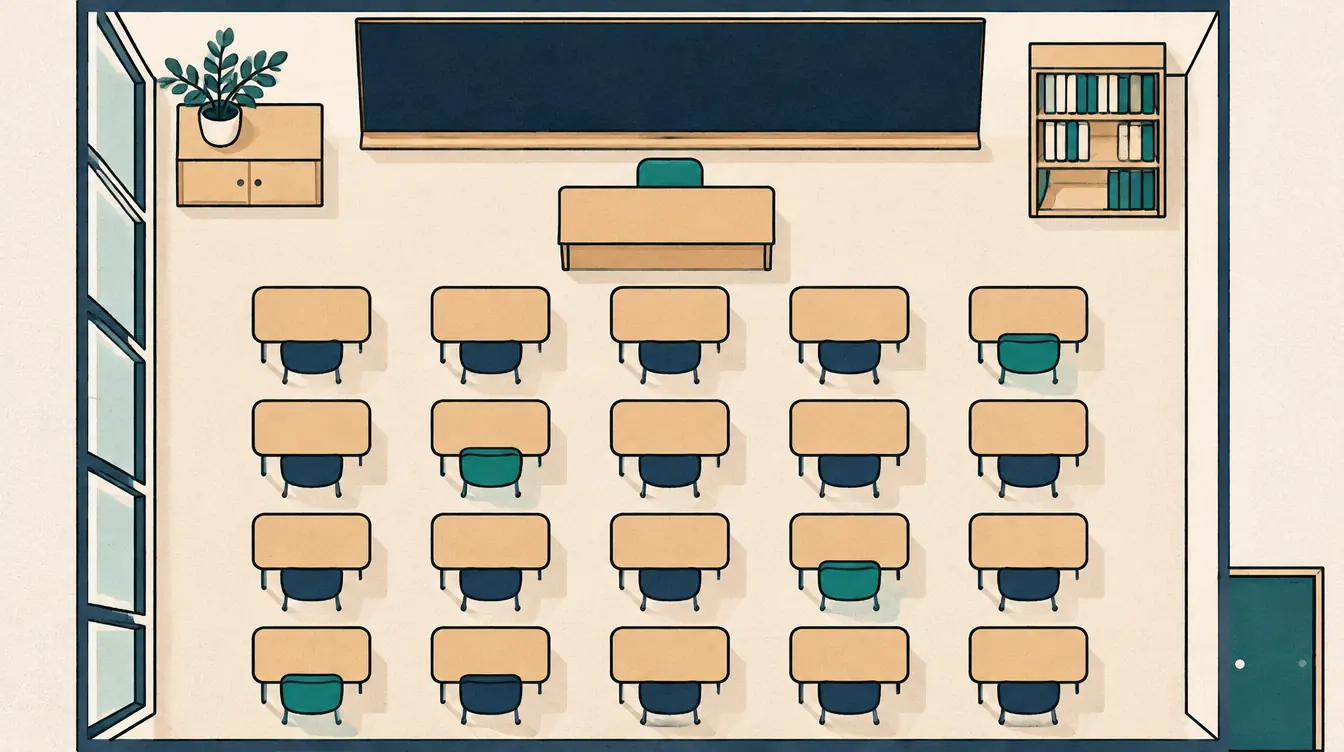 Classroom
How to Make a Classroom Seating Chart
A step-by-step guide to making a classroom seating chart — choose a layout, import your roster, lock key seats, add a few rules, shuffle and print on Letter or A4.
-
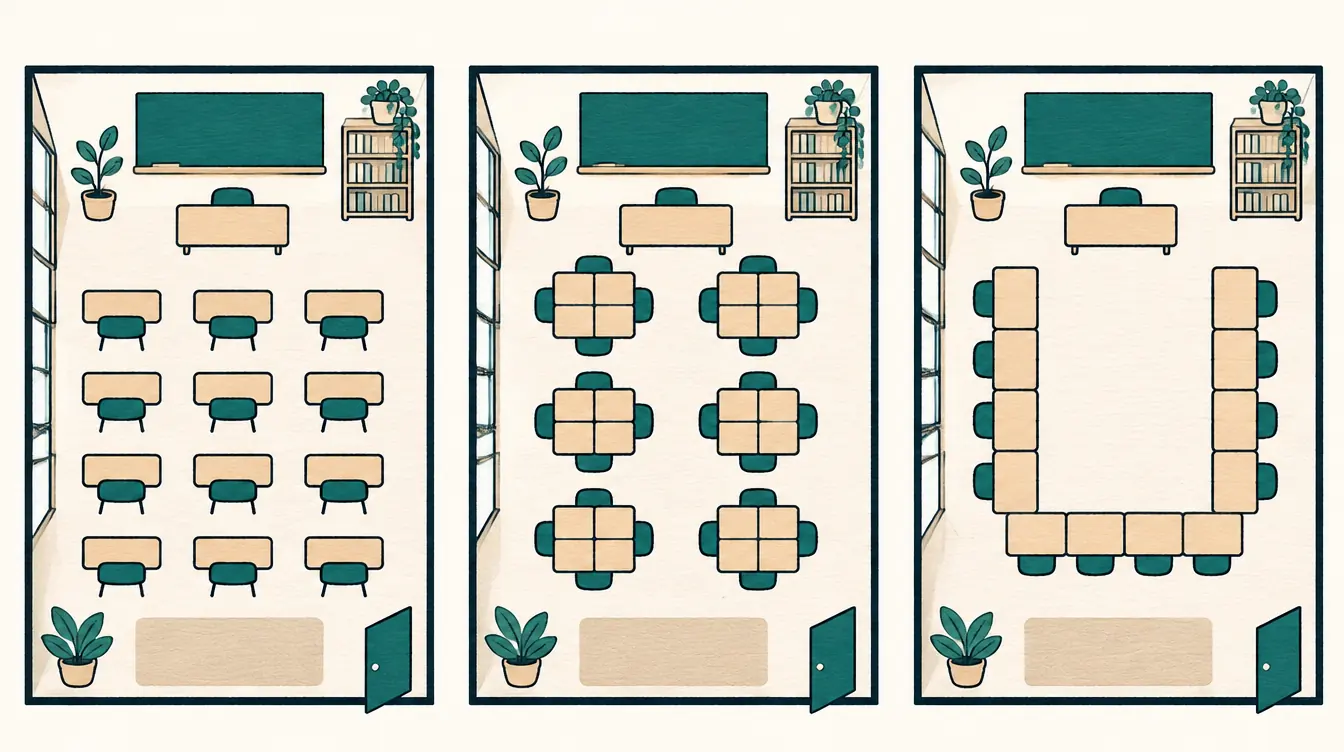 Classroom
Rows, Pods, or a U-Shape: Choosing a Classroom Layout
Compare rows, pairs, pods and U-shaped classroom layouts — what each is good for, what it costs, and how to switch between them without losing your seating work.
-
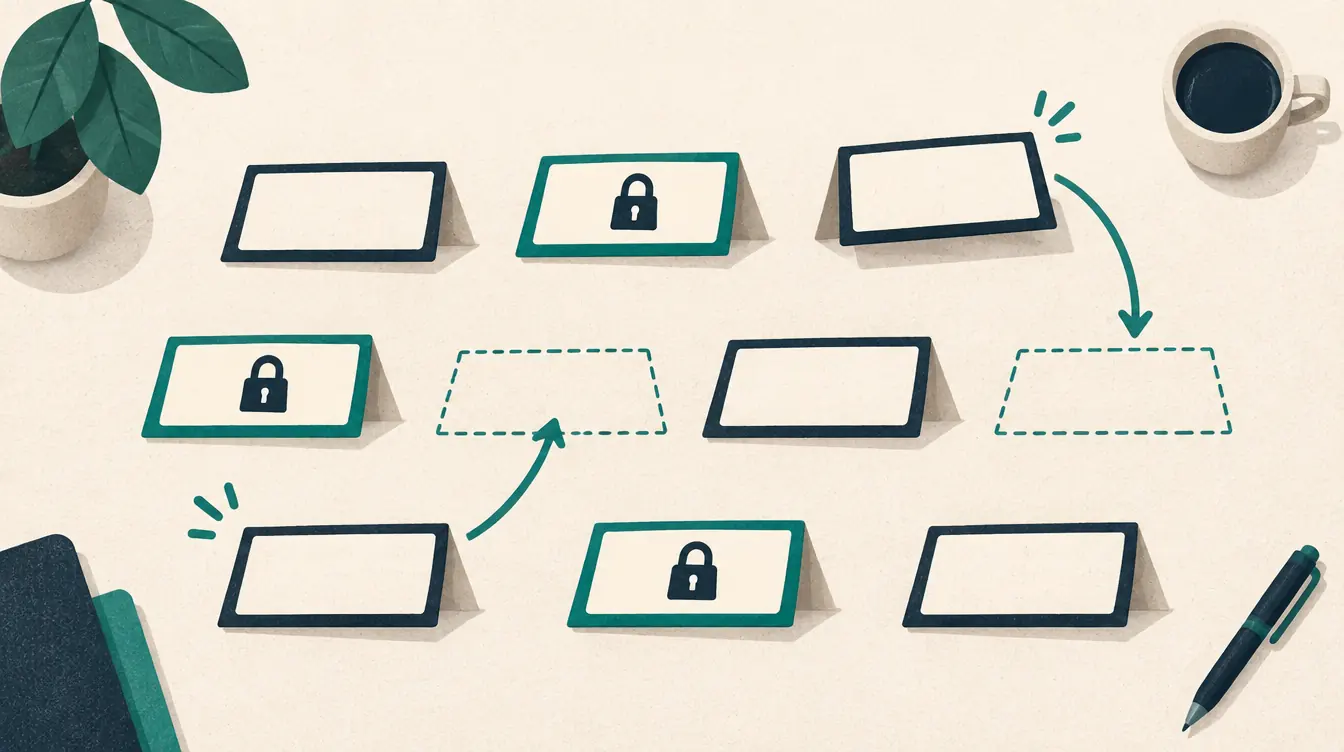 Classroom
How to Change Seats While Keeping Selected Assignments
Rearrange a seating chart without moving the people you placed on purpose. Lock seats, shuffle the rest, avoid repeat neighbors and compare versions.
-
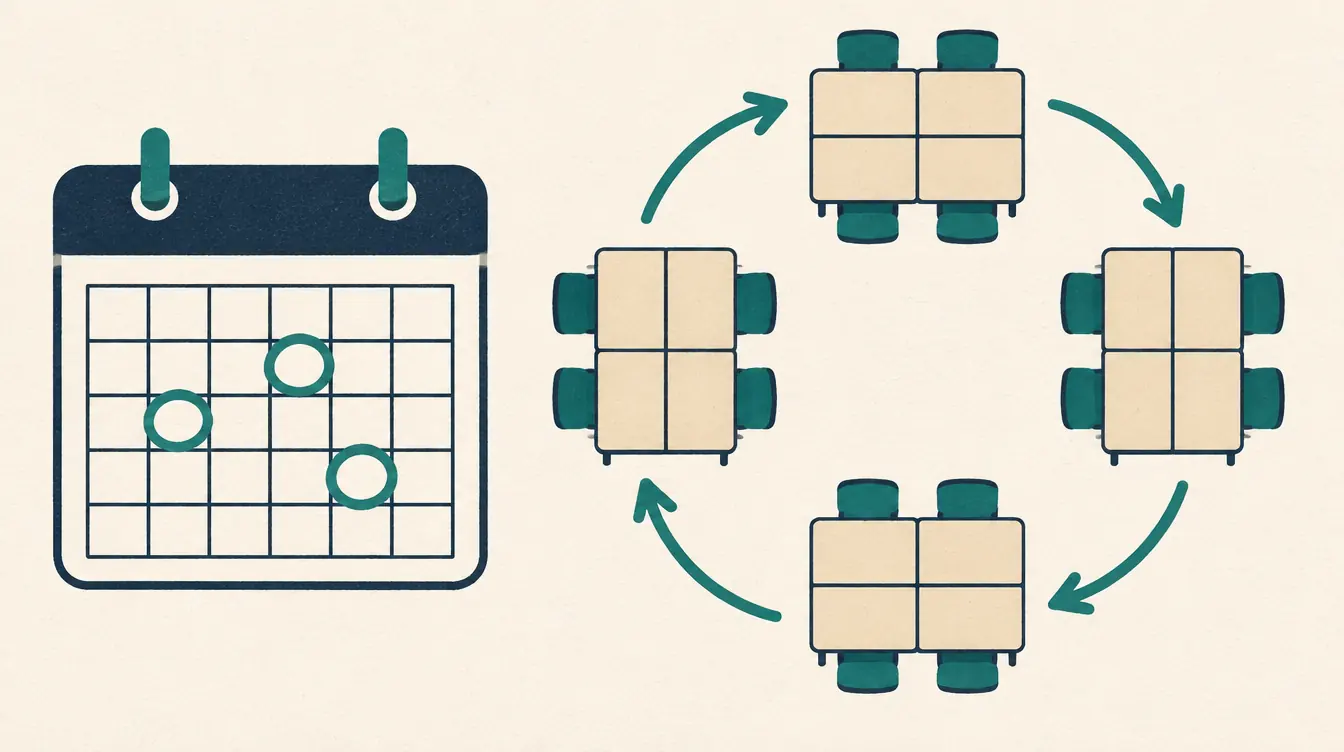 Classroom
How Often Should You Change Classroom Seats?
A practical way to decide how often to change classroom seats — what to consider, a simple rotation plan, and how to avoid repeating neighbors with saved versions.
-
 Classroom
Seating Charts for Substitute Teachers: What to Include
Make a seating chart a substitute teacher can use in seconds — clear orientation, readable names, an A–Z list, short names for duplicates and a printed copy.
-
 Classroom
How to Seat a Large Class of 40 to 60 Students
Plan a seating chart for a large class of 40 to 60 students — layouts that fit, aisles, readable printouts split across pages, and fast rotation with locks.
Questions about the classroom seating chart maker
Is this a free seating chart maker for teachers?
Yes. Everything is free, including saving, printing and backups. You don’t need an account, a school license or an email address.
Can I make a seating chart for each class period?
Yes. Make one chart per period — duplicate the first to reuse the room layout, then replace the roster. Each chart is saved separately on your device.
How do I keep two students apart?
In Rules, add Keep apart, choose the students and keep “not in adjacent seats.” Make it a must and it will never be broken by shuffling or by dragging. Select a desk and turn on “Show which seats count as adjacent” to check what counts as next to.
Will shuffling move the students I placed on purpose?
Not if you lock their seats. Locked seats keep their student; only unlocked seats are rearranged.
Can a substitute teacher use the chart?
Print a student-facing chart and an alphabetical list. Both come from the same plan, so they always match.
Looking for something else? See the free seating chart maker overview, the FAQ or help.
Start your classroom chart.
Free, no account, saved on your device. Print on Letter or A4 when it’s ready.