How to Make a Classroom Seating Chart
A classroom seating chart answers three questions before anyone asks them: where do I sit, who sits next to me, and where is the front? Making one used to mean graph paper and a pencil you’d erase every few weeks. With a seating chart maker it takes about fifteen minutes the first time and two or three minutes every time after.
This guide walks through the whole process using the free classroom seating chart maker. Every step works on a laptop, a tablet or a phone, and nothing you type leaves your browser.
What you need before you start
- Your class list. A list you can copy (one name per line), or a CSV file exported from your gradebook or student information system.
- A rough idea of the room. How many desks, and whether they are single desks, pairs or tables. You don’t need measurements.
- Two or three things you already know. For example, a student who needs to sit near the board, or two students who work better apart. Keep this list short.
You don’t need an account, and you don’t need to record why any student sits anywhere. The tool has no fields for grades, diagnoses or behavior notes — by design.
Step 1: Choose a layout
Open a new classroom chart. You can start from a template — such as 30-seat rows or pods of four — or open Layout › Arrange desks and choose:
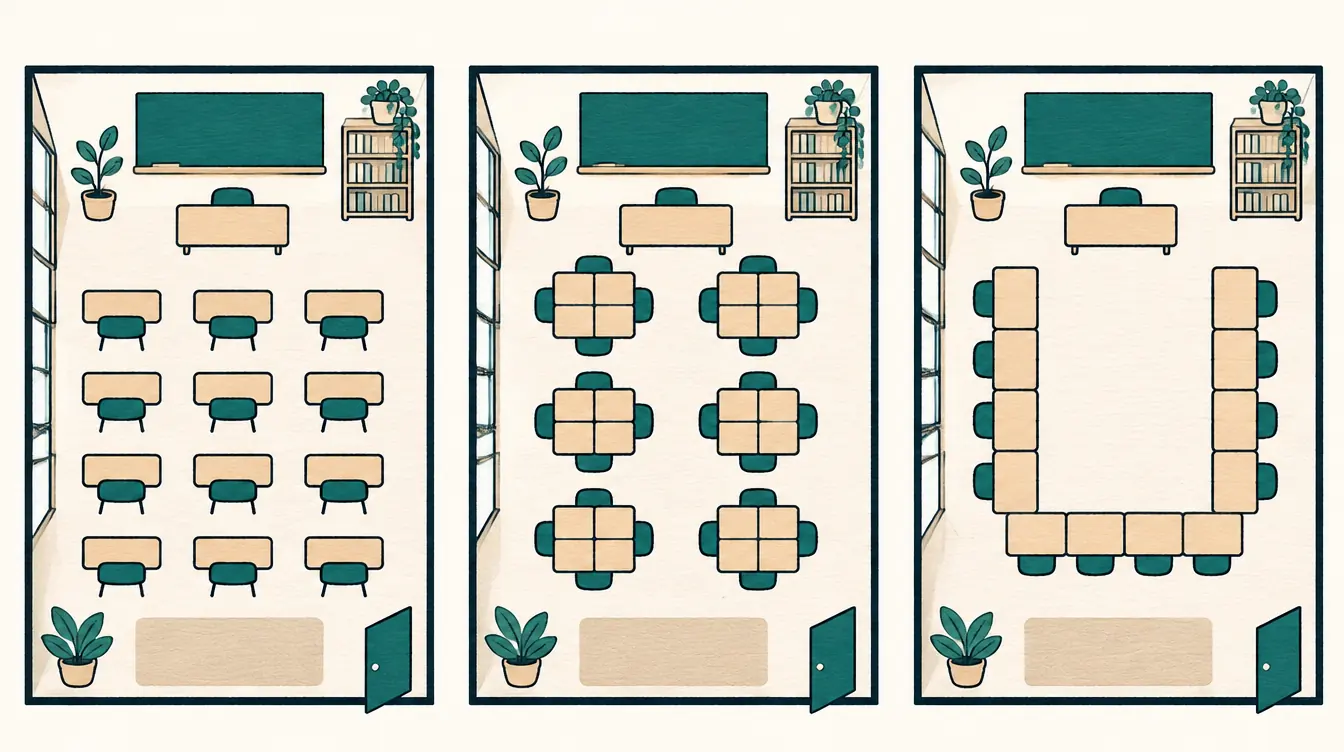
- Rows of single desks — set the number of rows and desks per row.
- Pairs — two-person desks, in rows.
- Pods of four or six — table groups for collaborative work.
- U-shape — desks along both sides and the back, opening toward the board.
A small preview shows the room and how many seats it creates compared with your class size. If the preview says “Some students would not have a seat,” add a row or a pod before you continue.
Not sure which to pick? Rows, Pods, or a U-Shape compares them for different kinds of lessons.
Tip: match the plan to the real room
Templates are a starting point. Switch to Arrange room to drag desks into the positions they occupy in your classroom. Select several desks to align or distribute them, or type exact positions in the details panel. Grid snapping keeps rows straight.
Step 2: Mark the front of the room
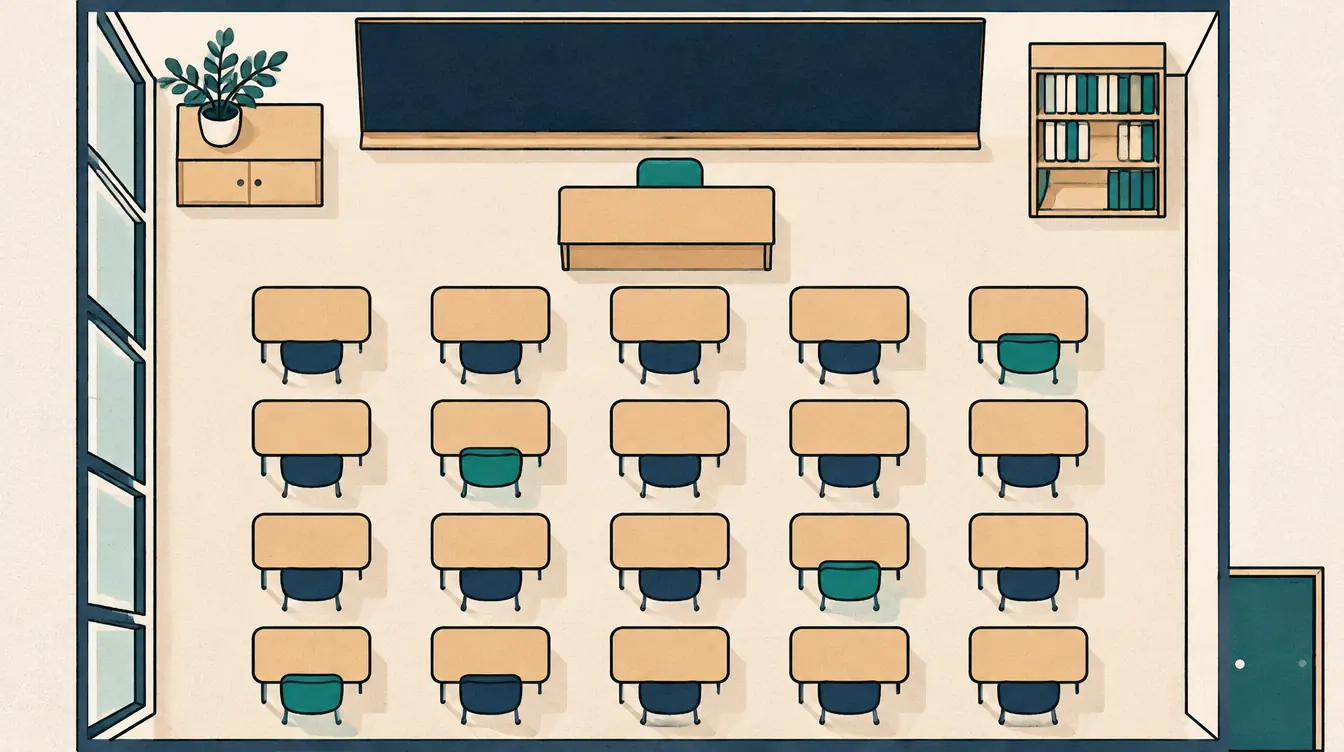
Every classroom template includes a board marker labeled “Board — front of room.” Leave it at the top if your students face the board; move it if your room is arranged differently. You can also add a door, windows or a text label — useful when a substitute needs to orient themselves quickly.
Later, the teacher’s view setting will turn the whole plan around so the front of the room appears at the bottom, the way you see it from your desk. Seats and assignments don’t change; only the drawing turns.
Step 3: Add your roster
Choose Add names and paste your list, one student per line. The counter shows how many names were found and how many blank lines were ignored. Names with commas — “Lee, Sam” — stay as one person. Nothing is uploaded.
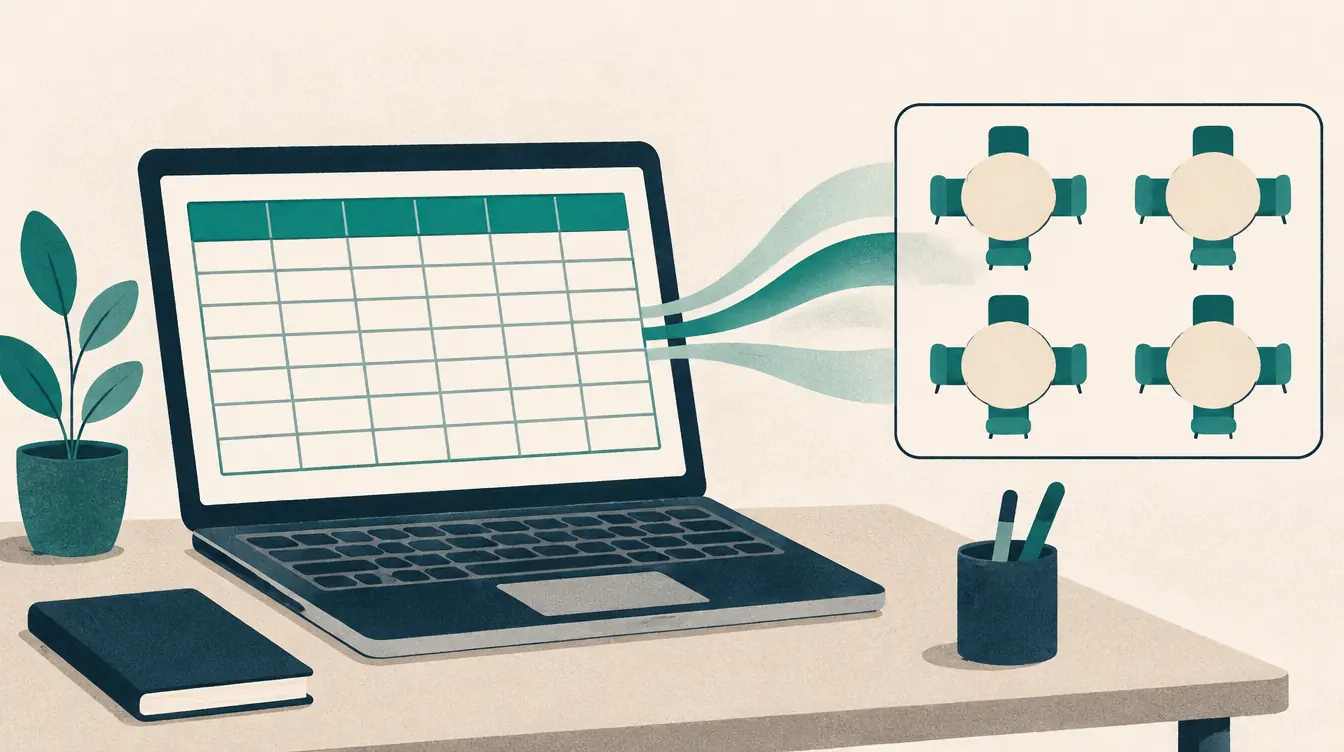
If your list lives in a spreadsheet, choose Import CSV instead. You’ll see a preview, pick the column that holds names, and optionally join a separate first-name and last-name column in the order you choose. The guide How to Import a Roster from a CSV File covers every option.
Two students with the same name are kept as two separate people. The readiness check will remind you to add a short name such as “Sam L.” before you print, so the printed chart isn’t ambiguous.
Step 4: Place students
You have three ways to place someone, and all of them run the same checks:
- Tap a name, then a desk. A bar says “Choose a seat for …” and outlines the empty desks.
- Drag a name onto a desk, or drag a student from one desk to another. Dropping onto an occupied desk swaps the two students.
- Seat everyone automatically with Rules › Seat everyone who needs a seat.
Most teachers do the third first, then adjust by hand. The status bar at the bottom always shows how many students are seated, how many still need a seat, and how many desks are empty.
Step 5: Lock seats and add a few rules
This is where a seating plan maker earns its keep.
Lock seats for students whose position matters: select the desk and choose Lock seat. Locked seats show a small lock and never move when you shuffle.
Add rules in the Rules tab:
- Keep apart — chosen students are never in adjacent seats. Select a desk and switch on Show which seats count as adjacent to see exactly what “adjacent” means in your layout.
- Sit together — chosen students sit in adjacent seats (or at the same pod).
- Preferred area — chosen students sit at particular desks or pods, such as the front row.
Each rule is either a must or a preference. Musts are never broken — not by shuffling, and not by dragging. Preferences are met when possible and listed when they aren’t.
Keep the list short. Three well-chosen rules beat fifteen. If the tool ever reports that it couldn’t find an arrangement, How to Fix Conflicting Seating Rules explains what to change.
Step 6: Shuffle, save a version and print
Press Shuffle unlocked seats. Locked students stay put; everyone else is rearranged while respecting your rules. Don’t like the result? Undo, or shuffle again.
When you’re happy, open Versions and save it with a name like “September” or “Unit 3.” Versions let you restore a plan later, compare two plans, and avoid seating the same neighbors together next time.
Finally, choose Print & export:
- A readiness check confirms everyone has a seat and no must-rule is broken.
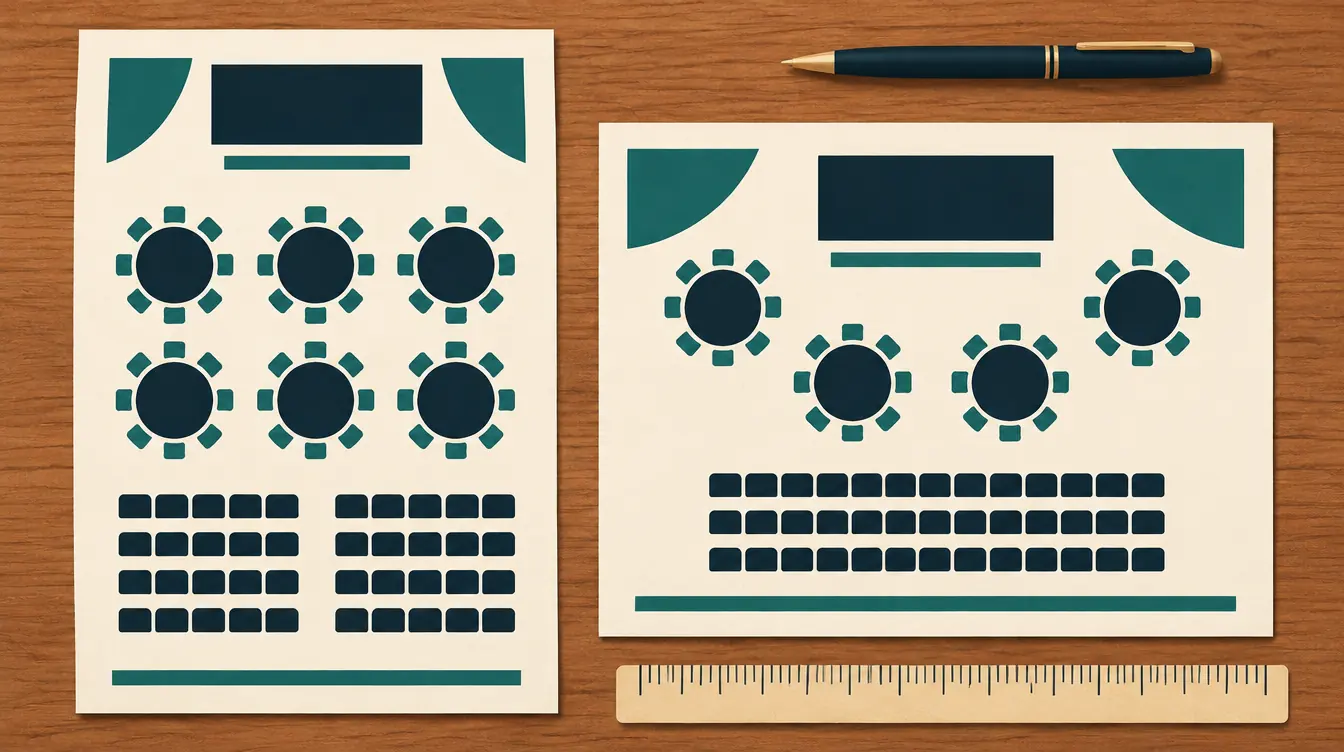
- Choose US Letter or A4, portrait or landscape. Landscape usually suits classrooms.
- Print a teacher’s view for your desk and a regular view for the door or a substitute folder.
- Add an alphabetical list so anyone can find a student’s seat quickly.
The print button opens your browser’s print dialog; choose “Save as PDF” there to keep a PDF copy. More in How to Print a Seating Chart on Letter or A4 Paper.
A worked example
Here is a fictitious class of 27 in a room with five rows of six desks:
| Decision | What the teacher did |
|---|---|
| Layout | 30-seat rows template, door marker moved to the back right |
| Roster | Pasted 27 names; two students share the name “Alex Kim” |
| Locks | Two students who need to see the board placed in Row 1 and locked |
| Rules | One keep-apart pair (must), one sit-together pair for new arrivals (preference) |
| Result | Shuffled once, three desks left empty at the back, saved as “Term 1” |
| Printing | Short names “Alex K. (A)” and “Alex K. (B)”, teacher’s view on Letter landscape |
Total time: about twelve minutes, most of it spent deciding which seats to lock.
Common mistakes
- Adding rules before the layout is final. A layout change sends everyone back to the unassigned list (after saving a version). Settle the room first.
- Making every rule a must. Too many hard rules can make any arrangement impossible. Use preferences unless something truly must not happen.
- Forgetting the empty desks. If a desk is broken or reserved for a new student, mark it blocked or reserved so automatic seating leaves it alone.
- Keeping the only copy in one browser. Charts are saved on your device. Download a backup from Print & export if you’ll need the chart elsewhere.
What to do next
- Change seats every few weeks with How to Change Seats While Keeping Selected Assignments.
- Plan the rhythm of changes with How Often Should You Change Classroom Seats?
- Leave a clear plan for cover teachers using Seating Charts for Substitute Teachers.
Put this guide into practice — it’s free and takes a few minutes.
Open the templateNew here? Read the complete guide to the free seating chart maker or the Classroom seating chart maker page .