Seating Charts for Substitute Teachers: What to Include
A substitute teacher walks into an unfamiliar room, with unfamiliar students, often with only a few minutes’ notice. The seating chart is one of the few tools they have to take attendance, call on students by name and keep the room calm. A chart that works for you every day may not work for them.
This guide covers what to include so a substitute can use your chart in seconds, using the free teacher seating chart maker.
What a substitute needs from a seating chart
A substitute needs four things: the room the right way round, names they can read at arm's length, a fast way to find any student, and confidence that the chart is current. Print a student-facing chart with the date, an alphabetical list, and short names for anyone who shares a name.
1. Orient the room clearly
The most common confusion is direction. Is the top of the page the front of the room or the back?
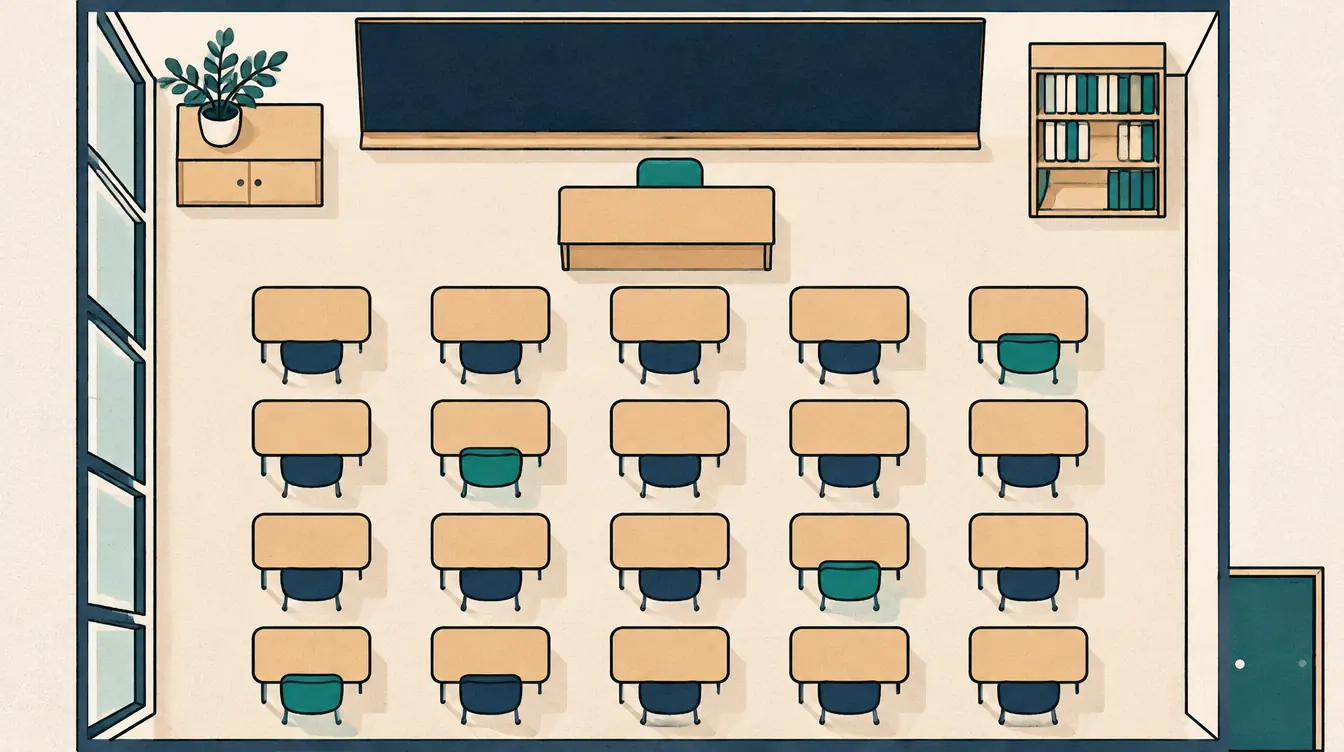
- Make sure the board marker is in place (“Board — front of room” in the classroom templates).
- Add the door and windows markers; a substitute can match them to the real room immediately.
- Print the student view (front of room at the top) for a substitute who will stand at the front. The footer of each printed chart states “Front of room at the top” or “at the bottom.”
If you usually print the teacher’s view for yourself, switch it off before printing the substitute copy — or print both and label them.
2. Make names readable
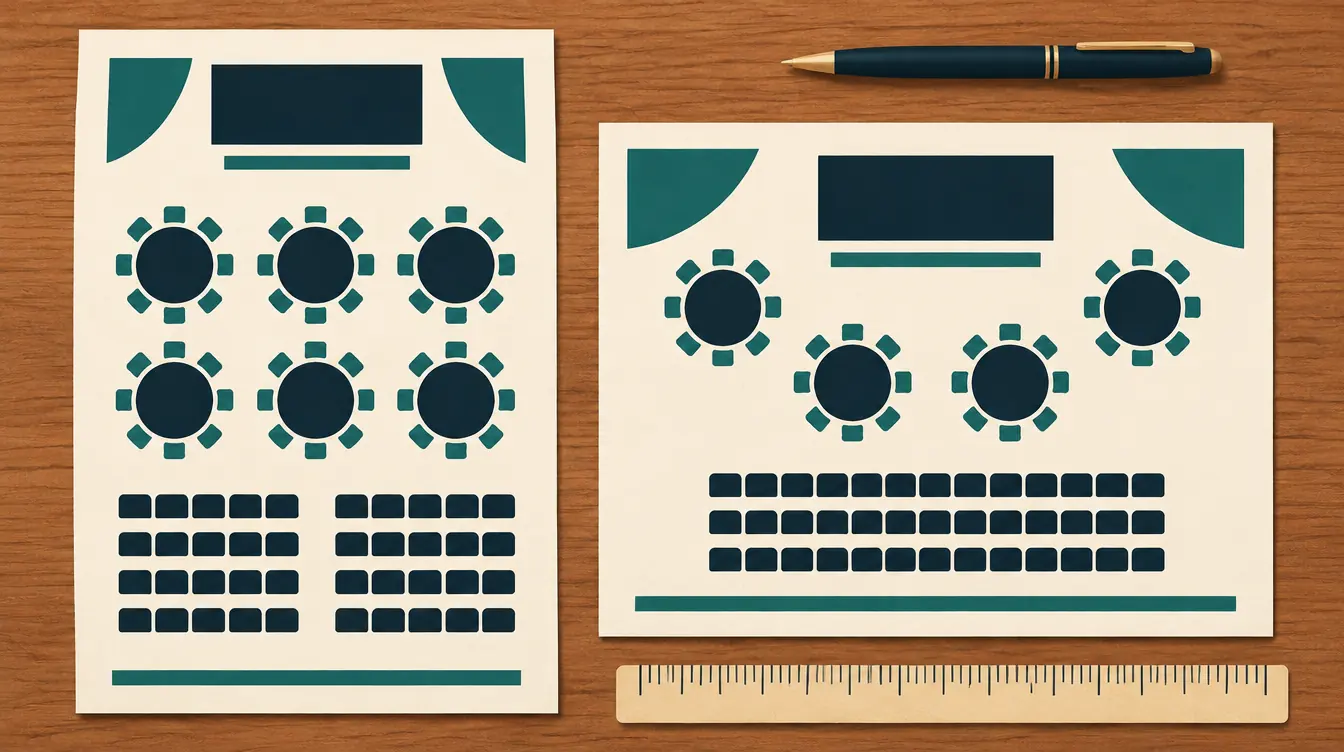
- Use landscape orientation; most classrooms are wider than they are deep.
- Check the readiness check for small text. If names would print under about 6 points, split the chart across two pages.
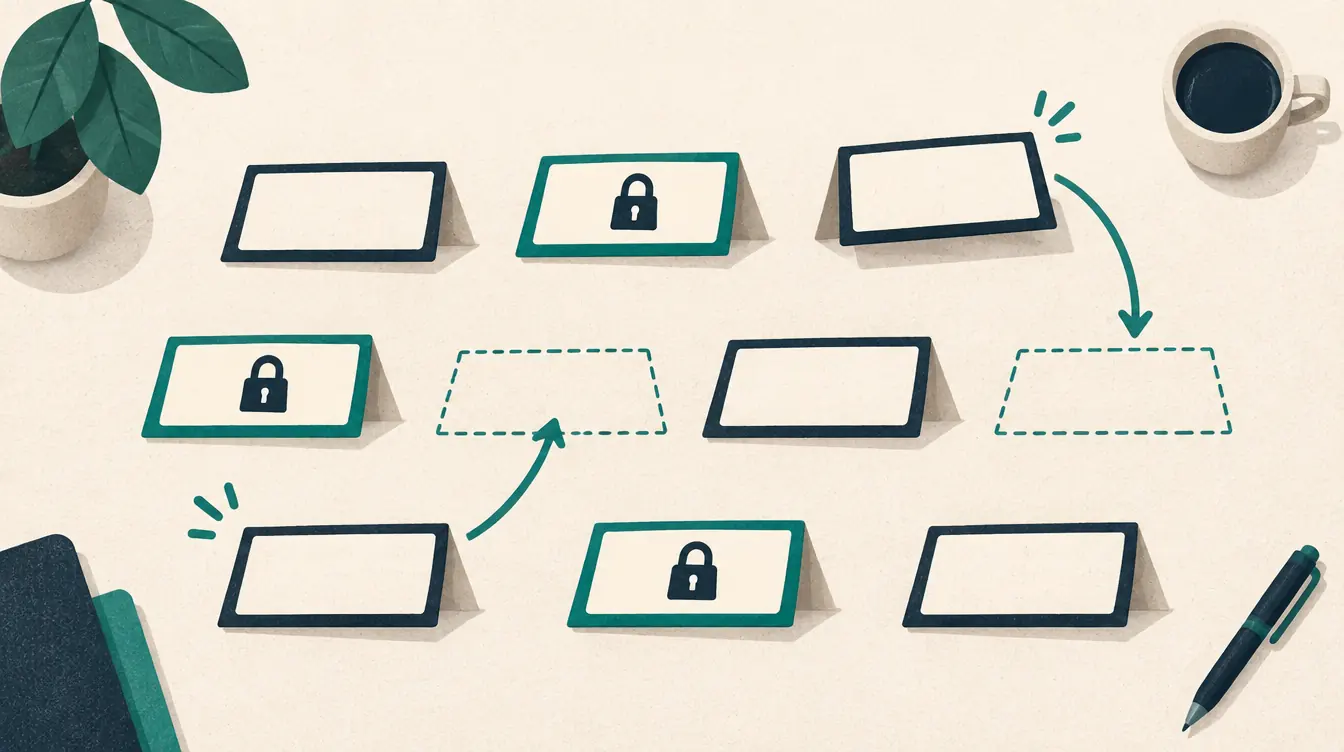
- Add short names for students who share a name (Alex K. (A), Alex K. (B)), and print with short names.
- If a student goes by a different name than the one on the roster, edit their name in the chart — the tool doesn’t care what the official roster says.
3. Add a fast lookup
A substitute taking attendance or answering “Where does Priya sit?” shouldn’t have to scan a whole plan. In Print & export, tick:
- Alphabetical list — every student A–Z with their desk.
- List by desk, table or row — useful if the substitute takes attendance row by row.
Both are printed from the same plan as the chart, so they always agree.
4. Show that it’s current
- Turn on Show date and revision. The chart prints with today’s date and a revision number.
- If anything is still undecided, leave Label printouts “Draft” on — it adds “Draft” to the title.
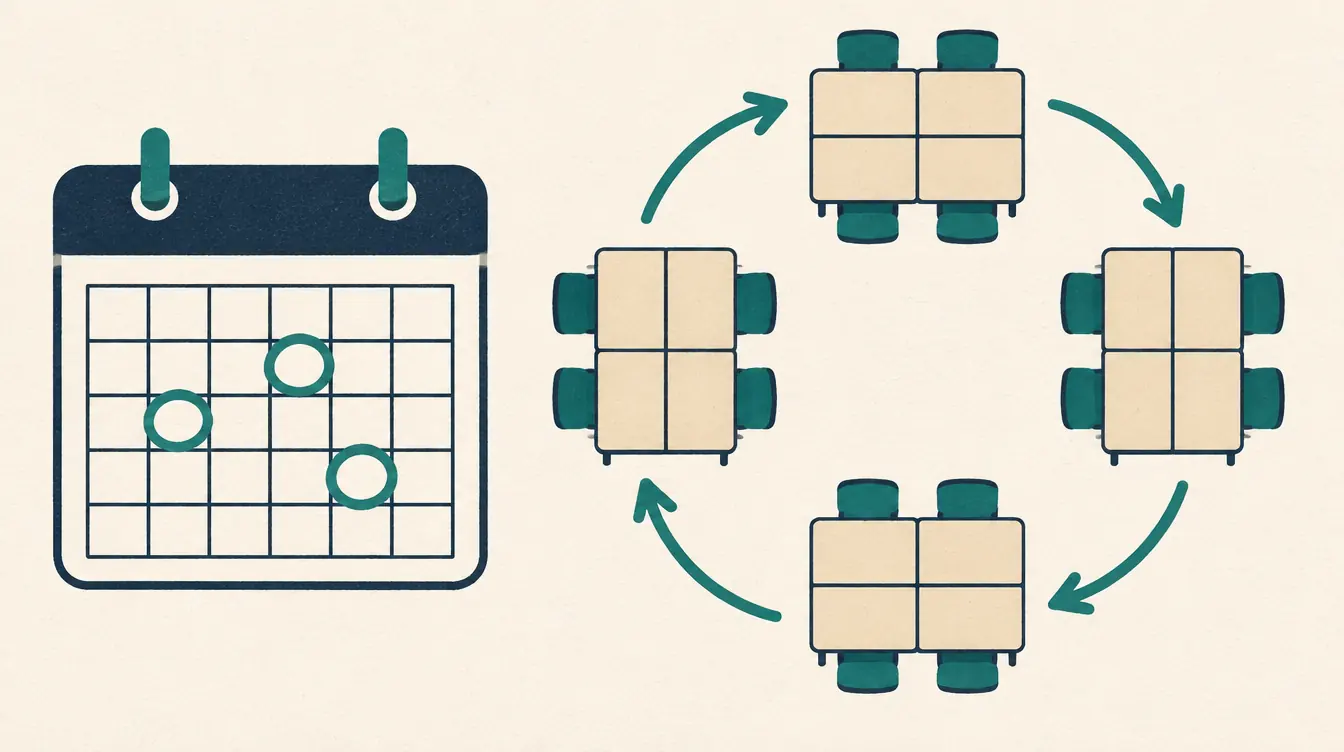
- Keep the printed copy in the sub folder up to date: whenever you shuffle, reprint.
What not to put on the chart
The chart is often left on a desk or pinned up. Keep it to seating information only:
- No notes about behavior, health, learning needs or family situations — the tool has no fields for them, and the printout shouldn’t either.
- If a substitute needs to know something sensitive, put it in your private sub plan, not on the seating chart.
Keeping several classes organized
If you teach several periods, keep one chart per class and title them clearly (“Period 3 — Biology”). The chart title prints at the top of every page. You can also put the period and room in the title for the printout without renaming the chart: change Title in Print & export.
A substitute-ready checklist
- Board, door and windows marked.
- Student view (front at the top) for the sub copy.
- Landscape, readable names, no ”…” truncation warnings.
- Short names for duplicate names.
- Alphabetical list printed.
- Date and revision shown.
- No sensitive notes anywhere on the page.
Emergency plans
Keep a printed copy in your sub folder at all times, and a backup file somewhere you can reach from another device. If you’re unexpectedly away, a colleague with the backup file can open it, print it and leave it for the substitute — without needing your login, because there isn’t one.
Related
Put this guide into practice — it’s free and takes a few minutes.
Open the templateNew here? Read the complete guide to the free seating chart maker or the Classroom seating chart maker page .