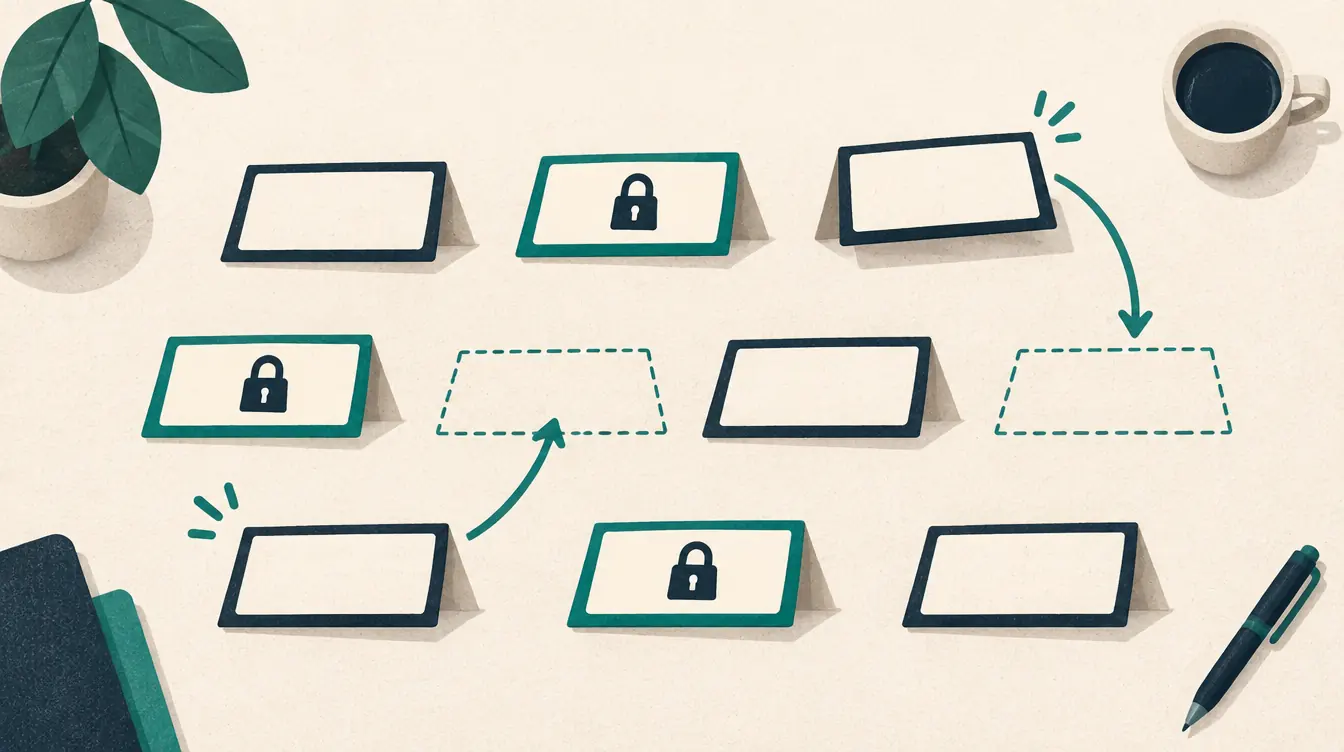
How to Change Seats While Keeping Selected Assignments
Most seating changes are partial. You want new neighbors for most of the room, but a few students — the one who needs to see the board, the one who works best by the door, the two who just started — should stay exactly where they are.
Doing that by hand means erasing almost everything and redrawing around a few fixed points. A seating chart generator with locks does it in one step. This guide shows the workflow, explains what a lock does and doesn’t do, and covers the cases where a shuffle can’t find a solution.
The short version
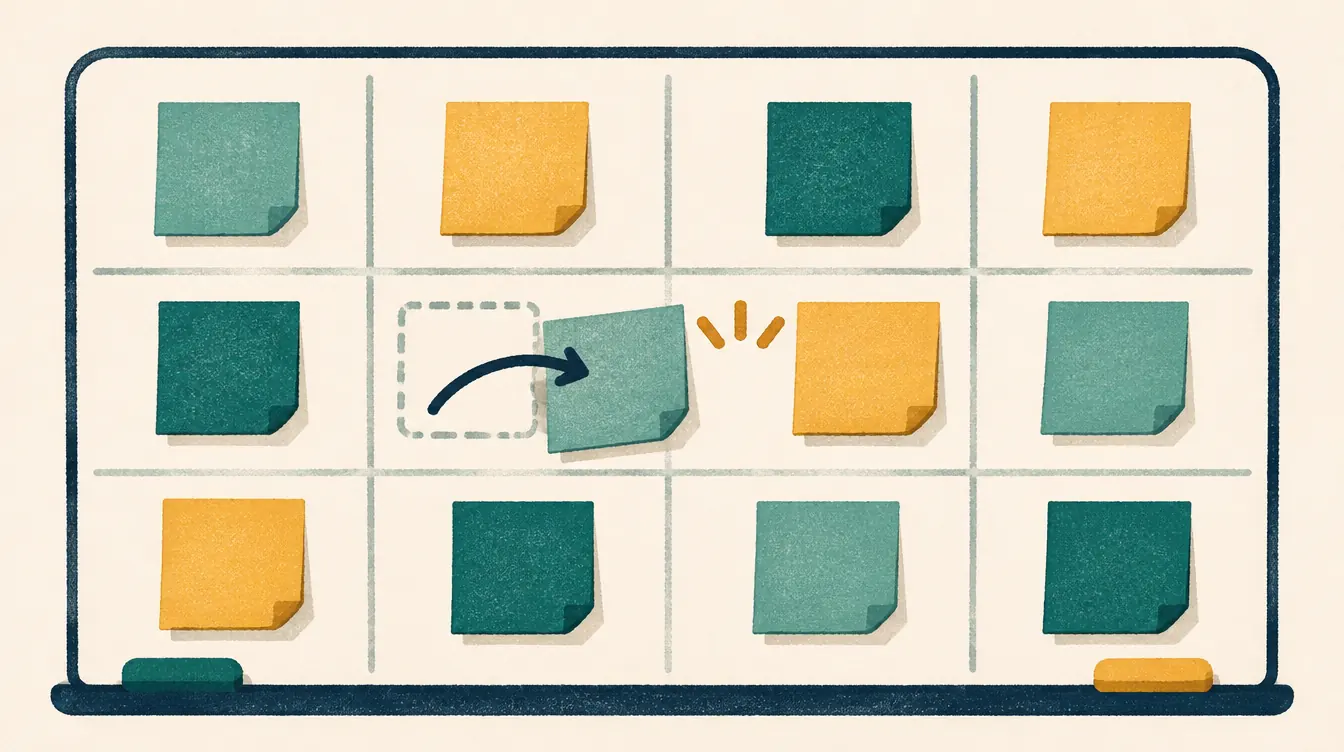
Lock the seats that must stay, then choose Shuffle unlocked seats. Locked people never move; everyone else is rearranged, and every hard rule is respected. Save a version first so you can compare the old and new plans.
What a lock is
A lock belongs to a seat assignment: “this person stays in this seat.” When you shuffle, locked seats are treated as fixed and everyone else is arranged around them.
A lock is not:
- A rule about other people. Locking Amara’s seat doesn’t stop anyone from sitting next to her.
- A layout lock. Desks and tables have their own Lock position switch, which stops them from being dragged by accident. The two are separate.
- Permanent. Unlock a seat at any time from its details.
Only an occupied seat can be locked. If you unassign a locked seat’s person, the lock is removed — an empty locked seat would mean nothing.
Step 1: Save the current plan
Before changing anything, open Versions and save the current arrangement with a name: “Week 3,” “Before lab unit,” “Spring concert.” This takes two seconds and gives you three things later:
- a way back, with Restore,
- a way to see what changed, with Compare,
- a reference for the avoid previous neighbors preference.
The tool also saves a version automatically before every shuffle, so even if you forget, the previous plan is recoverable.
Step 2: Lock the seats that must stay
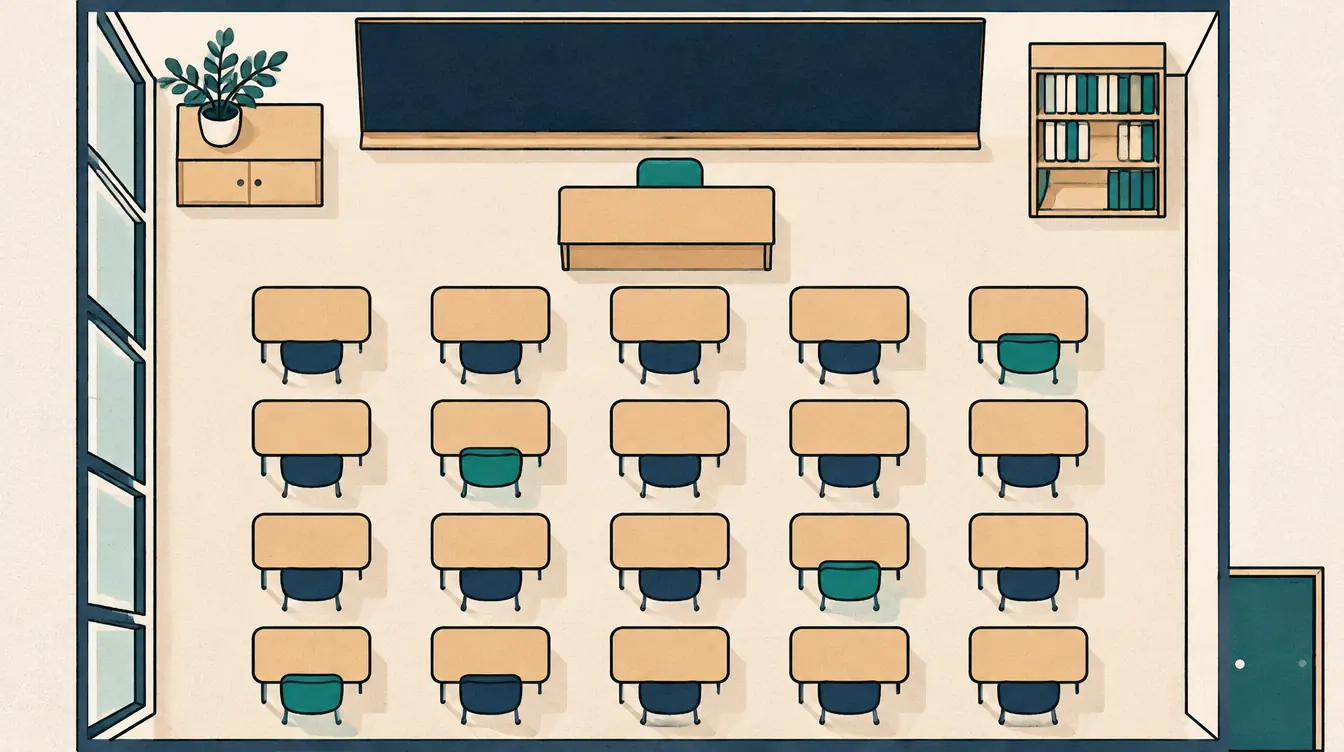
Select a seat on the plan (or in the seat list) and choose Lock seat. A small lock appears in the corner. To lock several at once, select a table or pod in Arrange room and use Lock all occupied seats.
Be selective. Every lock reduces the number of possible arrangements. Locking a third of the room is fine; locking nearly everyone leaves the shuffle with almost nothing to do.
Step 3: Decide what “new” should mean
A random shuffle can still seat two students together who sat together last time. If you want genuinely new neighbors, add a preference:
- Open Rules › Add rule.
- Choose Avoid previous neighbors.
- Choose the version you saved in Step 1.
- Leave the people list empty to apply it to everyone, or choose specific students.
This is a preference, not a must. In a small room some repeated neighbors are unavoidable, and forcing zero repeats could make a plan impossible. The tool reduces repeats as far as it can and reports how many preferences weren’t met.
“Neighbors” uses the same measured definition of adjacent as every other rule. Select a seat and turn on Show which seats count as adjacent to see it.
Step 4: Shuffle
Press Shuffle unlocked seats — in the Rules tab, or the Shuffle button at the top of the editor. The arrangement runs in the background in your browser; for most classes it takes well under a second.
What happens:
- Locked seats keep their people.
- Reserved seats (left empty on purpose) and their occupants are not touched.
- Blocked seats stay empty.
- Every must rule is respected.
- Preferences are improved as far as possible.
If you shuffle and the result isn’t what you want, press Undo or shuffle again; each shuffle uses a new random starting point.
Step 5: Compare and save
Open Versions › Compare, choose the version from Step 1 as From and Current plan as To. You’ll see:
- how many people moved, were newly seated or are no longer seated,
- a list of each move, such as “Rhea K. — Group 2, seat 3 → Group 5, seat 1,”
- a Highlight changed seats button that outlines every changed seat on the plan.
Adjust anything by hand — tap a student, tap a seat — and then save the result as a new version.
When the shuffle can’t find an arrangement
Sometimes the combination of locks and must-rules leaves no valid arrangement. The tool tells you which situation you’re in:
| Message | What it means | What to do |
|---|---|---|
| These rules contradict each other | Two rules can never both be true, or a locked seat already breaks a must | Edit or turn off one of the named rules, or unlock the seat |
| No arrangement satisfies every hard rule | Every possible arrangement was checked | Turn a must into a preference, unlock a seat, or add seats |
| We could not find an arrangement with these rules | The search reached its time limit | Same remedies; this does not prove it’s impossible |
Your plan is never changed when this happens, and no rule is quietly relaxed. How to Fix Conflicting Seating Rules goes through each case.
Partial shuffles: just one table or row
Sometimes you only want to reshuffle one pod or one section. Lock everyone else:
- In Arrange room, select all the other tables and use Lock all occupied seats.
- Shuffle. Only the unlocked table changes.
- Unlock the others afterwards if you don’t want those locks to persist.
For a band, this is how you reseat a single section for a sight-reading day while keeping the rest of the ensemble in place.
Good habits
- Lock for a reason, unlock when the reason ends. Locks that outlive their purpose quietly limit every future shuffle.
- Name versions by date or unit. “Week 3” is more useful than “Version 7” when you compare later.
- Shuffle before printing, not after. Print only once you’re happy, so the paper and the plan always match.
- Keep a backup. Download a backup at the end of a term; it holds every version.
Next steps
- Decide on a rhythm with How Often Should You Change Classroom Seats?
- Write better rules with How to Use Keep-Apart and Sit-Together Rules Well.
- Back to basics: How to Make a Classroom Seating Chart.
Put this guide into practice — it’s free and takes a few minutes.
Open the templateNew here? Read the complete guide to the free seating chart maker or the Classroom seating chart maker page .