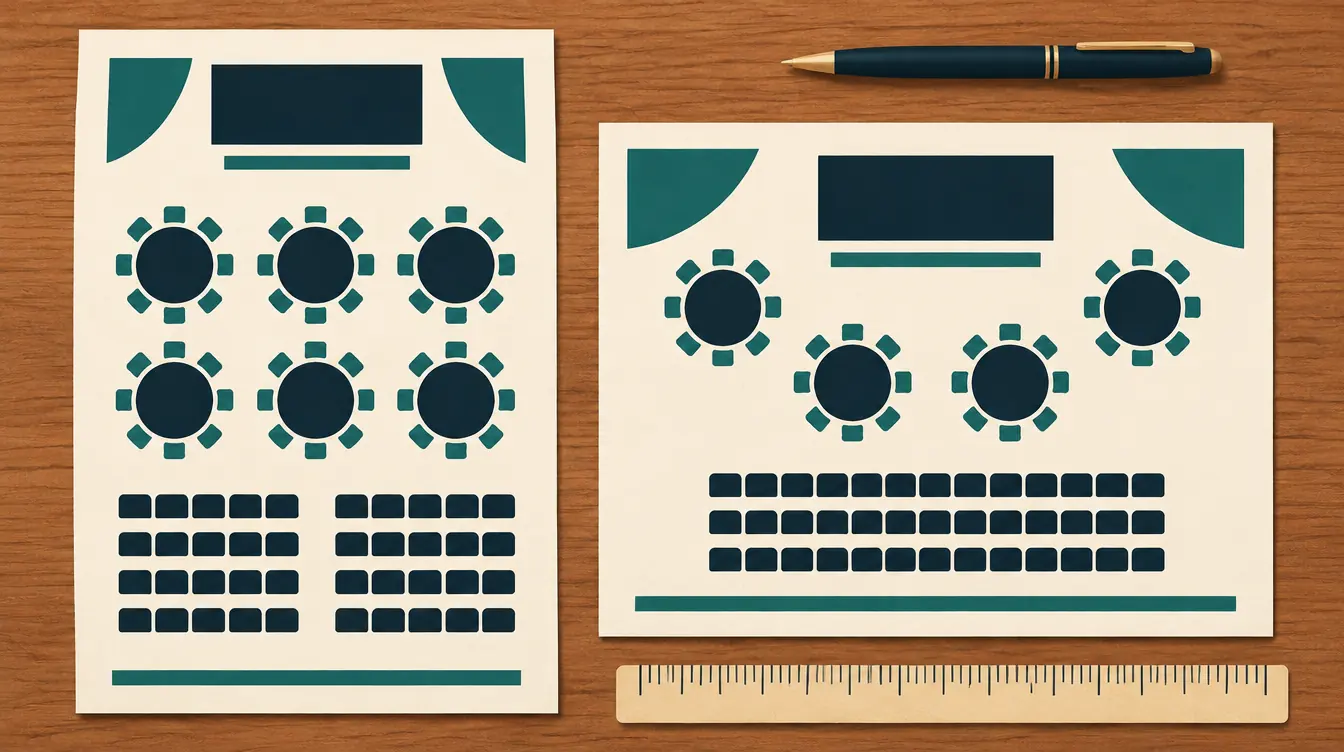
How to Print a Seating Chart on Letter or A4 Paper
A seating chart is only as good as the paper it ends up on. A chart that looks perfect on screen can print with names too small to read, a table cut in half by a page edge, or colors that disappear on a black-and-white printer. This guide shows how to avoid all three with the free seating chart maker.
Letter or A4?
Use US Letter (8.5 × 11 in) in the United States, Canada and parts of Latin America, and A4 (210 × 297 mm) almost everywhere else. A4 is slightly narrower and taller. Choose the size your printer is loaded with; the print view is laid out for whichever you pick.
| US Letter | A4 | |
|---|---|---|
| Size | 215.9 × 279.4 mm | 210 × 297 mm |
| Shape | Wider, shorter | Narrower, taller |
| Standard | North American | ISO 216 |
| Typical use | US, Canada, Mexico, Philippines | Europe, Asia, Africa, Oceania, most of South America |
If you print on the wrong size, the browser usually scales the page, which shrinks text. It’s better to choose the right size in the print view.
Step 1: Run the readiness check
Open Print & export. Before any options, you’ll see a summary:
- Seated and Need a seat — how many people have seats and how many don’t.
- Empty seats, Reserved, empty and Blocked — counted separately, so a deliberately empty VIP row isn’t confused with a mistake.
- Hard rules — whether every must-rule is kept.
Under it, warnings appear for anything that would make the printout confusing: duplicate names, duplicate seat labels, names that would be shortened with ”…”, or text that would print smaller than about 6 points.
If the plan isn’t complete, Label printouts “Draft” is switched on. It adds “Draft” to every page title — a status label, not a watermark — so nobody mistakes an unfinished plan for the final one.
Step 2: Choose what to print
- Seating chart — the plan itself, drawn from the same model as the editor. It always prints the whole chart, regardless of how far you’ve zoomed.
- Alphabetical list — every seated person A–Z with their seat. At weddings and events it’s called Find your seat and shows table names.
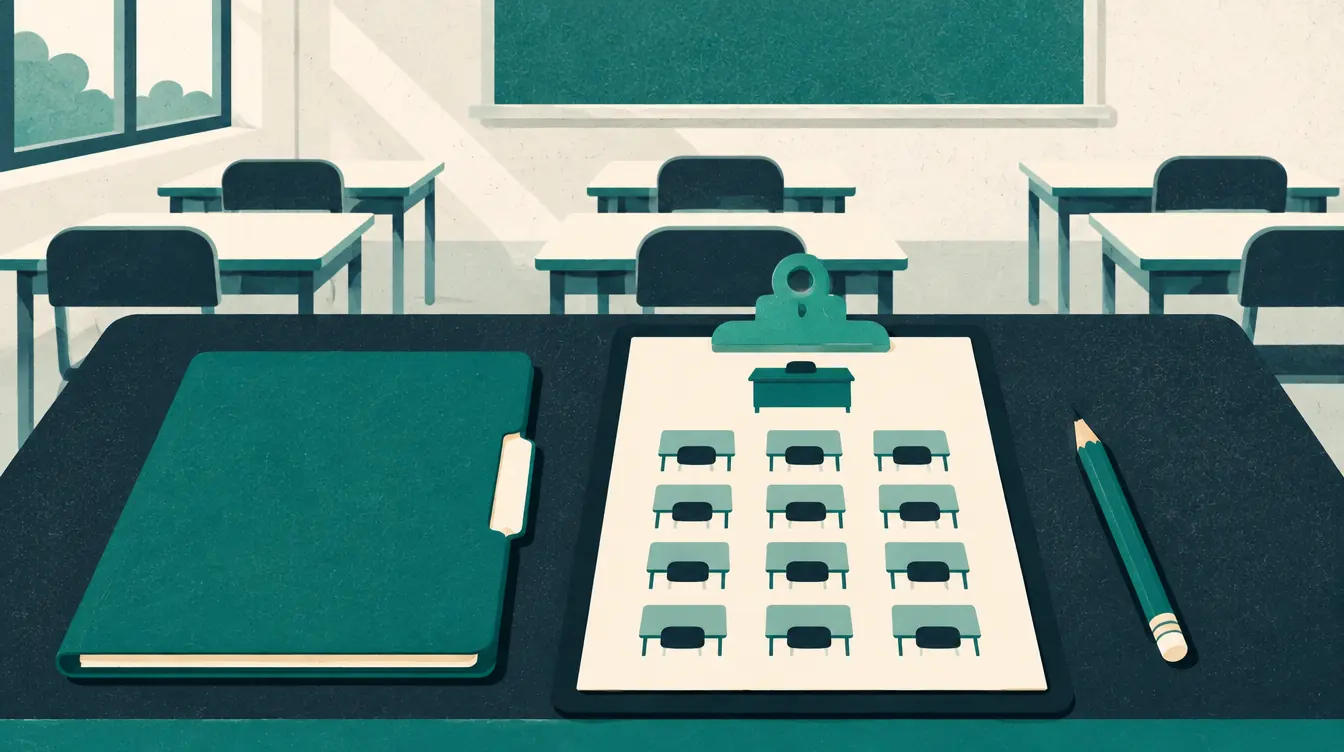
- List by table or row — one block per table, row or desk group. Give it to a venue coordinator or a stage manager.
- People who still need a seat — useful while a plan is in progress.
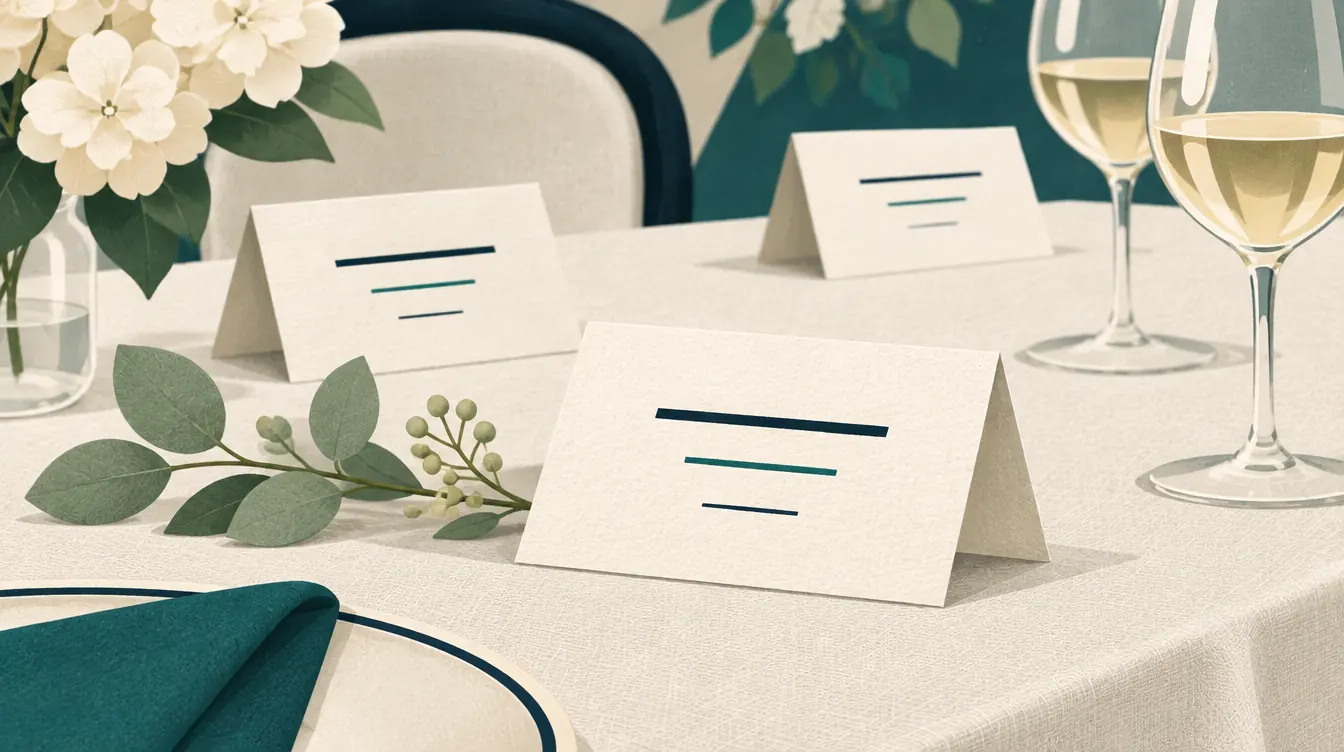
- Name cards (weddings and events) — four fold-in-half cards per page.
All of them come from the same plan, so they always agree.
Step 3: Choose paper, orientation and size
- Paper: US Letter or A4.
- Orientation: landscape suits most rooms, which are wider than they are deep. Portrait suits long, narrow rooms and lists.
- Chart size: Fit on 1 page, Split across 2 or Split across 3.
The split option is for large plans. Instead of cutting the page at an exact midpoint, the tool moves each split to the nearest gap between tables or rows, so no table is ever divided between pages. Each page is labeled “Part 1 of 2 (left to right).”
The hint under the size buttons tells you how big names will print: “Names print at about 8.3 pt.” Under 6 points, the readiness check warns you.
Step 4: Choose names and style
- Full names, Short names or Seat labels only. Short names fall back to the full name for anyone without one. Seat labels only is handy for a chart posted on a door, where you’d rather not show names.
- Title — defaults to the chart’s title; change it for the printout.
- Show date and revision — adds today’s date and the chart’s revision number under the title, so you can tell two printouts apart.
- Black and white — removes section colors and uses section codes instead. Everything on the chart stays readable without color.
- Section legend (bands and orchestras) — lists each section’s code and name.
Step 5: Print or save as PDF
Press Print / Save as PDF. Your browser’s print dialog opens.
- To print, choose your printer. Check that the paper size matches what you chose.
- To make a PDF, choose Save as PDF (or Microsoft Print to PDF on Windows) as the printer.
- To keep colors, turn on Background graphics in the dialog’s extra settings.
- Margins are already built in; leave the browser’s margin setting at “Default” or “None.”
The tool is deliberate about the wording: it doesn’t offer a “PDF download” button, because the PDF is made by your browser’s print system. What you see in the preview is what prints.
Making names readable
Long names are the most common print problem. The tool handles them in order:
- Shrink the text slightly.
- Wrap onto two or three lines, breaking at spaces and hyphens.
- Only if neither works at a readable size, shorten the name with ”…” — and list it in the readiness check.
To avoid step 3 entirely, add a short name to anyone listed, or print with short names. Lists always print full names.
For crowded plans:
- Split across two or three pages.
- Switch to landscape.
- Print the A–Z list as the main reference, and the chart as an overview.
Other export formats
| Format | Use it for |
|---|---|
| PNG (1×, 2× or 3×) | Projecting on a screen, posting in a message, or a poster print. The whole chart at a predictable resolution. |
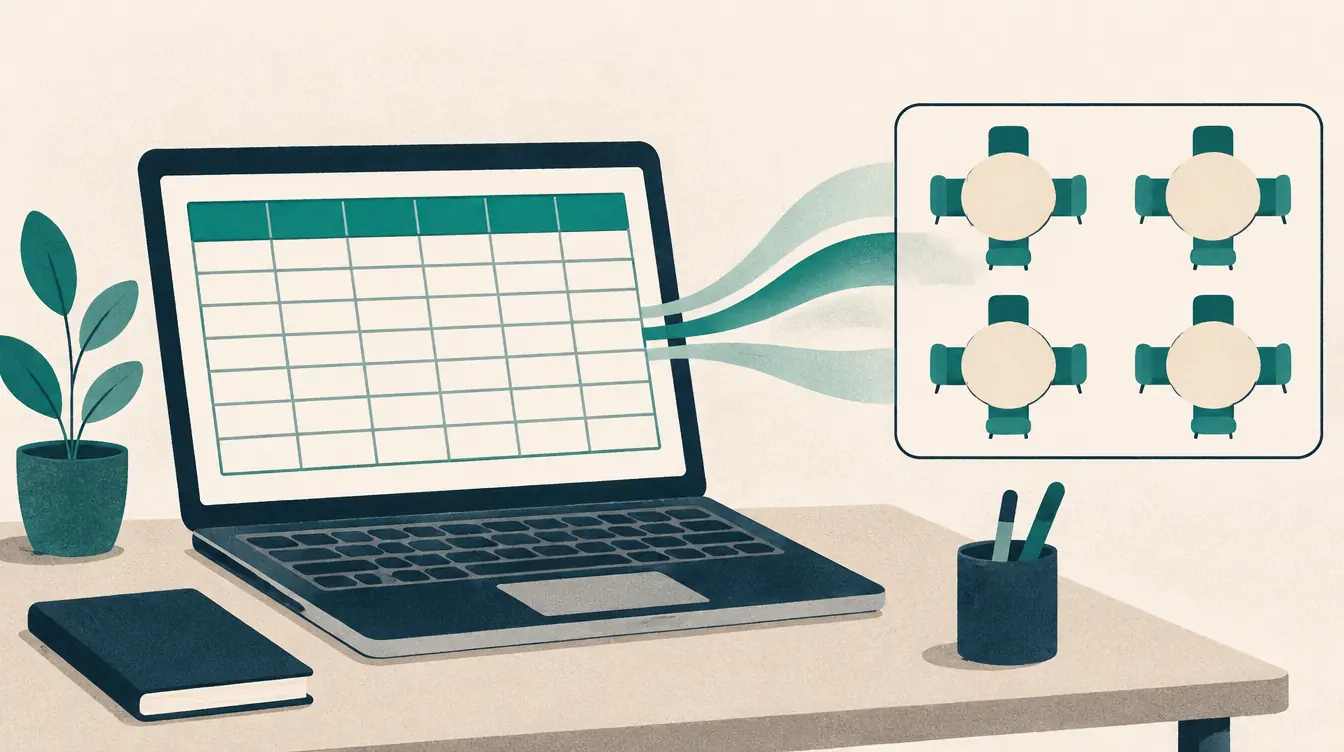
| CSV | A spreadsheet for a registration desk, badge printing or your records. Stable, documented columns. |
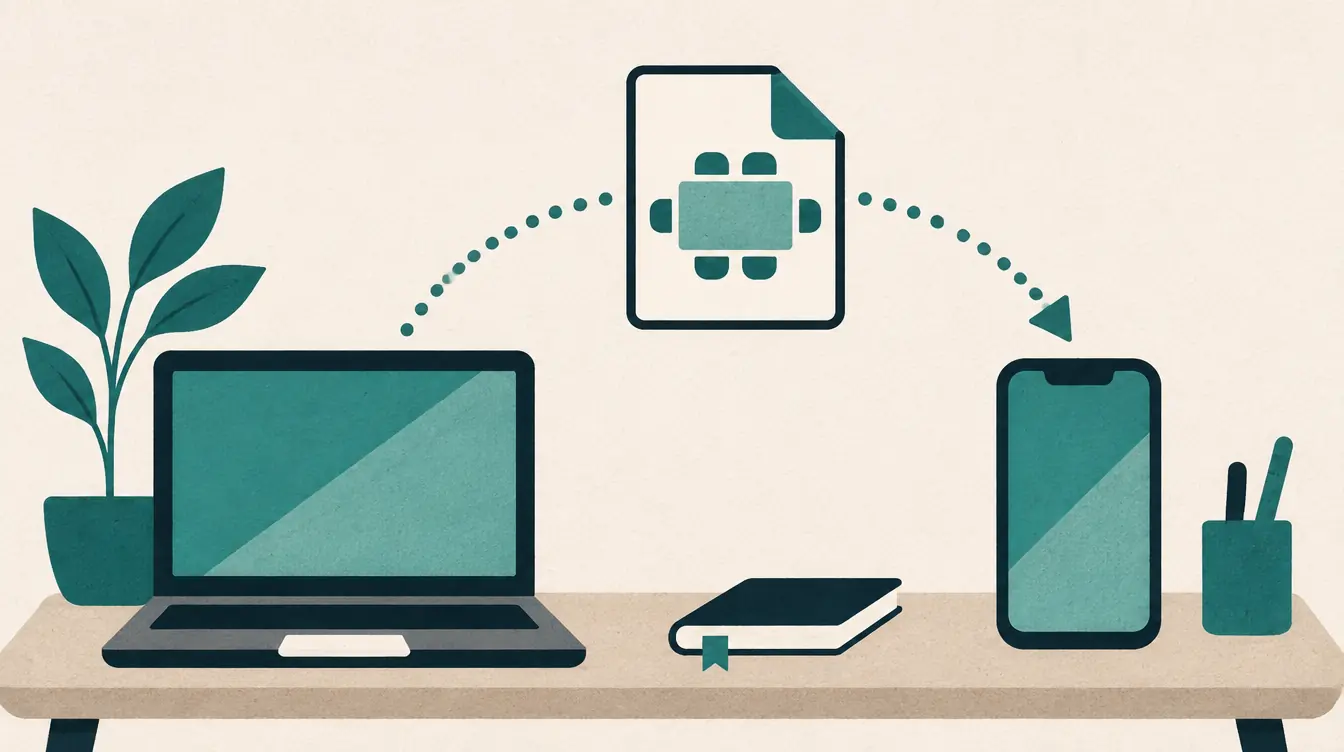
| JSON backup | A complete copy you can open again, on any device. |
None of them include ads, editor controls, watermarks or required credits.
Checklist before you print
- Readiness check shows the numbers you expect.
- No hard-rule problems — or you’ve decided to print a draft.
- Duplicate names have short names.
- Paper size matches the printer.
- The preview shows every table whole.
- For color: Background graphics is on.
Related guides
- How to Make Wedding Name Cards and a Find-Your-Seat List
- Seating Charts for Substitute Teachers
- How to Back Up Seating Charts and Move Them Between Devices
Put this guide into practice — it’s free and takes a few minutes.
Create a chartNew here? Read the complete guide to the free seating chart maker or the Event seating chart maker page .