Rows, Pods, or a U-Shape: Choosing a Classroom Layout
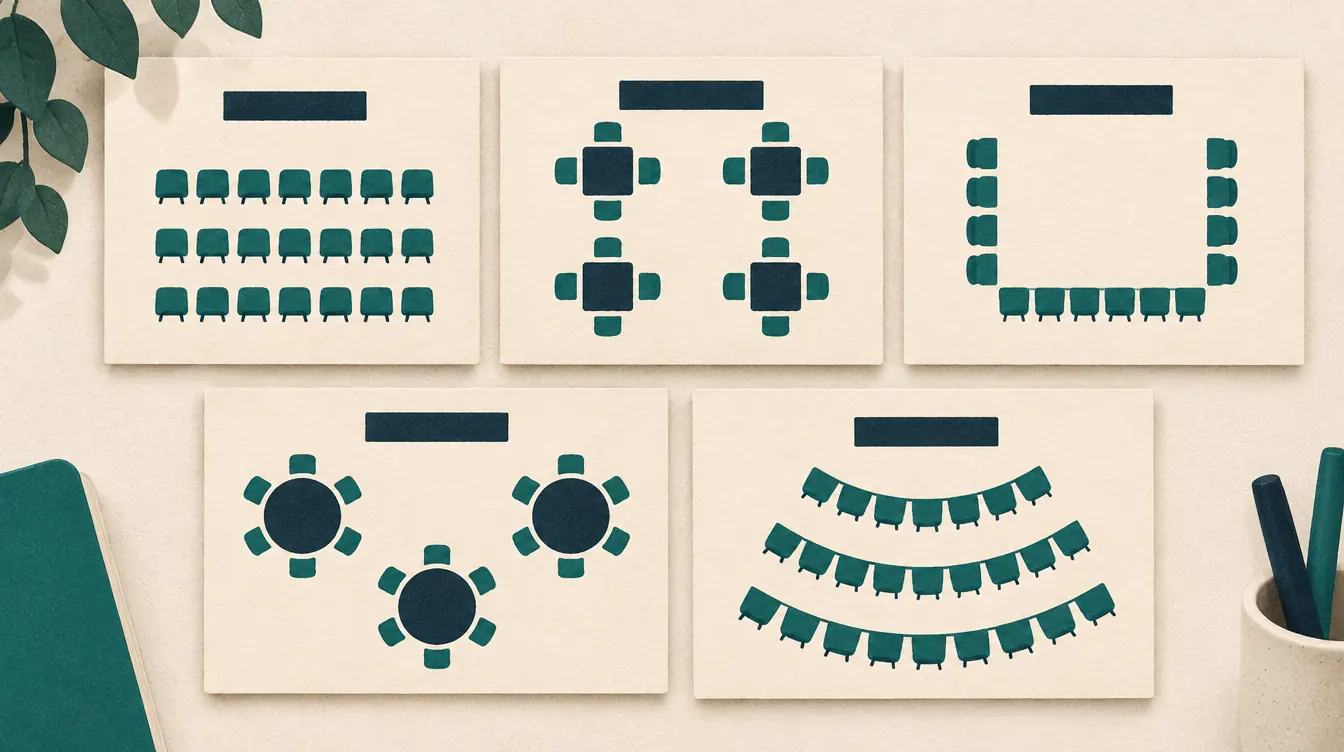
Layout is the first decision in any seating plan, and the one with the biggest effect on how a lesson feels. Rows quiet a room; pods make it talk; a U-shape turns it into a conversation. None of them is “best.” Each one makes some things easier and other things harder.
This guide compares the classroom layouts you can build with the free classroom seating chart maker, explains when each one helps, and shows how to switch between them without losing the seating choices you’ve already made.
The short answer
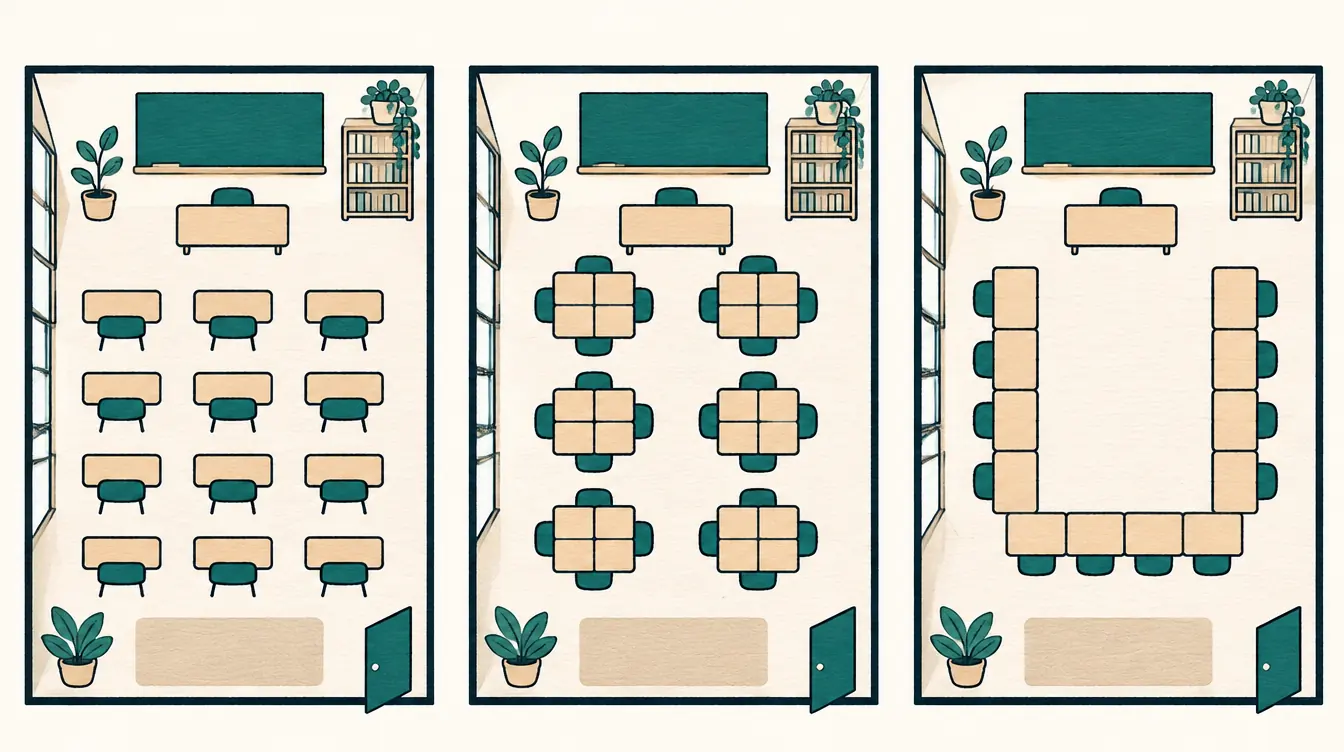
Use rows for tests and direct instruction, pairs for partner work, pods for group projects and stations, and a U-shape for whole-class discussion. Many teachers keep two layouts — one for routine days, one for collaborative units — and save each as its own chart.
The four layouts at a glance
| Layout | Good for | Watch out for | Seats in template |
|---|---|---|---|
| Rows of single desks | Tests, lectures, new classes, routines | Back rows feel distant; little peer talk | 24 or 30 |
| Pairs | Partner reading, peer review, quick “turn and talk” | One difficult pairing affects two people | 24 |
| Pods of four | Group projects, roles, stations | Some students face away from the board | 24 |
| Pods of six | Labs, larger tasks, fewer groups to visit | Side conversations, louder room | 30 |
| U-shape | Discussion, seminars, presentations | Uses more floor space per student | 24 |
Each row of the table links to a template you can open with sample names: rows, pairs, pods of four, pods of six and U-shape.
Rows
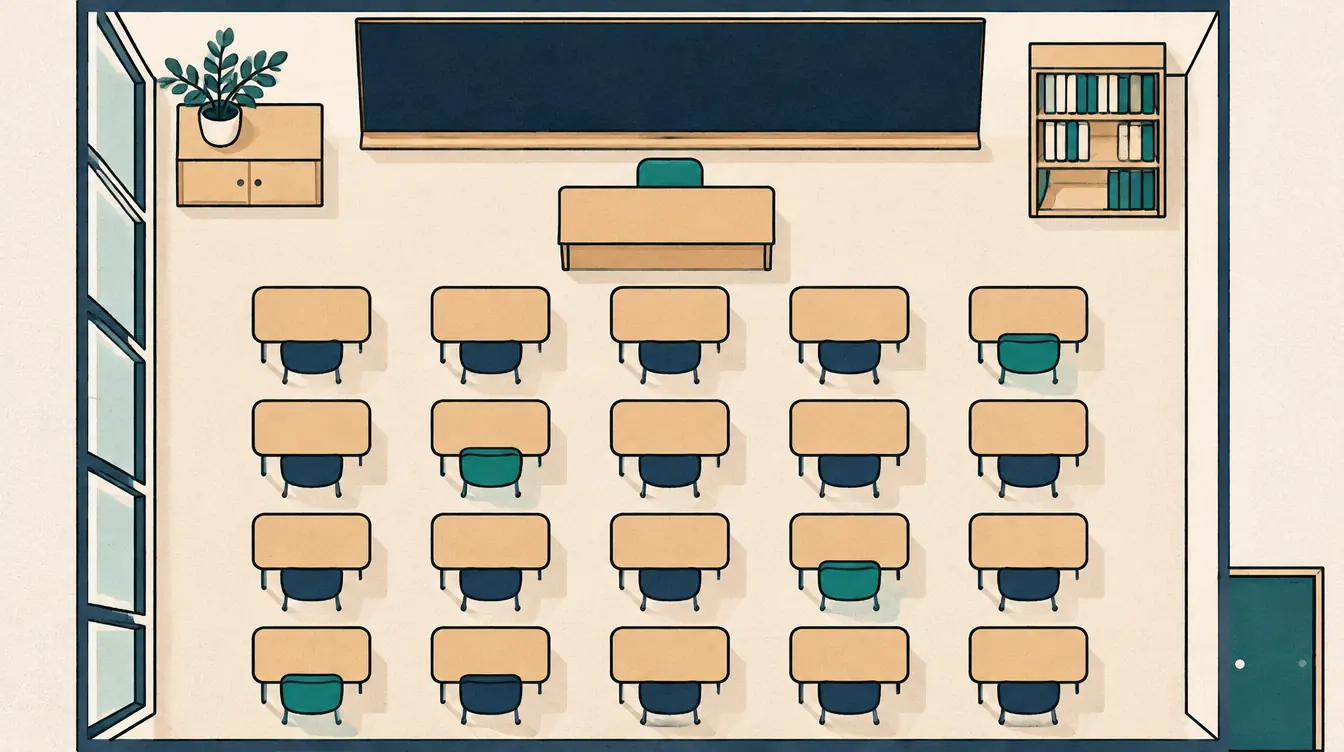
Rows are the default for a reason. Everyone faces the front, it’s obvious where to look, and it’s easy to walk down an aisle to a particular student. For assessments, rows make individual work the natural thing to do.
The trade-off is interaction. In rows, a student can usually talk only to the people beside them. Discussion has to travel through the teacher. Students at the back are physically further from the board and from you.
When rows help most
- The first weeks with a new class, while routines settle.
- Tests and quizzes.
- Lessons built around a demonstration or a long explanation.
Making rows work better
- Leave a central aisle so you can reach every row.
- Use a preferred area rule to bring students who need to see or hear clearly into the first rows — and make it a must if it truly matters.
- Shuffle more often in rows than in pods: in rows, neighbors are the only interaction many students get.
Pairs
Pairs keep the order of rows but build in a partner. They are ideal for routines where students check each other’s work, read aloud to each other or discuss a question for one minute before sharing.
The risk is concentrated: a pairing that doesn’t work affects both students all day. That makes pairs the layout where keep apart and sit together rules matter most. In a pair desk, both seats are adjacent to each other, and usually to the neighboring pair as well. Select a seat and turn on Show which seats count as adjacent to see exactly which seats a rule will consider.
Making pairs work better
- Use the avoid previous neighbors preference when you change pairs, so students meet new partners.
- Lock a few pairs that work especially well, then shuffle the rest.
Pods of four or six
Pods turn desks into small tables. They make collaboration the default: four students can see each other’s work, share materials and take on roles. Pods of six reduce the number of groups you need to visit but make it easier for a group to split into two conversations.
The price is attention to the front. In a pod, at least one or two students sit side-on or with their backs to the board. For lessons with long periods of board work, that is a real cost.
When pods help most
- Project-based units and stations.
- Science labs and practical work.
- Classes that already have strong routines.
Making pods work better
- Use sit together at table level for project teams; the tool treats each pod as one table.
- Use keep apart at table level for students who should be in different groups.
- Number pods clearly. In the editor, pods are called Group 1, Group 2 and so on; rename them to colors or team names if you prefer.
The U-shape
A U-shape puts desks along both sides and the back of the room, opening toward the board. Every student can see every other student, which makes it the best layout for whole-class discussion, debates and presentations. The open middle gives you a place to stand and to move.
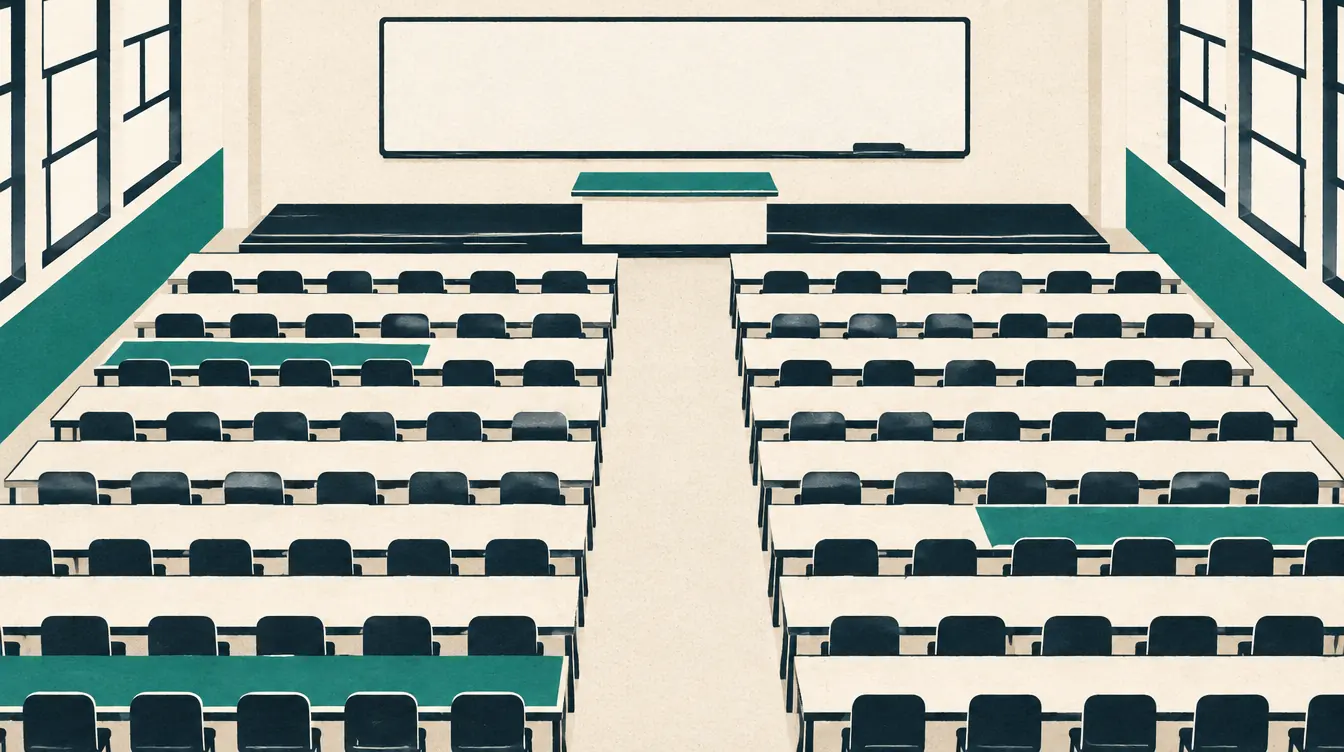
The U uses more floor space per student, so it suits smaller classes. With thirty students it often becomes a double U or a U with a few pods in the middle — both easy to build by adding desks or pods in Arrange room.
Making a U work better
- Put students who need the board at the open end of the U, nearest the front.
- Remember that in a U, students at the two ends can be far apart even though they “face” each other.
Switching between layouts without losing your work
Changing layout replaces the desks, so it also clears the seating. The tool is careful about that:
- When you choose Use this layout, it asks first, telling you how many students will return to the unassigned list.
- It saves the current plan as a version automatically, so you can restore it.
- You can also tick Keep a copy of the current chart first to keep the old layout as its own chart.
- Nobody is ever removed from the roster. Rules stay; rules that pointed at specific desks are cleared.
A practical pattern: keep two charts for the same class — “Period 3 — rows” and “Period 3 — pods” — by duplicating the chart in My charts. Switch between them as units change, without rebuilding either.
A decision checklist
Ask yourself:
- What will students do most of the time? Listen, work alone, work with one partner, or work in a group?
- How big is the room compared with the class? U-shapes need space; pods need room to walk between groups.
- How often will I change seats? Rows benefit most from frequent changes.
- Who must see the board? In pods and U-shapes, plan those seats first and lock them.
- What will a substitute need? Rows and labeled pods are easiest to read on a printed chart.
Summary
| If your lesson is mostly… | Try |
|---|---|
| Listening and individual work | Rows |
| Short partner tasks | Pairs |
| Group projects or stations | Pods of four |
| Labs or larger group tasks | Pods of six |
| Whole-class discussion | U-shape |
Whichever you choose, set up the room first, then add names and rules. For the full process, read How to Make a Classroom Seating Chart; for crowded rooms, How to Seat a Large Class of 40 to 60 Students.
Put this guide into practice — it’s free and takes a few minutes.
Open the templateNew here? Read the complete guide to the free seating chart maker or the Classroom seating chart maker page .