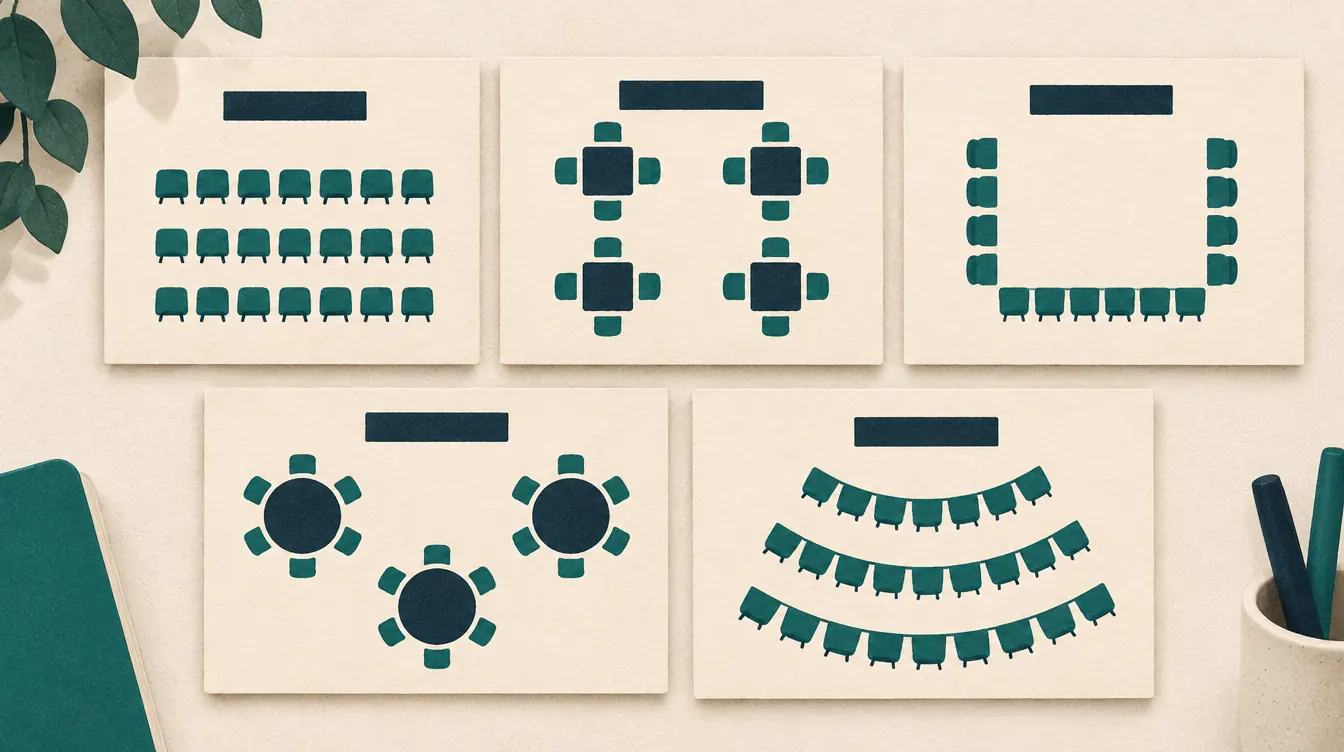
How to Choose and Customize a Seating Chart Template
A good template saves you the slowest part of making a seating chart: drawing the room. But no template matches your room exactly. This guide helps you choose the closest starting point and then turn it into your own plan in a few minutes.
All templates in the template gallery open as real, editable charts in the free seating chart creator. You can open any of them with fictitious sample names to explore, or empty to start work.
The templates, by situation
| If you need… | Start with | Seats |
|---|---|---|
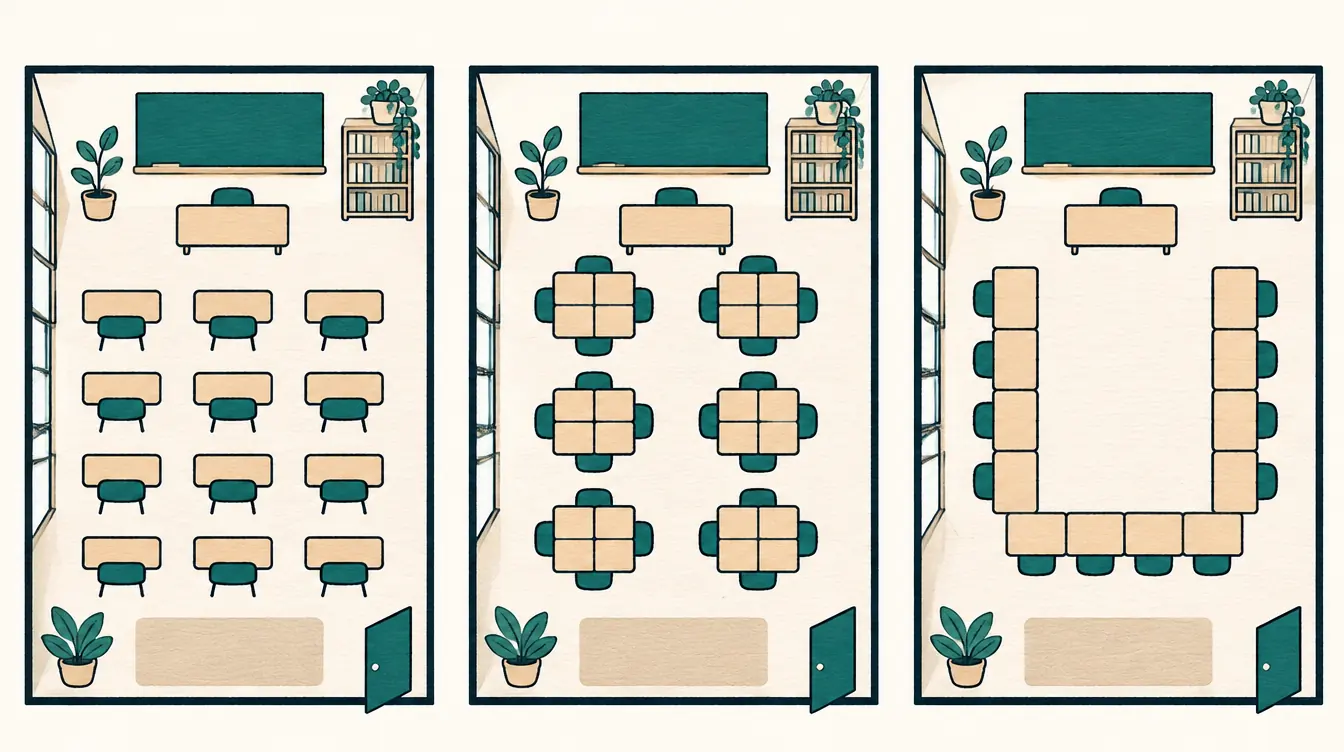
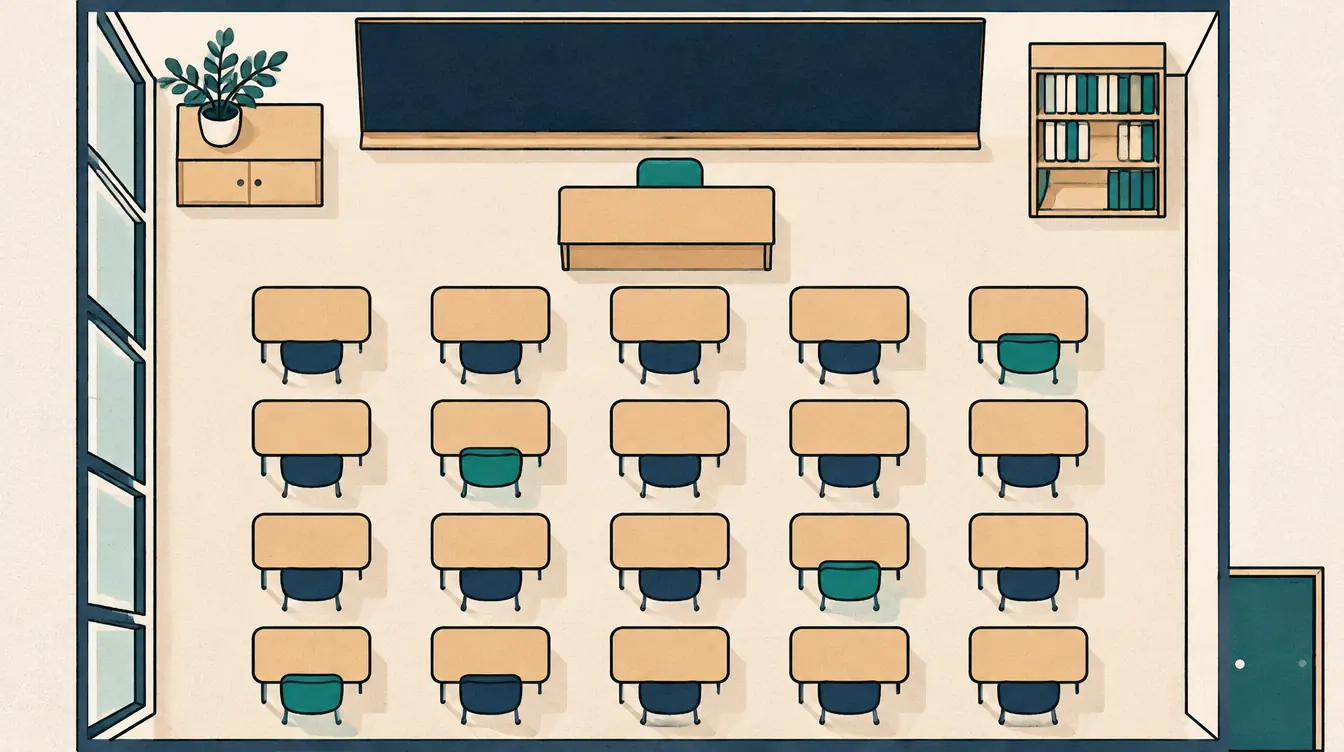
| A classroom for tests and routines | 24-seat rows or 30-seat rows | 24 / 30 |
| Partner work | Pairs | 24 |
| Group work or stations | Pods of four or pods of six | 24 / 30 |
| Discussion | U-shape | 24 |
| A workshop or staff training | Training room | 24 |
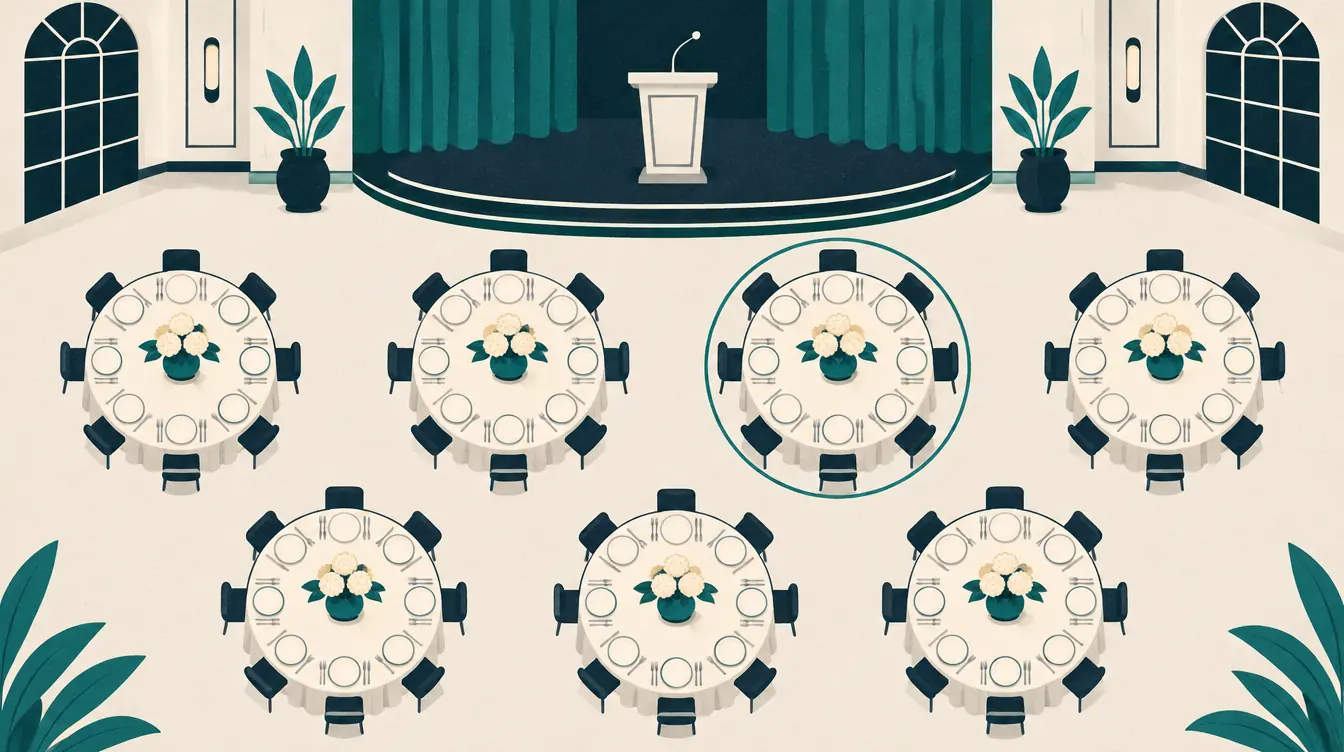
| A talk, ceremony or assembly | Theater-style rows | 60 |
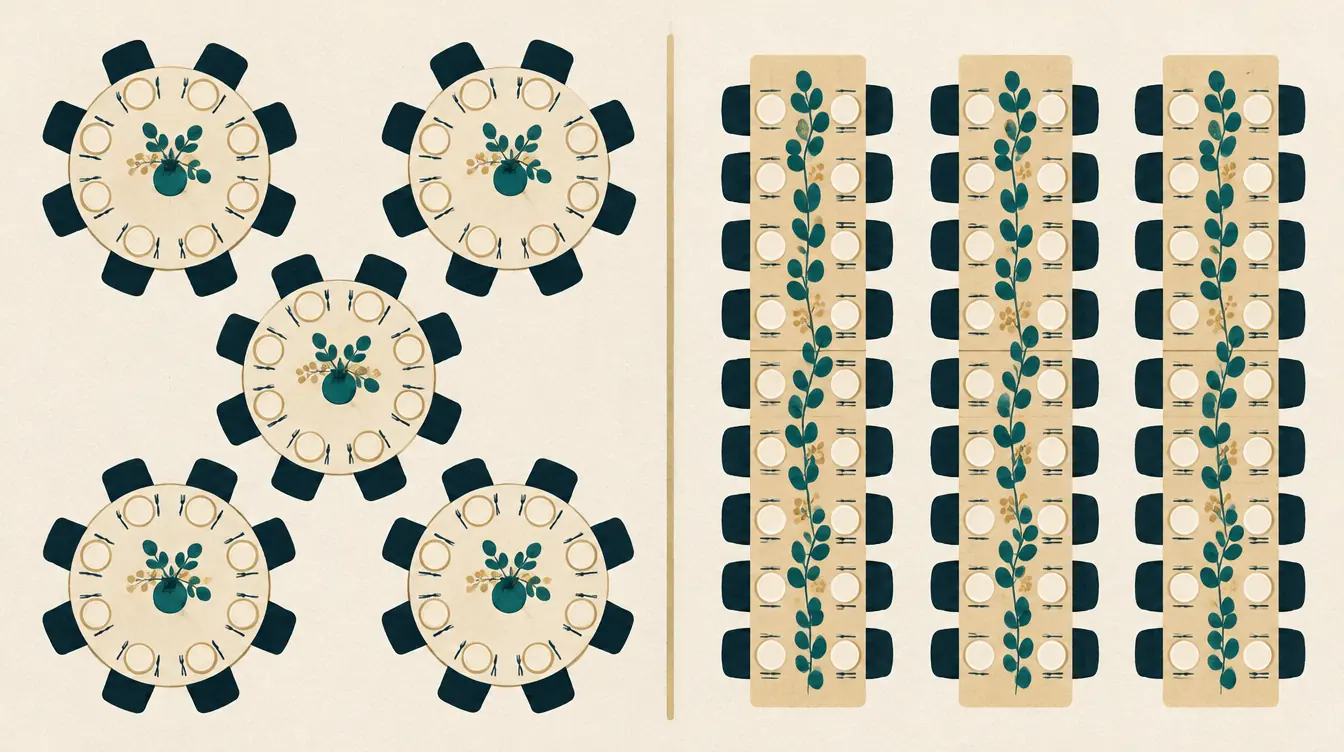
| A wedding reception | Round-table wedding or rectangular-table wedding | 72 / 64 |
| A dinner of 8–14 | Small dinner | 12 |
| A concert band | Curved-row band | 52 |
| An orchestra | Orchestra sections | 52 |
Pick the template whose shape is closest to your room, not the one whose seat count is closest. Seats are easy to add and remove; reshaping a room takes longer.
“Use this template” vs “Try with sample names”
- Use this template opens the layout with no names, ready for your roster.
- Try with sample names fills most seats with fictitious names so you can try shuffling, rules and printing before you commit. The chart’s title says “(sample)” so you won’t confuse it with a real plan.
Either way, a new chart is created. Opening a template never overwrites an existing chart.
Customizing the room
Switch to Arrange room (the hand icon) to edit the layout.
Move and arrange
- Drag any desk, table, row or marker.
- Select several with Shift-click, then align (left, center, top, middle) or distribute them evenly.
- Arrow keys nudge selected objects by one grid step; hold Shift for single units.
- Snap to grid keeps things tidy; switch it off in Layout for free placement.
Change seats
Select an object to see its details:
- Seats — add or remove seats on any desk, table or row. Removing occupied seats asks first and returns those people to the unassigned list.
- Seats at both ends — for rectangular tables.
- Distance and curve — for curved rows in band and orchestra charts.
- Rotation — in 15° steps or any exact angle.
Add and remove
Layout › Add to the room offers the objects that make sense for the chart type: desks and pods for classrooms, round and long tables for weddings, rows and stages for events, curved rows and conductor markers for music. Duplicate creates a copy with empty seats — never duplicate people. Delete returns anyone seated there to the unassigned list.
Label things
- Rename tables, rows and desks (Table 1 → “Lisbon”, Row 3 → “Riser 2”).
- Give individual seats labels such as A1 or “Head.”
- Add text labels for features like “Bar,” “Timpani” or “Teacher’s desk.”
Customizing behavior
Templates set sensible defaults for their chart type, which you can change:
- Adjacency distance decides which seats count as adjacent for rules. Check it by selecting a seat and turning on Show which seats count as adjacent.
- Chart type (Layout › Chart type) changes the tools shown and the default meaning of new keep-apart rules, without deleting anything.
- Sections in band and orchestra charts can be renamed, recolored and recoded.
Making your own reusable “template”
Once a chart matches your room, keep an empty copy:
- On My charts, Duplicate the chart.
- Open the copy, select everyone in the roster and remove them (or use Replace current roster on the next import).
- Rename it “Room 12 — empty.”
Next term, duplicate “Room 12 — empty” and import the new roster. Your layout, labels and settings come with it.
Checklist
- Template shape is close to the real room.
- Front of room, stage or conductor is marked.
- Seat count matches the number of people, with a spare seat or two.
- Tables and rows have names people will recognize.
- Unusable seats are blocked; seats held on purpose are reserved.
- An empty copy is saved for next time.
Related
- Rows, Pods, or a U-Shape: Choosing a Classroom Layout
- Round vs Rectangular Tables
- How to Plan Event Seating
Put this guide into practice — it’s free and takes a few minutes.
Create a chartNew here? Read the complete guide to the free seating chart maker .