How to Plan Event Seating for Banquets, Meetings and Talks
Event seating is a planning exercise with a deadline. Registrations change until the last day, speakers need particular seats, sponsors expect a good table, and the people at check-in need to find anyone in seconds. An event seating chart maker can’t negotiate with the venue for you, but it can keep the plan consistent and produce everything your team needs from one source.
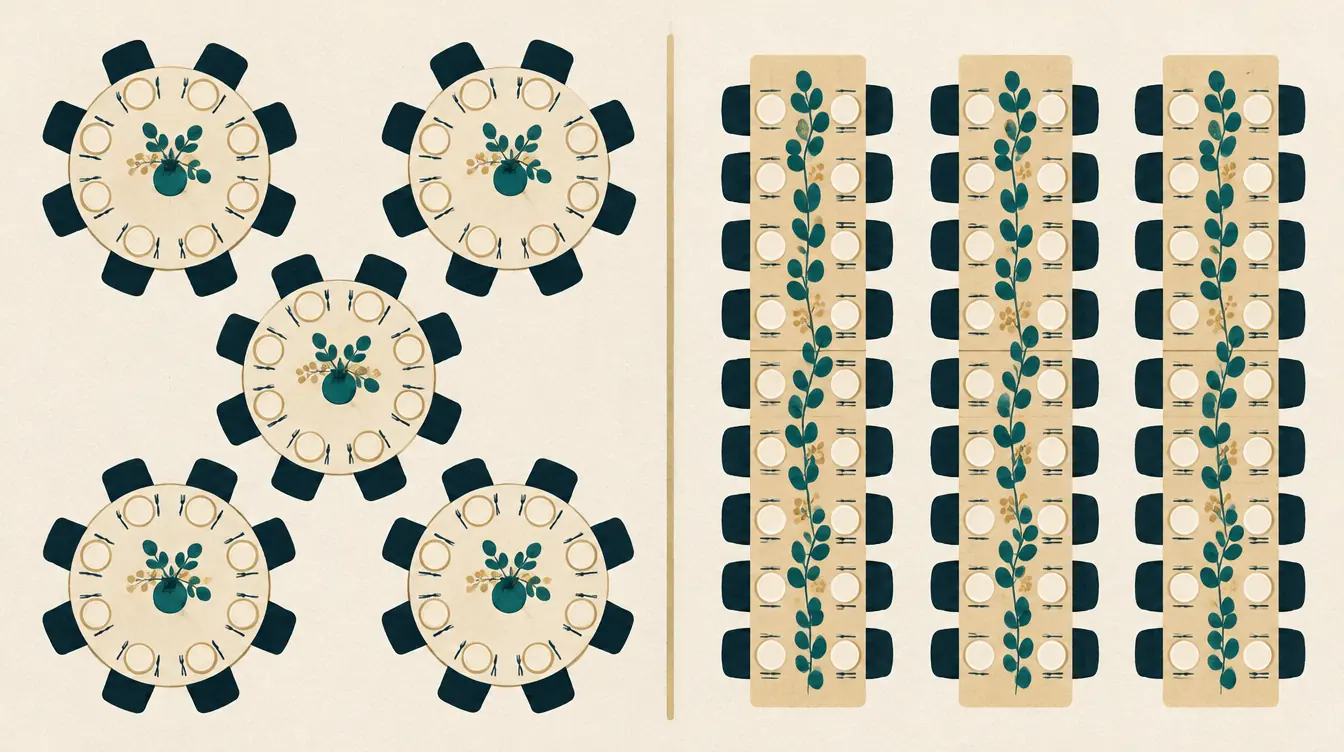
Four common event layouts
| Layout | Best for | How to make it |
|---|---|---|
| Theater rows | Talks, ceremonies, screenings, assemblies | Event layouts › Theater rows, set rows and seats per row |
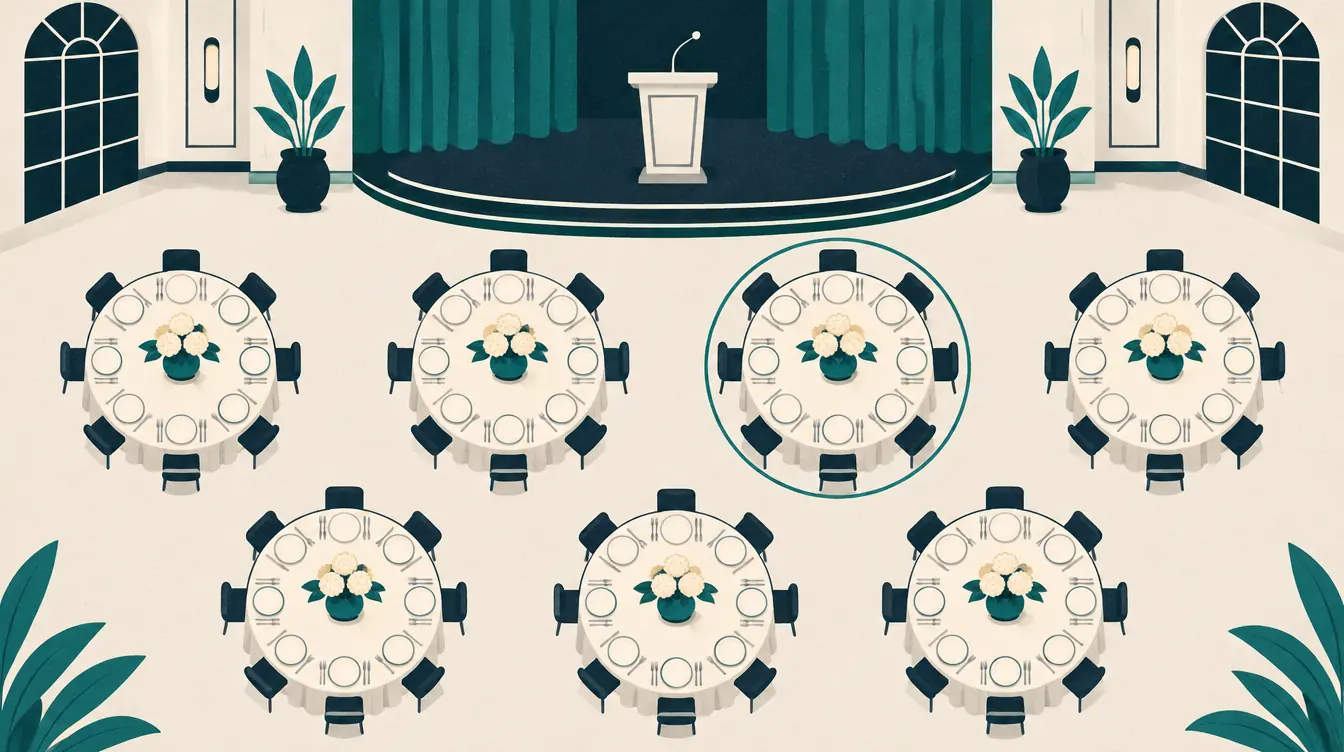
| Banquet rounds | Dinners, galas, award nights | Event layouts › Banquet round tables |
| Training tables | Workshops, staff training, classes | Event layouts › Training tables (two to four per table) |
| Meeting table | Board meetings, small dinners | Event layouts › One meeting table |
Each generator shows a preview and a seat count before you apply it. If you’ve already placed people, the tool asks first, saves a version and can keep a copy of the old chart.
Theater rows are lettered — Row A, Row B — and seats are numbered, which matches how most venues and tickets describe seats.
Step 1: Choose the layout and mark the room
Generate the layout, then switch to Arrange room to adjust it:
- Drag tables or rows into position; align and distribute several at once.
- Add the stage or presenter area, doors and any text labels (bar, registration, AV desk).
- Rename tables if you use names rather than numbers.
The plan is a planning aid, not a floor plan. It doesn't measure distances, aisle widths, accessibility routes or fire-code capacity. Always confirm the layout with the venue.
Step 2: Reserve and block seats
Select a seat and set its status:
- Reserved — held on purpose for a speaker, sponsor, VIP or late registration. Automatic seating skips it, but you can still seat someone there yourself. The readiness check counts “reserved, empty” separately, so it never looks like a mistake.
- Blocked — not available at all: behind a pillar, blocked by equipment, or broken. Nobody can be seated there.
To reserve a whole table, select it and reserve each seat, or keep that table for manual seating by locking its occupants once placed.
Step 3: Import attendees with groups
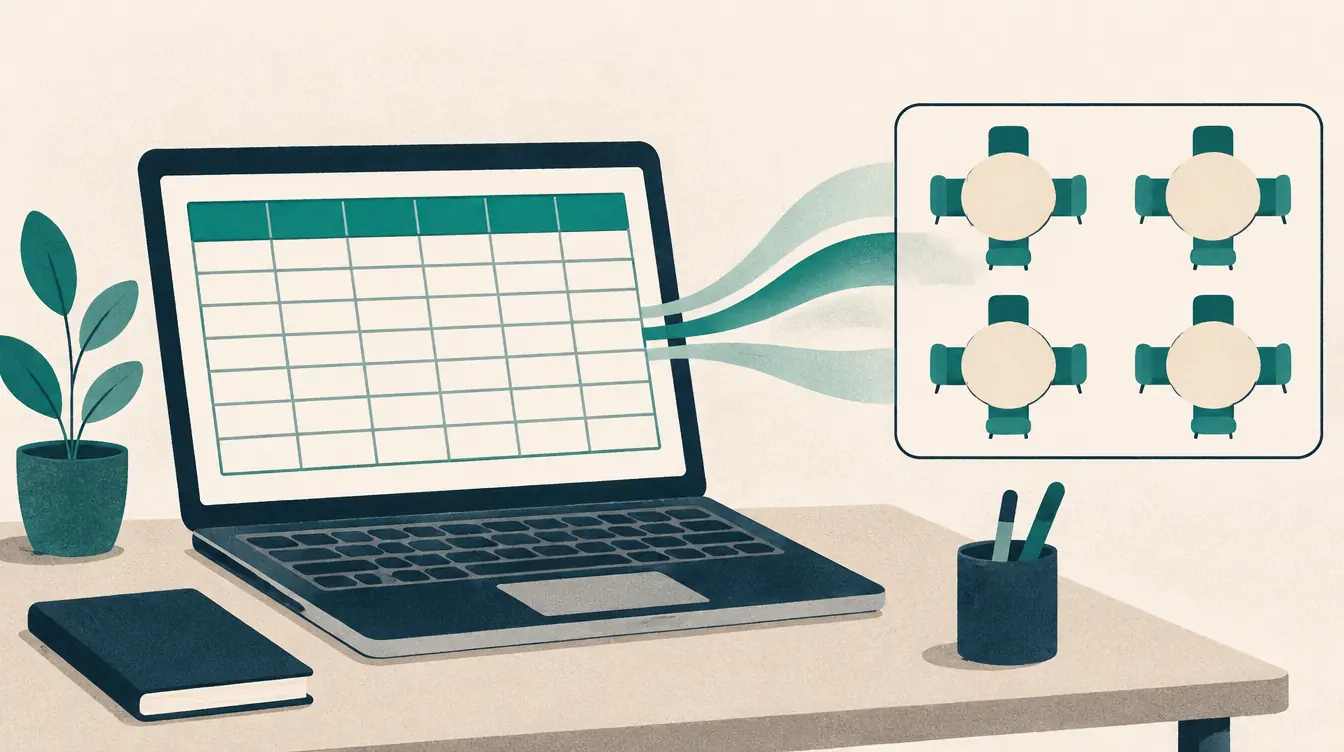
Export your registration list as CSV and import it. Map:
- the name column (or join first and last name columns in the order you choose),
- a group column — company, team, department or party.
Keep only what you need. The tool doesn’t store emails, ticket types or payment details and has nowhere to put them.
Step 4: Keep groups together (and some apart)
At events, sit together and keep apart default to table level — “at the same table” and “not at the same table.” Useful rules:
- Same table preferences for each company or team. In an event chart you can add them in Rules for each group; wedding charts also offer a one-click household tool.
- Keep apart for competitors or anyone who shouldn’t share a table — as a must if it matters.
- Preferred area for groups that should sit near the stage or the exit.
Keep the number of must-rules small. Large events are more forgiving than classrooms, but each must still narrows the options.
Step 5: Seat everyone and check readiness
Press Seat everyone who needs a seat. The tool fills open seats, respects must-rules, keeps groups together where it can and lists anyone without a seat by name. Then adjust by hand.
Check the status bar: seated, still needing a seat, empty, reserved and blocked. A 200-person event typically arranges in a second or two in the browser.
Step 6: Print organizer materials
In Print & export:
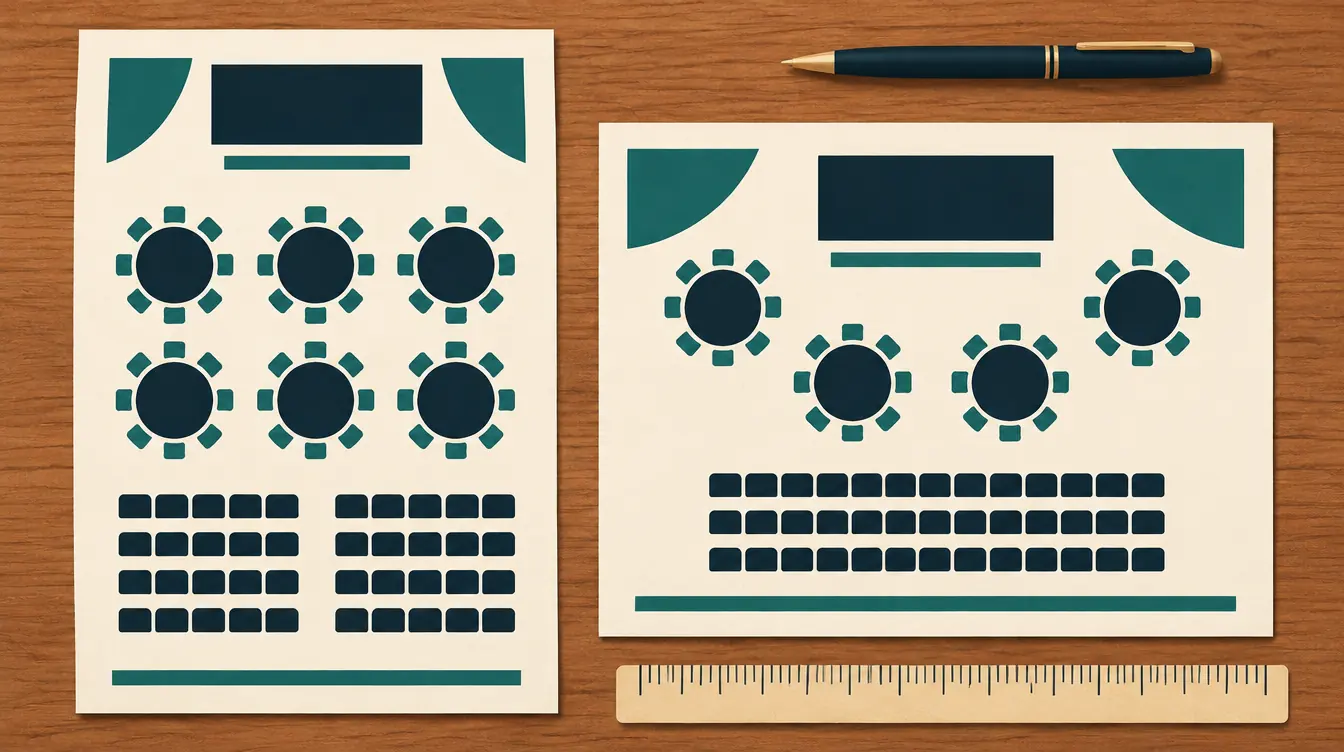
- Seating chart — split large rooms across two or three pages; splits fall between tables or rows.
- Find your seat (A–Z list) — for the check-in desk or an easel by the door. It shows each person’s table.
- Table-by-table list — for hosts and catering.
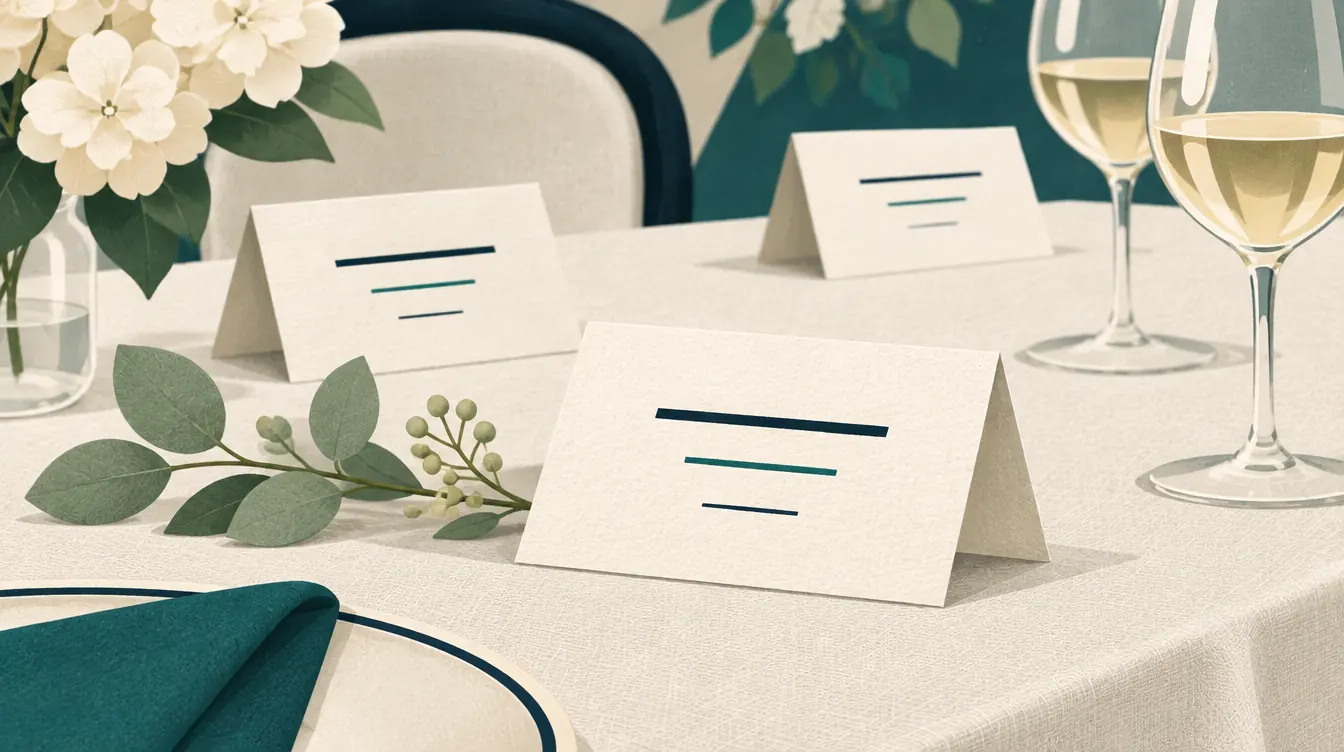
- Name cards — four per page, folding in half.
- CSV — for a registration spreadsheet or badge printing. Columns are stable and documented.
Example: an awards dinner for 200
| Item | Choice |
|---|---|
| Layout | 20 round tables of 10 |
| Reserved | Table 1 for award winners (10 seats) |
| Attendees | 186 imported with a Company column |
| Rules | Same-table preference per company; one keep-apart must between two competitors |
| Result | 186 seated, 10 reserved and empty on purpose, 4 open seats spare |
| Printouts | A–Z list for check-in, table list for hosts, chart split across two pages |
All names in templates and examples are fictitious.
Day-of tips
- Print two A–Z lists, one for each side of the entrance.
- Keep a few spare seats spread across tables for walk-ins.
- Carry the plan on a phone. The seat list makes last-minute moves quick: tap a name, tap a seat.
- Download a backup the night before, in case the device you planned on isn’t with you.
Related
- Round vs Rectangular Tables
- How to Make Wedding Name Cards and a Find-Your-Seat List — the same tools work for events.
- How to Import a Roster from a CSV File
Put this guide into practice — it’s free and takes a few minutes.
Open the templateNew here? Read the complete guide to the free seating chart maker or the Event seating chart maker page .