How to Seat a Large Class of 40 to 60 Students
Large classes make every seating problem bigger: more names to learn, more students who can’t see the board, more paper to print, and more people to move when you change seats. A class seating chart maker helps most precisely when the numbers get large.
This guide covers classes of roughly 40 to 60 — common in many countries and in lecture-style rooms.
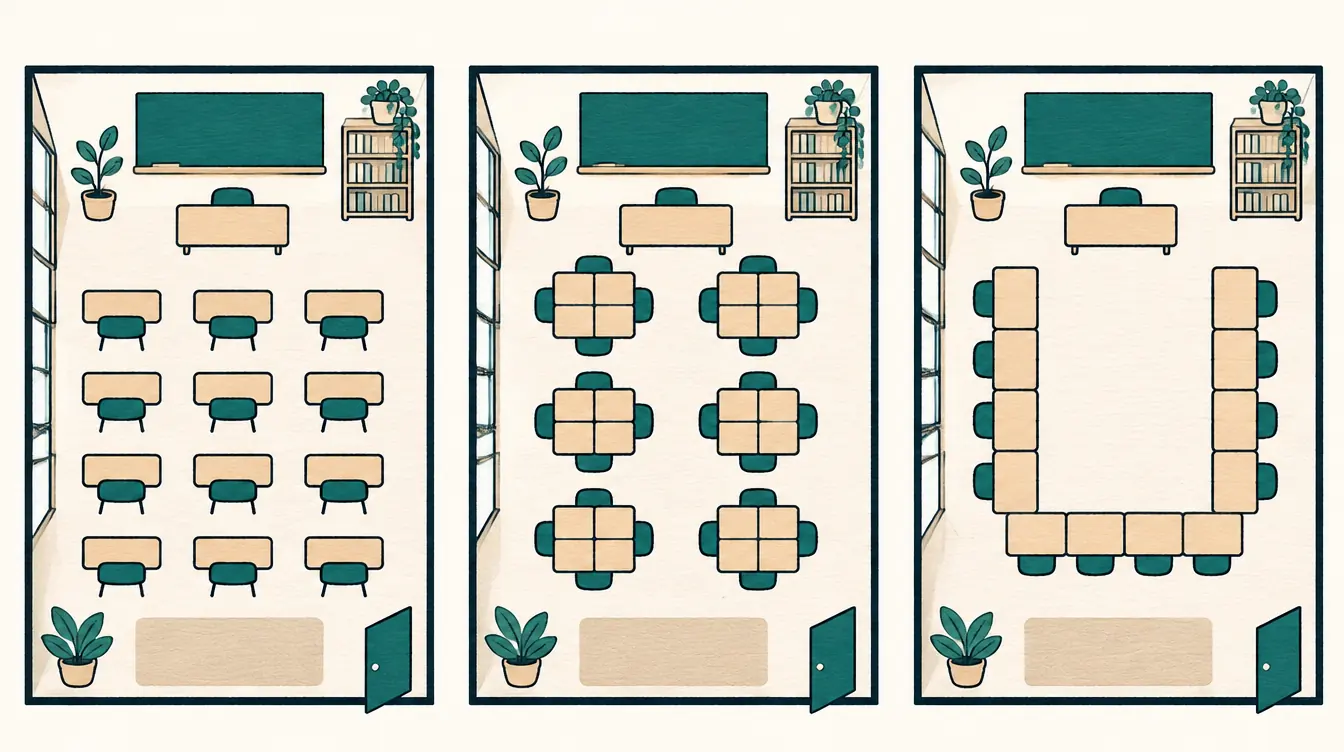
Choosing a layout for a large class
| Layout | Fits 40–60? | Notes |
|---|---|---|
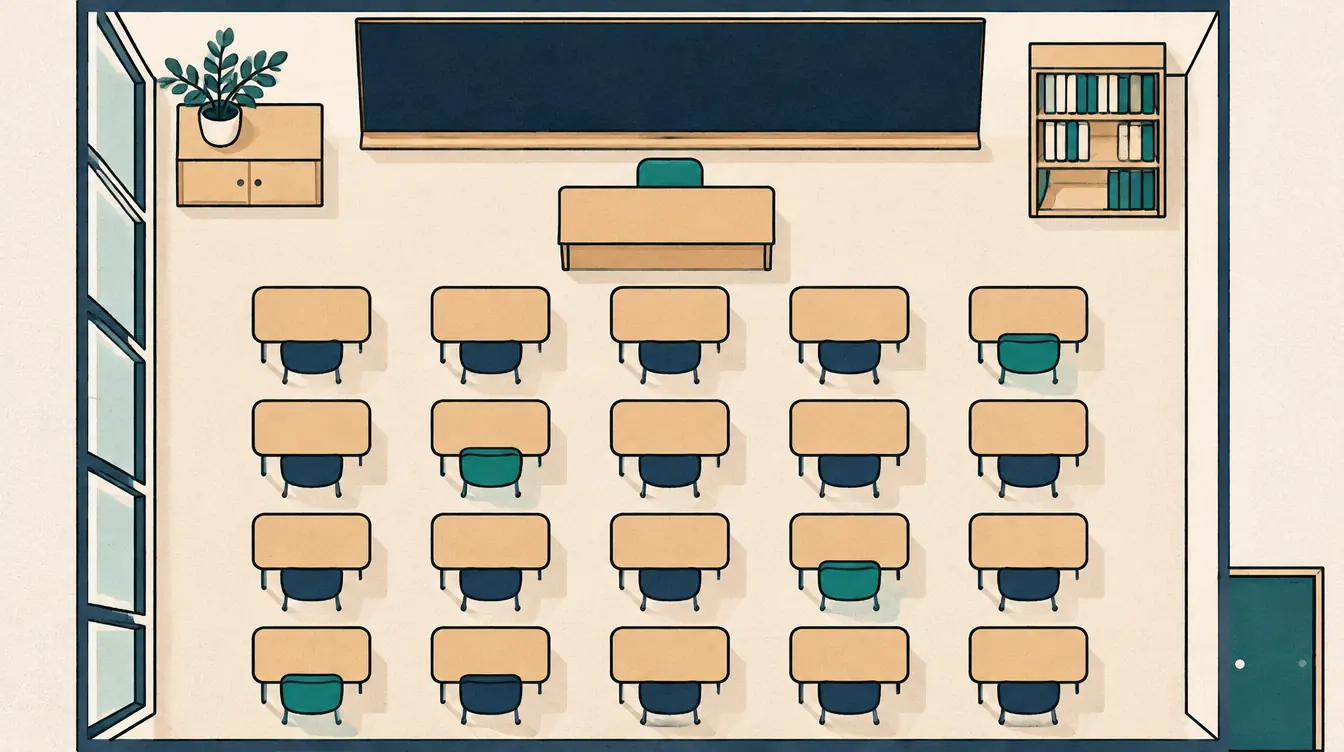
| Rows of single desks | Yes | The most space-efficient; plan aisles |
| Pairs | Yes | Fewer aisles needed; good for partner work |
| Pods of six | Yes, if the room is wide | 8–10 pods; leave walking routes |
| U-shape | Rarely | Uses too much perimeter; try a double U |
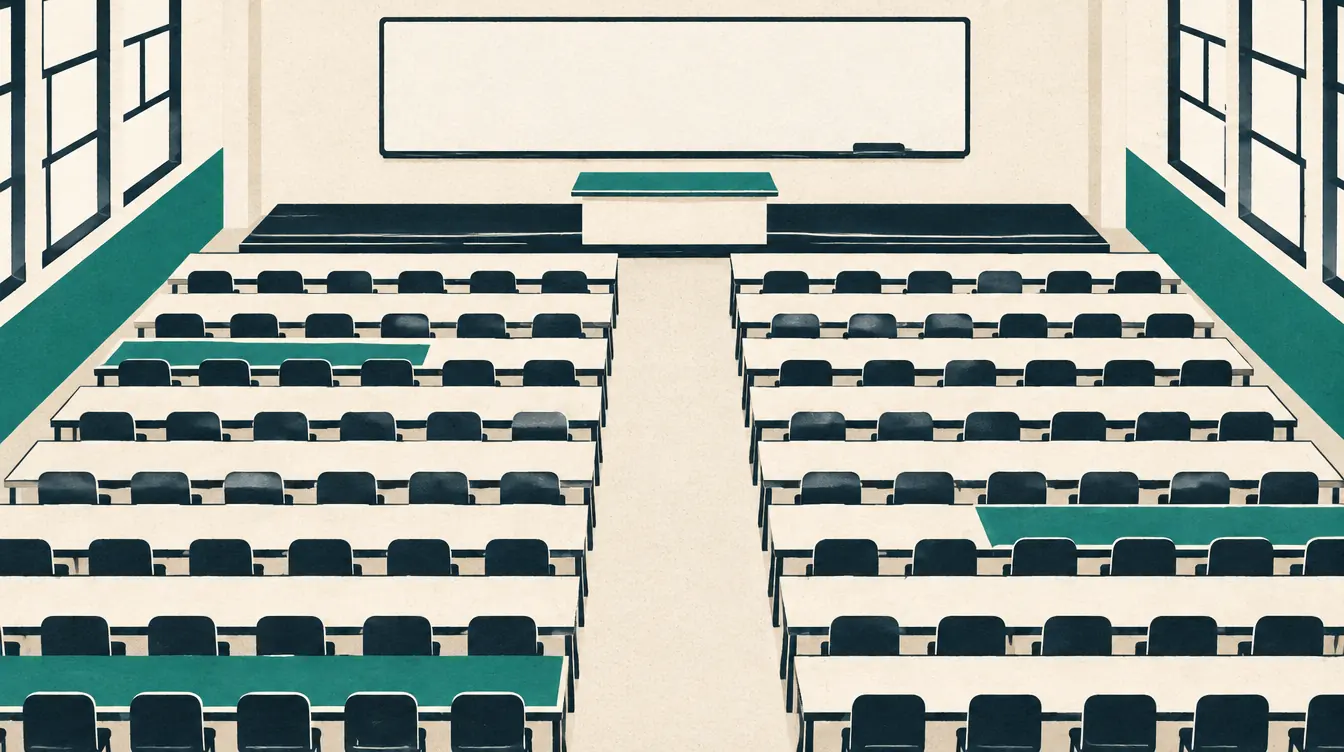
| Straight rows of chairs | Yes | For rooms without desks |
To build one quickly, open Layout › Arrange desks:
- Rows: e.g. 7 rows × 8 desks = 56.
- Pairs: e.g. 7 rows × 4 pair desks = 56.
- Pods of six: 10 groups = 60.
The preview shows the seat count against your roster, so you can see immediately whether everyone fits.
Plan aisles
Generated rows are evenly spaced. For a central aisle, switch to Arrange room, select the right half of the desks (Shift-click) and move them right with the arrow keys. Distribute spaces any selection evenly.
Adding a large roster
Import a CSV rather than typing. With 50+ names, duplicates are likely — the import keeps them as separate people, and the readiness check lists them so you can add short names.
Seating quickly
- Seat everyone who needs a seat places 60 students in about a second, respecting must-rules.
- Lock the handful of students whose seats matter, then shuffle the rest whenever you rotate.
- Use preferred area for students who need the front rows, as a must where it really matters.
Large classes are where the avoid previous neighbors preference shines: with many possible neighbors, the tool can usually avoid almost all repeats.
Finding a student fast
- Search the People list and tap the eye icon to highlight the student on the plan.
- The seat list groups seats by desk or row for quick scanning.
Printing a large chart
Large charts are where printouts most often fail. The print view helps:
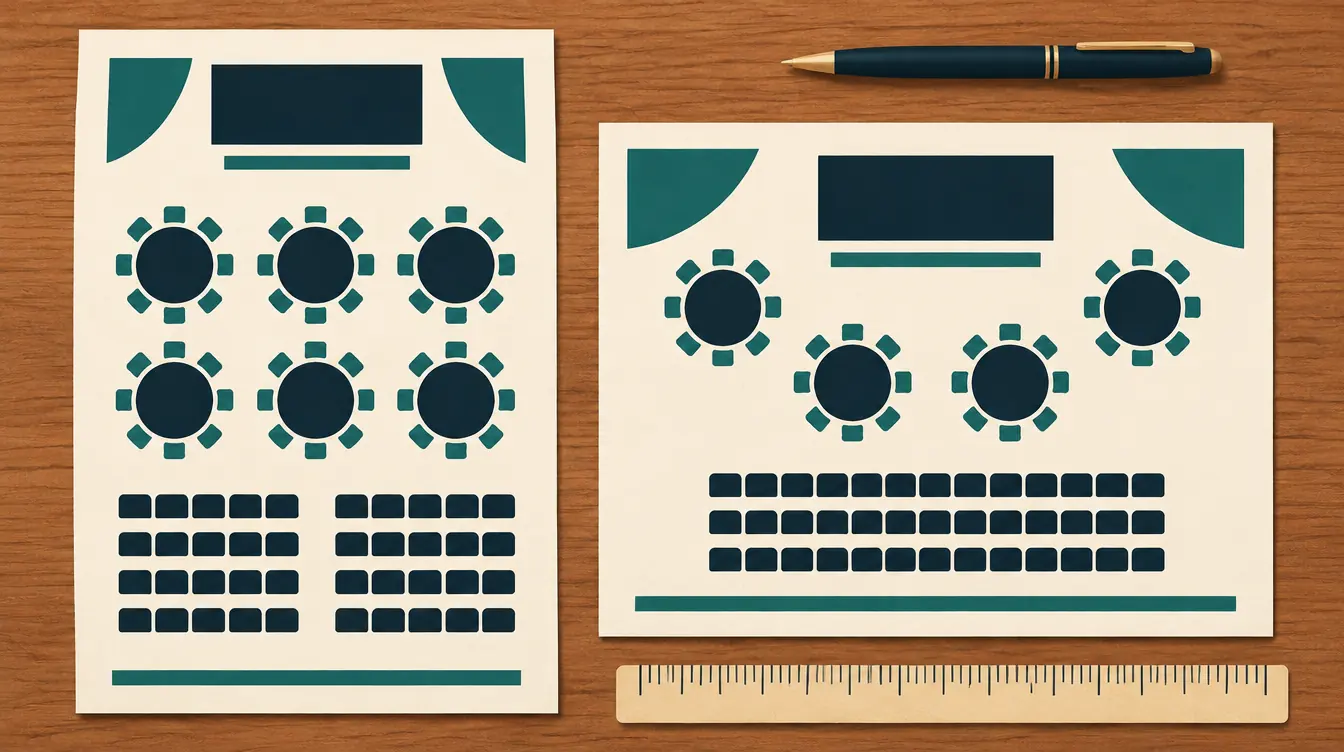
- Split across 2 or 3 pages. Splits fall between desks, never through one. Each page is labeled “Part 1 of 2 (left to right).”
- Watch the name size. The print view shows the approximate printed size. Under 6 points, it warns you.
- Short names keep long names readable on a crowded chart.
- Print the alphabetical list as well — with 60 students, a list is often faster than a plan.
- PNG at 2× or 3× works well for projecting the plan on a board as students arrive.
Performance
Charts hold up to 400 people and 600 seats; classes of 60 are within the tested range, including on phones and tablets. Arranging runs in the background in your browser, so the page stays responsive.
A worked example
A fictitious lecture-style class of 56:
- Layout: 7 rows × 8 single desks, a central aisle created by moving the right half.
- Roster: imported from CSV; three duplicate first-and-last names given short names.
- Locks: four students in the first row.
- Rules: two keep-apart pairs (must), one preferred area for the first two rows (preference).
- Seat everyone → 56 seated, all must-rules kept.
- Print: split across 2 pages, Letter landscape, plus an alphabetical list.
Related
- Rows, Pods, or a U-Shape: Choosing a Classroom Layout
- How to Print a Seating Chart on Letter or A4 Paper
Put this guide into practice — it’s free and takes a few minutes.
Open the templateNew here? Read the complete guide to the free seating chart maker or the Classroom seating chart maker page .