How to Create an Orchestra Seating Chart
An orchestra seating chart has everything a band chart has — curved rows, sections, chair numbers — plus one detail that matters a great deal to string players: who shares a music stand. The free orchestra seating chart generator draws stands for you and keeps them in step with the chairs.
A note on conventions
Orchestras are seated in several established ways — for example, with second violins beside the firsts, or opposite them across the podium, and with cellos or violas on the outside right. None is universally correct. The template follows one common layout; change it to match your conductor and your hall.
Step 1: Open the orchestra template
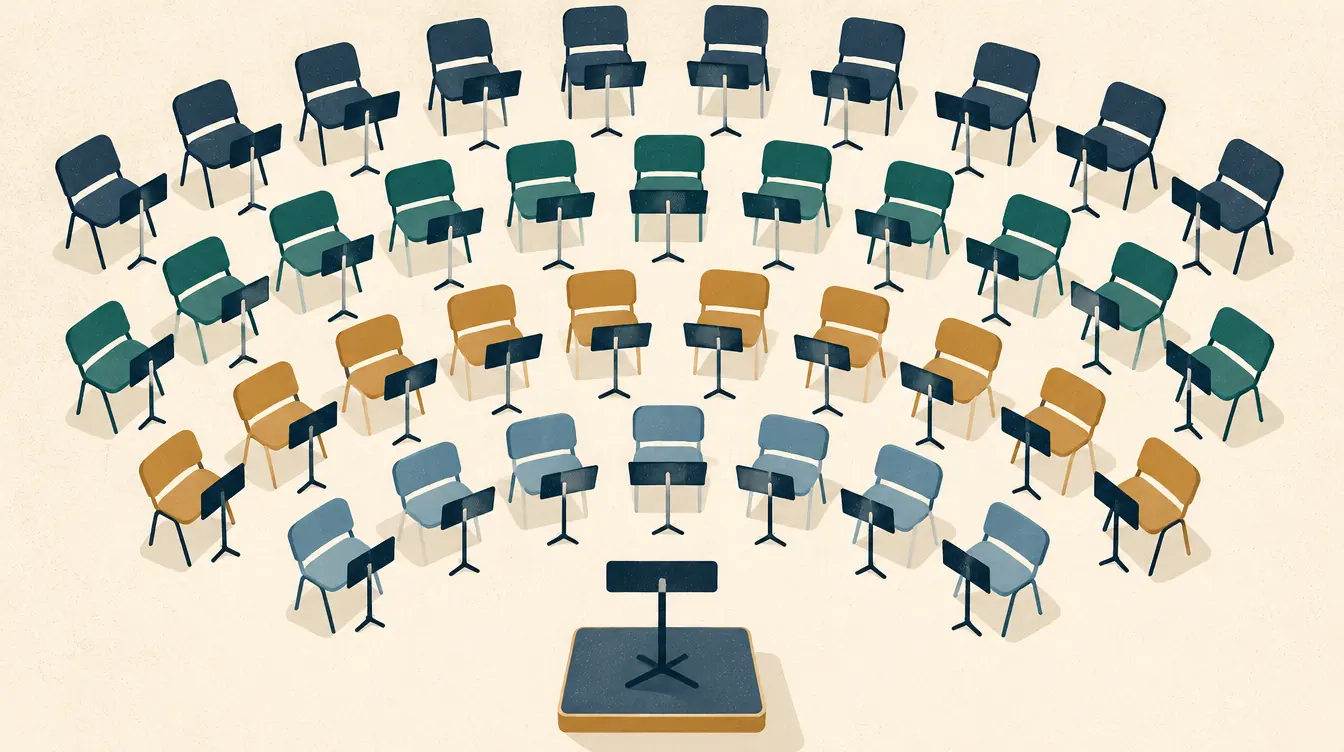
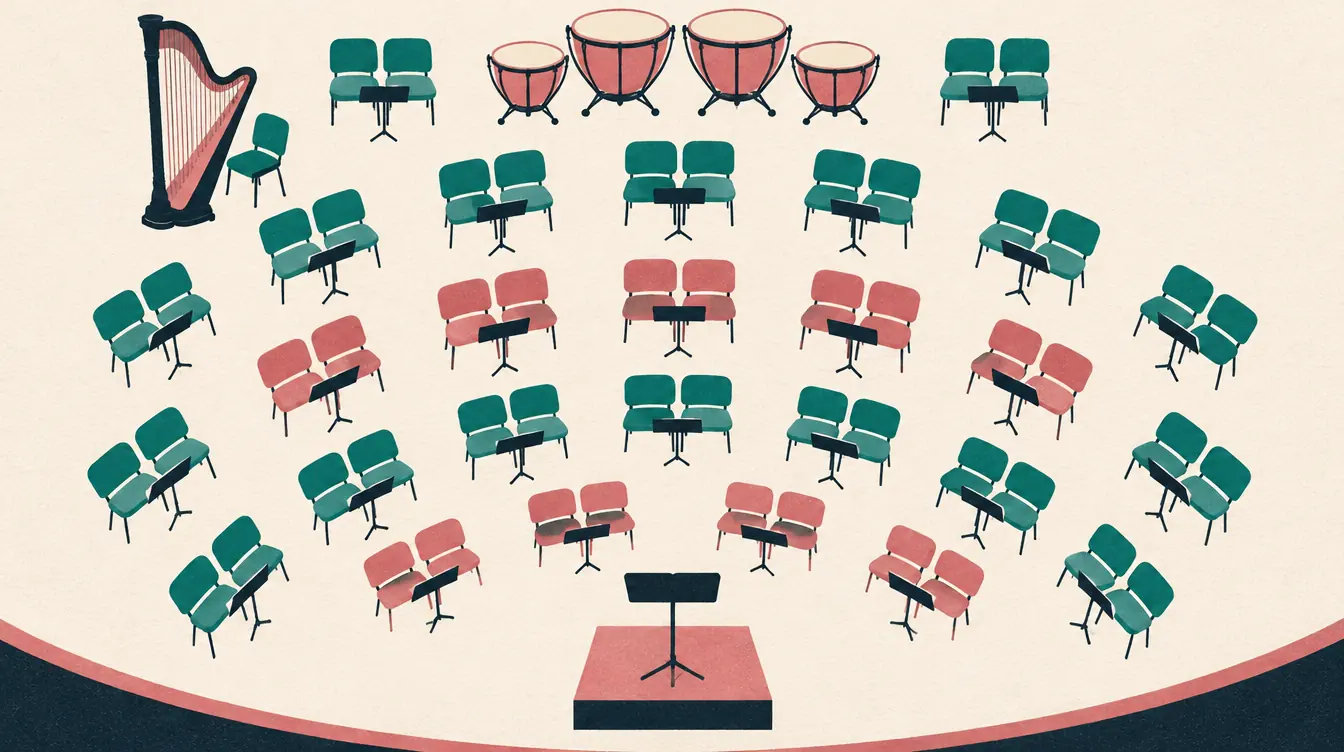
The orchestra sections template has four arcs of 12, 14, 14 and 12 chairs around the podium:
- Front arcs: Violin I, Violin II, Viola and Cello, with stands shared by pairs.
- Behind: Woodwinds, Brass and Percussion.
- Bass at the edge of the third arc.
Prefer to start fresh? In an orchestra chart, open Layout › Rows › Start over with new rows, set the chairs per row, and apply.
Step 2: Set music stands
Stands can be set per row or for every row at once:
- Select a row in Arrange room and choose Music stands: No stands, One stand per player or One stand per two players.
- Or use Layout › Rows › Music stands for all rows.
A stand marker is drawn in front of each pair (or each player), between the chairs and the conductor. Stands follow the chairs automatically when you change a row’s chair count, distance or curve.
Typical choices:
| Rows | Stands |
|---|---|
| String rows | One per two players |
| Woodwinds and brass | One per player, or one per two for some sections |
| Percussion | None — use text labels for instruments instead |
Step 3: Adjust sections
Open Layout › Sections. The template includes Violin I (V1), Violin II (V2), Viola (Va), Cello (Vc), Bass (Cb), Woodwinds (WW), Brass (Br) and Percussion (Pc). You can:
- rename a section (split Woodwinds into Flute, Oboe, Clarinet and Bassoon, for example),
- change its short code — the code printed on every chair,
- change its color,
- add or remove sections.
Assign sections row by row with Set section for the whole row, then fine-tune individual chairs in their details.
Step 4: Add players
Paste players or import a CSV with an Instrument column. The instrument becomes the player’s group, which you can search in the People list — type “viola” to see every violist.
Step 5: Seat players and lock principals
Place each player by tapping a name and then a chair, or by dragging. Chair numbers update automatically within each section — inner arcs first, then left to right — so V1 1 is the concertmaster’s chair in the template.
Lock principal chairs. When you reseat after auditions, lock the principals and shuffle the rest of a section, or move players by hand and compare versions.
Step 6: Save a version for each program
Save a version per concert or per program in Versions. Comparing two versions shows who moved, which is exactly what section leaders want to know after reseating.
Step 7: Print with a legend
In Print & export:
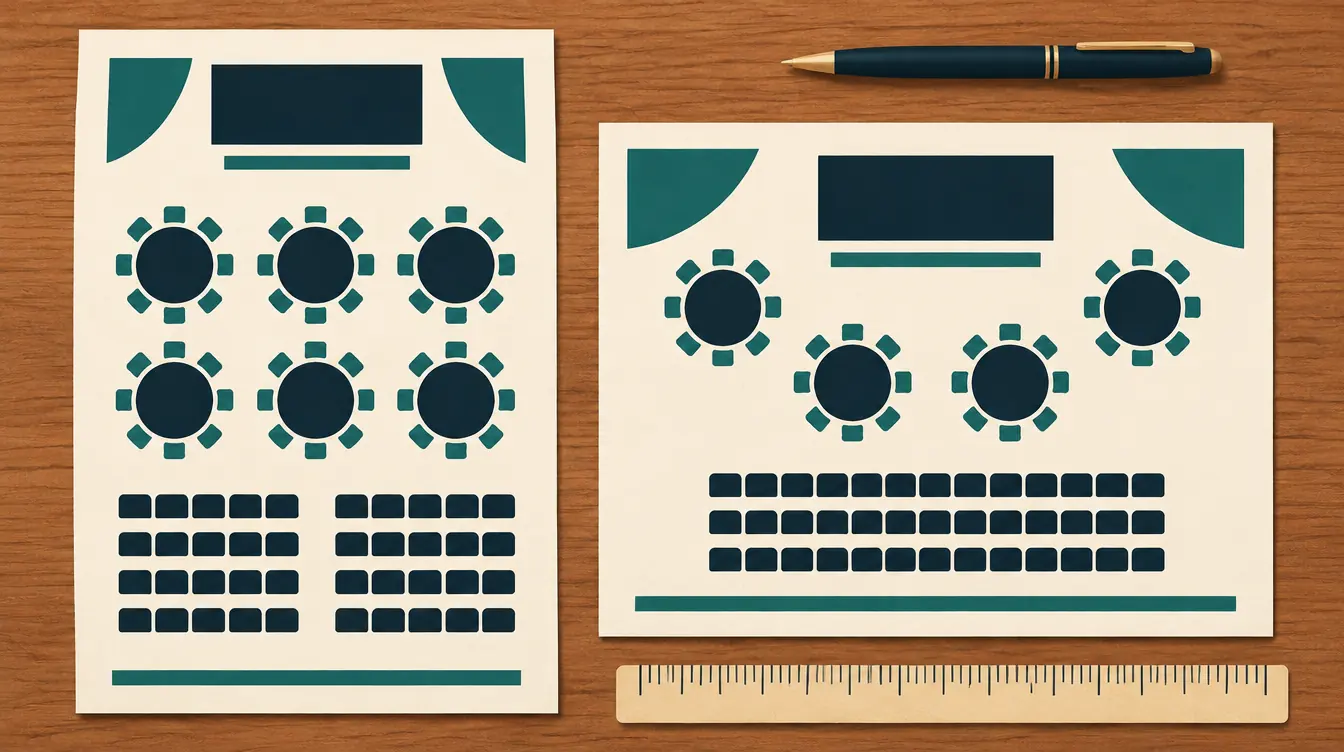
- Landscape, US Letter or A4.
- Section legend on: each code and section name, listed below the chart.
- Black and white for photocopies. Codes appear on every chair.
- Row-by-row list for the stage manager, who needs chair counts per row to set the stage.
- If the orchestra is large, split across 2 pages. Splits fall between chairs.
Example: a youth orchestra’s autumn program
A fictitious youth orchestra of 52 players uses the template with one change: Bass moves from the third arc to its own short straight row at the back right. Strings share stands by pairs; winds have one stand per player. Principals are locked. After autumn auditions, the conductor moves three second violins and two violas, compares “Autumn” with “Spring,” and emails the comparison list to section leaders.
Small details that help
- Label large instruments. Harp, timpani and piano take more space than a chair; add a text label in the right place.
- Reserve a chair for a guest player who joins for one program.
- Use short names if several players share first names; print the chart with short names.
- Keep the stand count honest. The row list shows chairs; count stands from the printed chart when setting up.
Next steps
- Compare with band setups: How to Create a Band Seating Chart.
- Reseat a section without moving the rest: How to Change Seats While Keeping Selected Assignments.
Put this guide into practice — it’s free and takes a few minutes.
Open the templateNew here? Read the complete guide to the free seating chart maker or the Orchestra seating chart generator page .