How to Create a Band Seating Chart
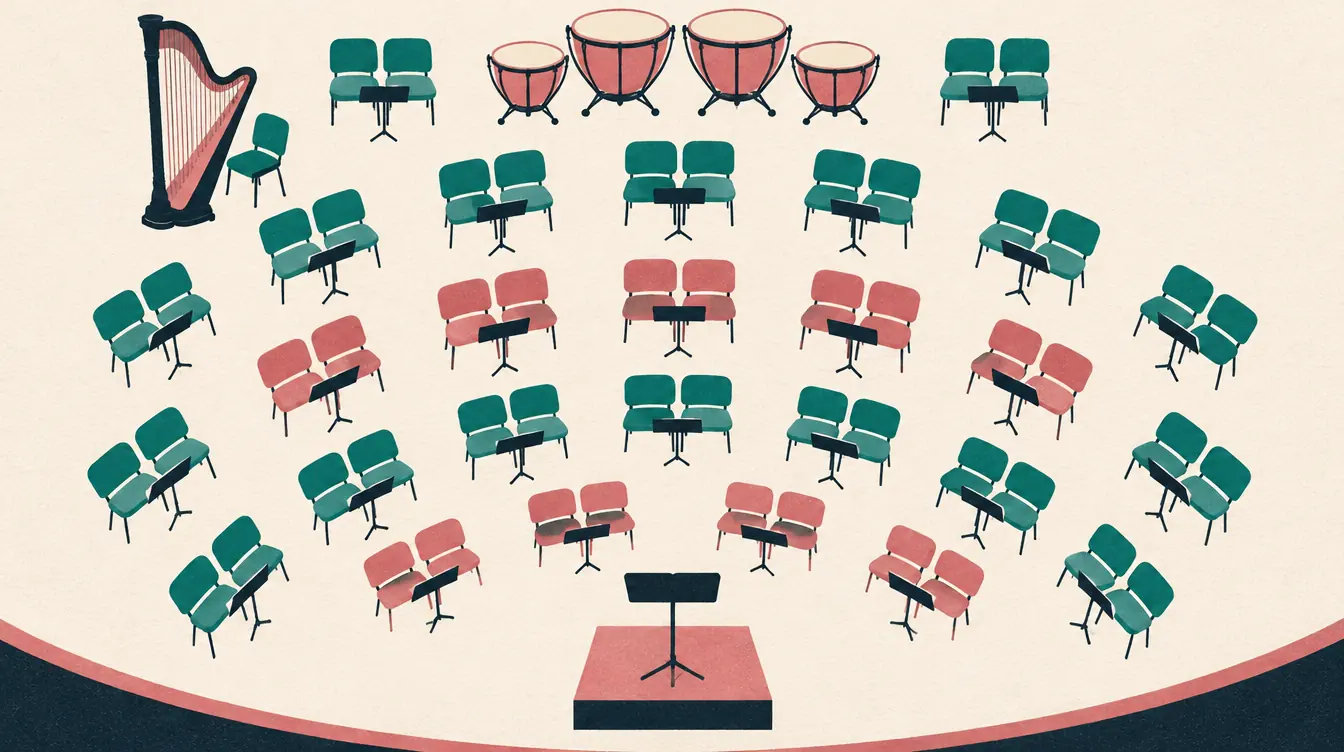
A band seating chart does a different job from a classroom chart. Players need to know their row and chair; section leaders need to see their section at a glance; the stage crew needs to know how many chairs go in each row. And the whole thing curves around the podium.
This guide shows how to build one with the free band seating chart maker, from empty rows to a printed chart with a legend.
A note on “standard” setups
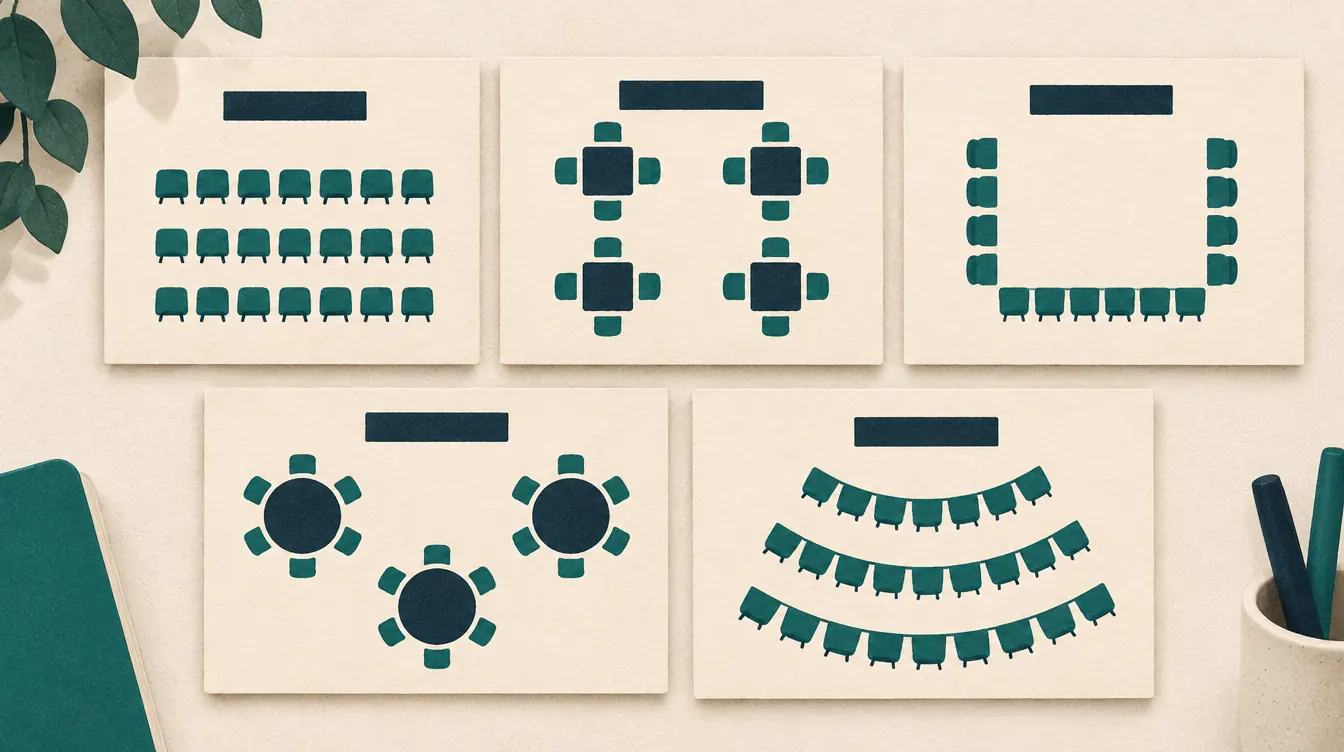
There is no single correct band seating arrangement. Directors seat ensembles according to the room, the players, the repertoire and their own sound. The curved-row template is a common starting point, not a rule — move sections wherever you want them.
Step 1: Start with curved rows
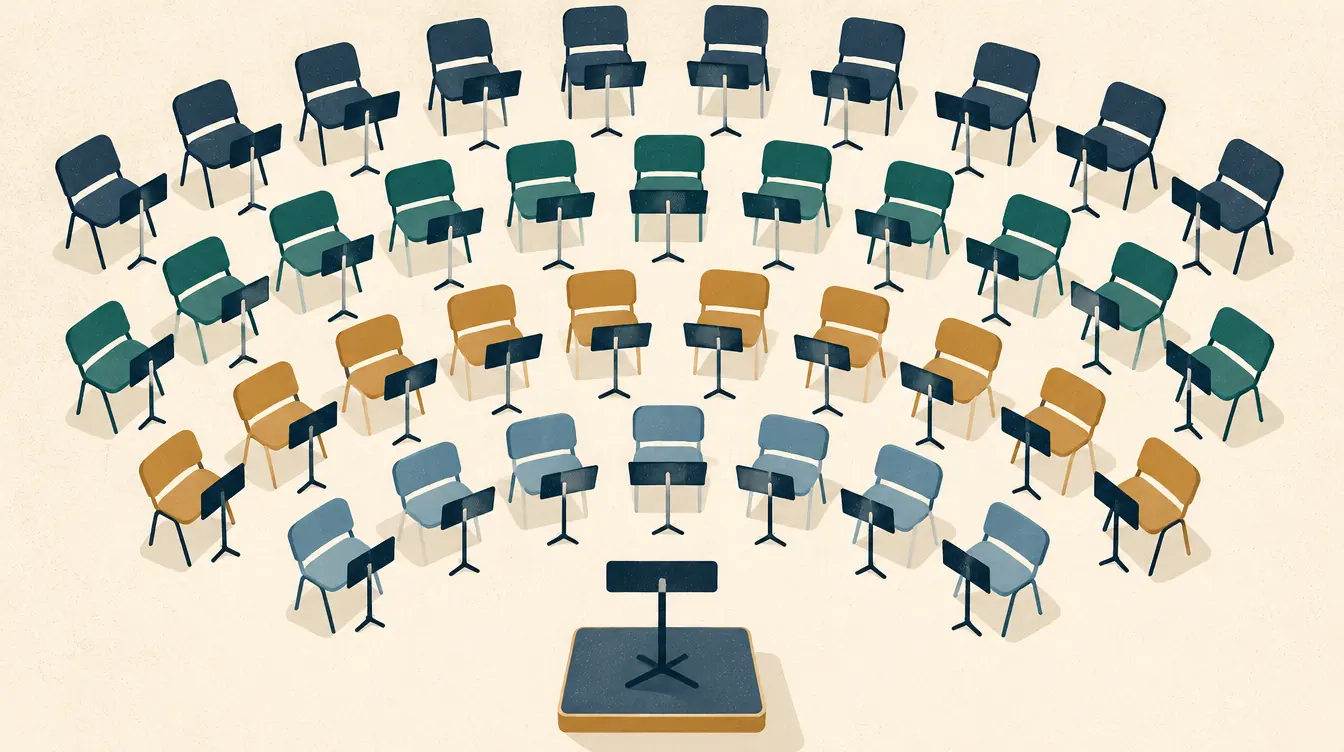
Open the curved-row band template, which has four rows of 9, 12, 15 and 16 chairs around a conductor marker, with eight labeled sections. Or start a band chart from scratch and open Layout › Rows › Start over with new rows:
- Set the number of chairs in each row.
- Add row or Remove last row (up to eight rows).
- Preview the arrangement, then Use this layout.
Each row is an arc around the conductor’s position. Long rows automatically widen their curve so chairs don’t overlap, up to a half circle.
Step 2: Shape the rows
Select a row in Arrange room to see its details:
- Chairs — the number of chairs in this row. Reducing it asks first if any players would lose their chair, and returns them to the unassigned list rather than deleting them.
- Distance from conductor — how far the row is from the podium.
- Curve (degrees) — from a gentle arc to a half circle.
- Name — Row 1, Row 2… or anything you like.
The Layout › Rows panel lists every row with its chair count and its distance from the row in front, so you can keep spacing even.
You can also add straight rows — useful for percussion along the back — and text labels for things like “Timpani” or “Piano.”
Step 3: Add sections
Open Layout › Sections. Press Add common band sections to add a set — Flute, Clarinet, Saxophone, Trumpet, Horn, Trombone, Low brass and Percussion — or create your own with:
- a name (Bass clarinet, Euphonium…),
- a short code of up to five characters (BCl, Euph…),
- a color.
Codes matter. They’re printed on every chair, so the chart stays readable on a black-and-white printer and for anyone who can’t distinguish the colors.
Step 4: Assign sections to chairs
The fastest way is row by row:
- Select a row.
- Under Set section for the whole row, choose a section.
- Then select individual chairs and change their section in the chair’s details.
For example, the first row might be five flutes and four clarinets: set the whole row to Clarinet, then change the first five chairs to Flute.
Step 5: Chair numbers
With Number chairs within each section switched on (in Layout › Plan settings), every chair shows its section code and chair number — Fl 1, Fl 2, Cl 1, Cl 2. Numbering runs inner rows first, then left to right, so first chairs naturally end up nearest the conductor on the left of each section.
If your numbering convention is different, switch section numbering off to show plain seat numbers, or give individual chairs custom labels in their details.
Step 6: Add and seat players
Paste players one per line, or import a CSV with an Instrument column, which becomes each player’s group. Group labels are searchable, so you can find all the trumpets quickly in the People list.
Place players by tapping a name and then a chair, or by dragging. When everyone is seated, select first chairs and Lock seat. Locked chairs keep their player during shuffles.
For a sight-reading day or a seating rotation within a section, lock every other section, shuffle, and save the result as a version. See How to Change Seats While Keeping Selected Assignments.
Step 7: Save a version for each concert
In Versions, save the arrangement with the concert’s name. Before the next concert, compare the two versions to see exactly who moved — useful for posting changes after auditions.
Step 8: Print with a legend
Open Print & export:
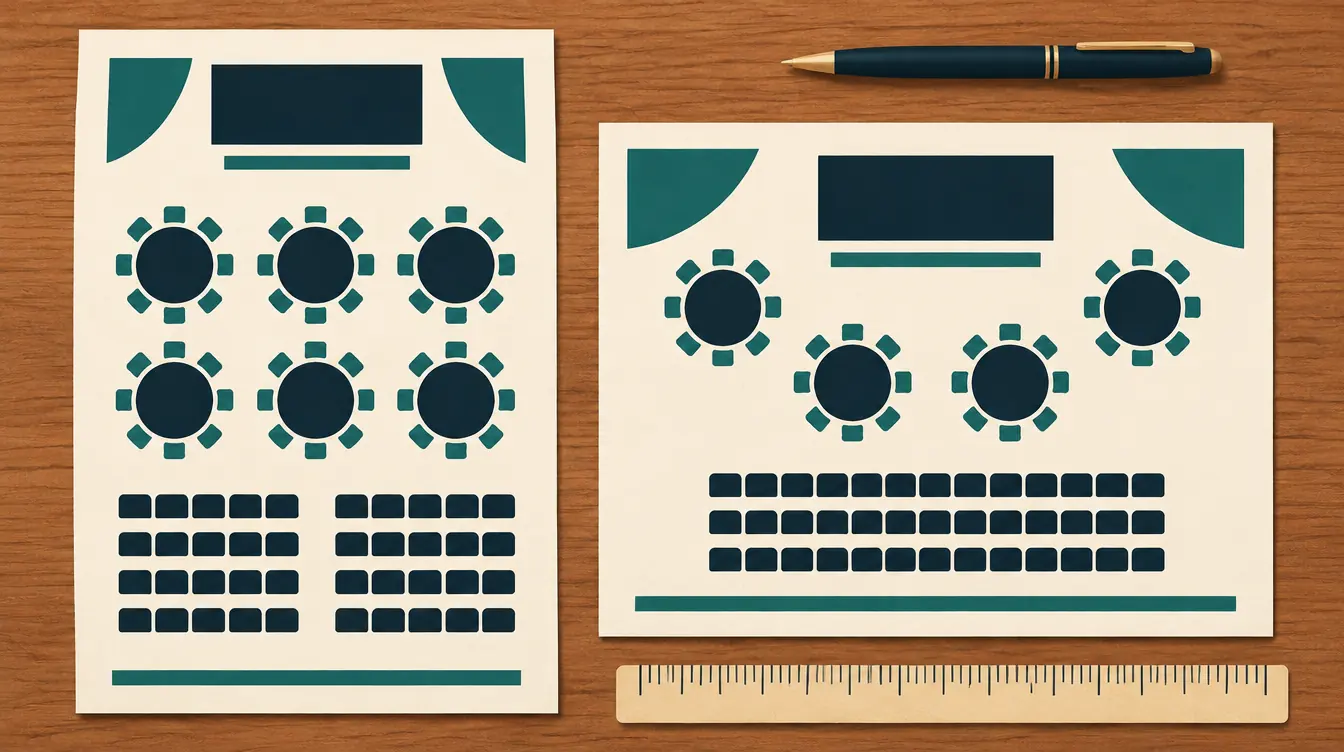
- Landscape suits curved rows.
- Turn on Section legend to list every section’s code and name below the chart.
- Choose Black and white for photocopies; codes carry the meaning.
- If names are small, print with short names or split across 2 pages — splits fall between chairs, never through the middle of one.
- Add a row-by-row list for the stage crew to set up chairs.
Example: a 52-player concert band
| Row | Chairs | Sections (left to right) |
|---|---|---|
| 1 | 9 | Flute ×5, Clarinet ×4 |
| 2 | 12 | Clarinet ×6, Saxophone ×6 |
| 3 | 15 | Horn ×5, Trumpet ×6, Trombone ×4 |
| 4 | 16 | Percussion ×4, Low brass ×6, Trombone ×6 |
The director locks the principal players, saves “Winter concert,” and prints a black-and-white chart with a legend and a row list. All names are fictitious in the template.
Tips from the rehearsal room
- Leave an empty chair or two in sections that often change size, and mark them reserved.
- Name rows by riser if you use risers (“Riser 2”), so the crew knows where each row goes.
- Use the seat list on a phone during rehearsal: tap a player, tap a chair.
Next steps
- Orchestras add stands: How to Create an Orchestra Seating Chart.
- Printing details: How to Print a Seating Chart on Letter or A4 Paper.
Put this guide into practice — it’s free and takes a few minutes.
Open the templateNew here? Read the complete guide to the free seating chart maker or the Band seating chart maker page .