How to Organize Wedding Tables and Guest Lists
Wedding seating is one of the last big planning tasks, and one of the most delicate. The guest list keeps changing, families have history, and the venue needs a final plan days before the event. A good wedding seating chart maker won’t make the decisions for you, but it can keep track of who belongs together, stop you from accidentally seating two people side by side who shouldn’t be, and produce every printed piece from one plan.
This guide goes from guest list to printed stationery.
Before you start: settle three things
- Who’s coming. Wait until most RSVPs are back. You can add late guests, but the fewer changes, the better.
- The table shapes and sizes. Ask the venue how many tables of what size fit, and whether there’s a head table. See Round vs Rectangular Tables if you have a choice.
- Your short list of absolutes. The two or three pairings that really must not happen, and anyone who must sit near the exit, the dance floor or family.
Step 1: Prepare the guest list with households
A household (or party) is a group that came together: a couple, a family, a plus-one. Households are the backbone of a wedding seating plan.
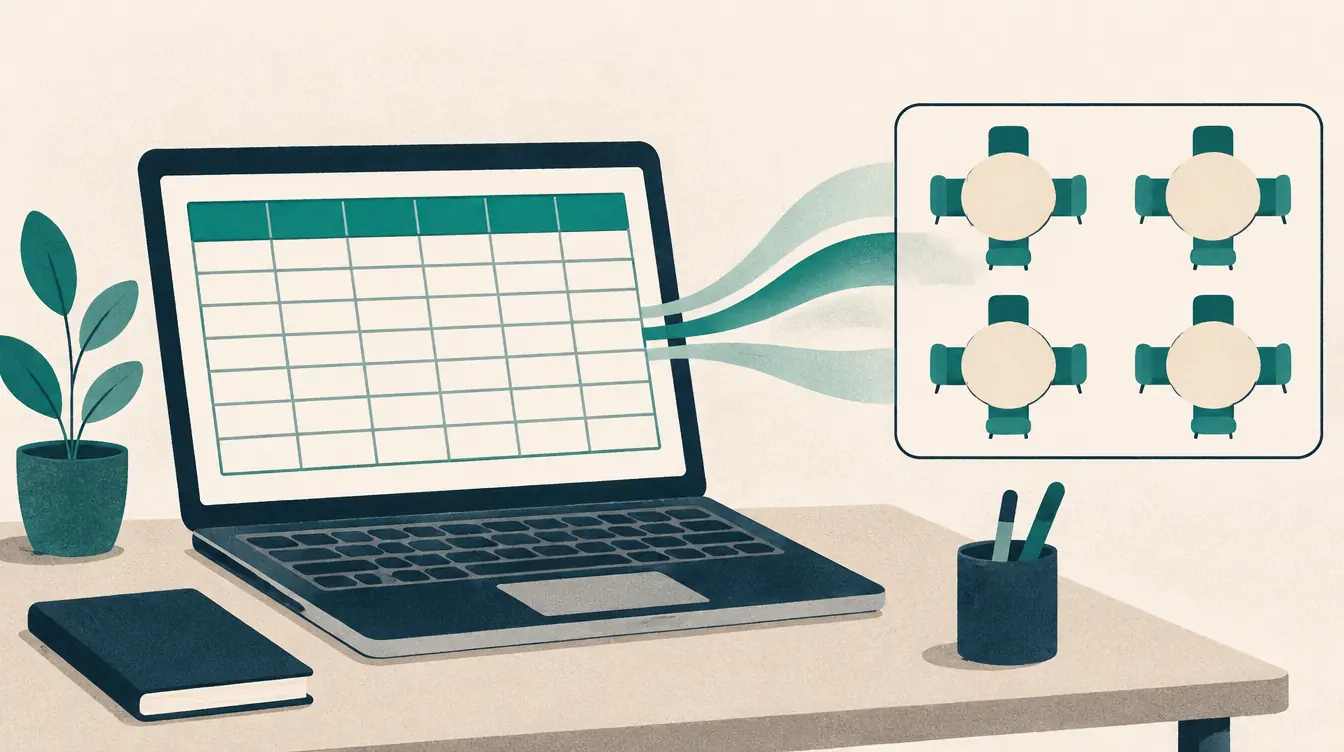
In your spreadsheet, keep one guest per row and add a column called Household:
| Name | Household |
|---|---|
| Nadia Haddad | Haddad family |
| Omar Haddad | Haddad family |
| Layla Haddad | Haddad family |
| Ben Hartley | Ben + Grace |
| Grace Kim | Ben + Grace |
| Wren Gallagher | College friends |
Households don’t need to be families. “College friends” or “Work — Bride” works just as well, as long as the people in it should sit at the same table.
Remove columns you don’t need — meal choices, addresses, phone numbers. The seating tool doesn’t need them and doesn’t store them.
Step 2: Choose your tables
Start a wedding chart from one of two templates:
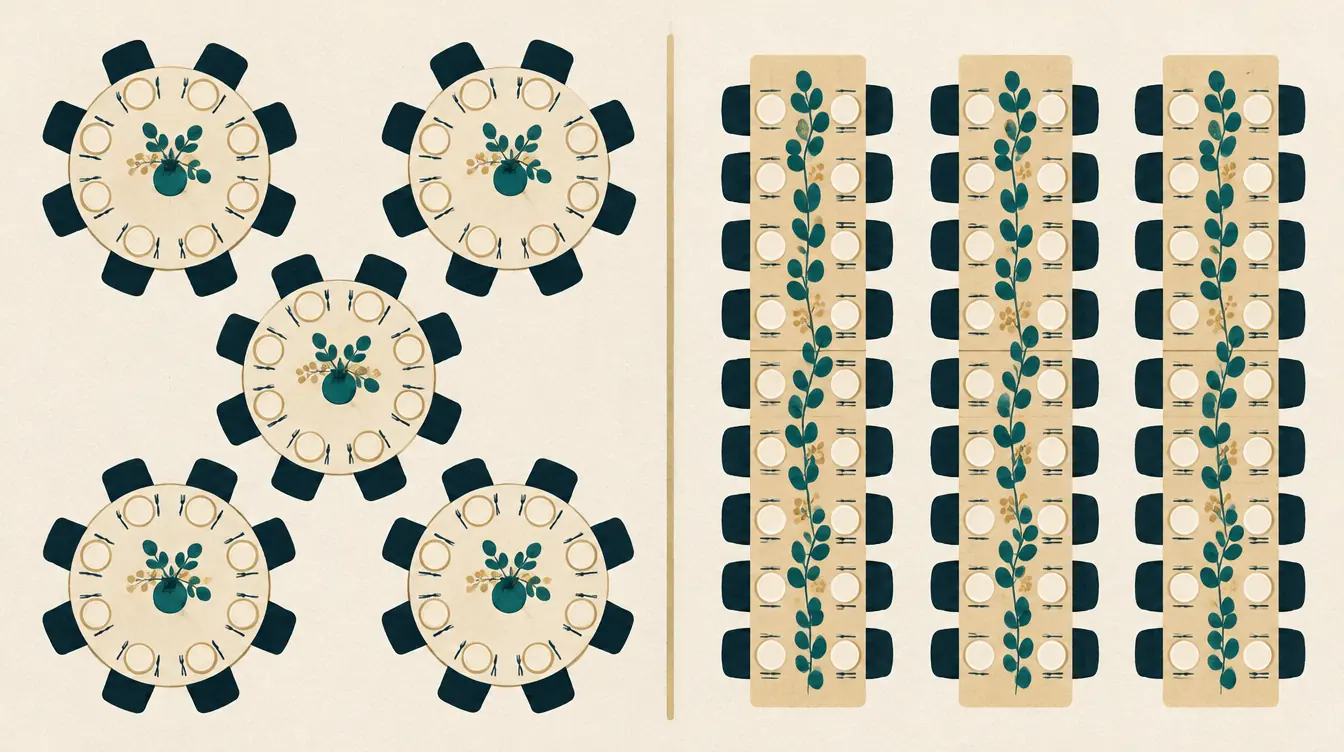
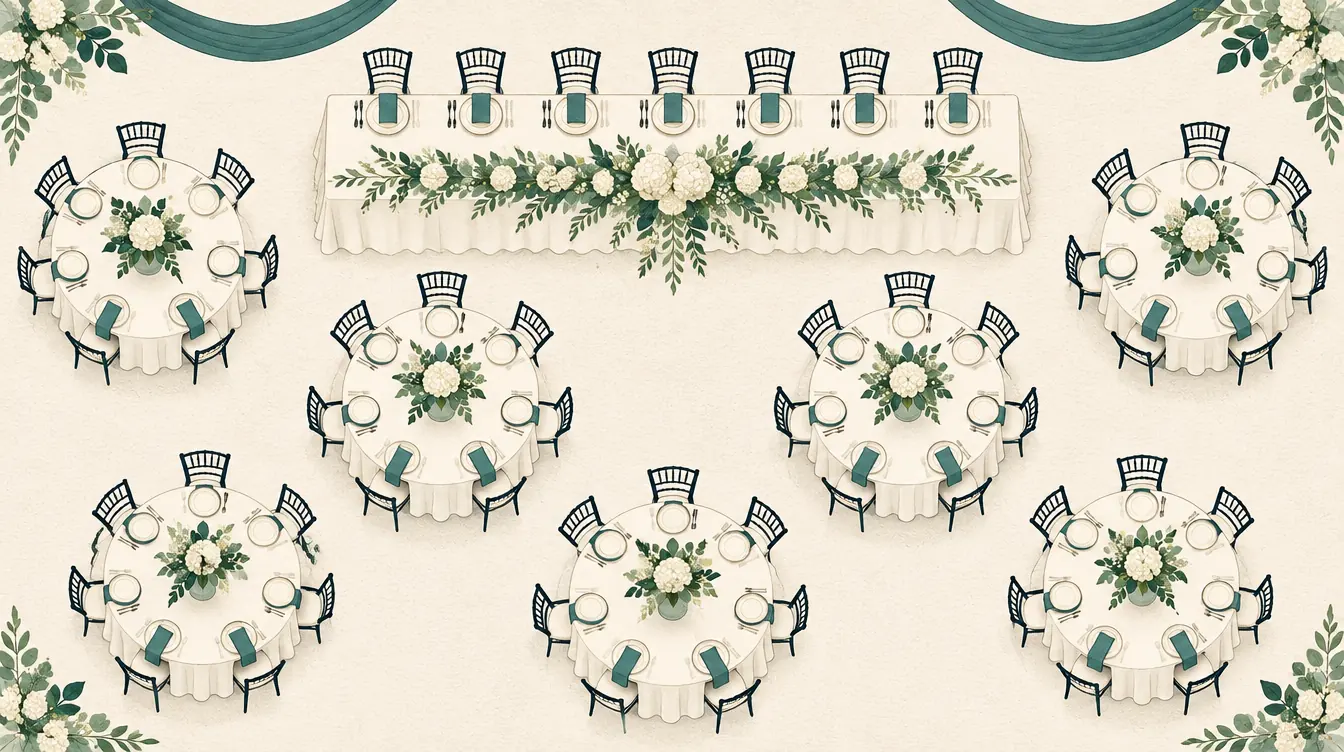
- Round-table wedding — a head table plus eight rounds of eight.
- Rectangular-table wedding — four long tables of sixteen with seats at both ends.
Or open Layout › Tables › Start over with a new set of tables, choose round or long tables, and set the number of tables and guests per table.
Then rename the tables. In Layout › Tables, every table has a name field. Use numbers, place names or anything meaningful — the names appear on the chart, the guest index and the name cards.
Step 3: Import guests
Choose Import CSV, pick your file, select the Name column and the Household column. The preview shows the first rows and the totals. Names with accents, apostrophes and non-Latin scripts are kept exactly. Two guests with the same name stay separate. Nothing is uploaded — the list stays in your browser.
Short list? Add names lets you paste one guest per line and give the whole paste a household, such as “Groom’s family.”
Step 4: Keep households together
Open Layout › Households. You’ll see how many households have two or more guests. Press Keep households together: the tool adds one “same table” preference per household.
These start as preferences: met wherever possible, reported when not. For households that absolutely must not be split — a family with young children, for instance — open Rules, edit the household’s rule and switch on Must.
If a household is split, its rule shows as “not met,” and the seats involved can be highlighted on the plan. Splitting is always visible and always your choice.
Step 5: Add the few must-rules
Add Keep apart rules for anyone who must not share a table. At a wedding, keep apart defaults to not at the same table — the meaning is written next to the rule. Make each one a must.
Resist adding many more. Every must-rule removes possible arrangements. Three or four musts in a wedding of 80 is plenty; everything else can be a preference or a manual choice.
Also consider:
- Preferred area — older relatives near the exit, the wedding party near the head table.
- Reserved seats — a seat held for a guest whose RSVP is still pending. Automatic seating skips it.
Step 6: Seat everyone and fine-tune
In Rules, press Seat everyone who needs a seat. Must-rules are respected; preferences are met as far as possible. If there are more guests than open seats, the extra guests are listed by name — never dropped.
Now fine-tune by hand:
- Tap a guest, then a seat. If the seat is taken, the two guests swap (if both had seats) or the previous guest goes back to the list.
- Drag a guest between tables.
- Select a table to see its guests and lock the ones you’ve decided on.
Before you finish, look at Rules for any household marked “not met,” and at the status bar for anyone who still needs a seat.
Step 7: Print the stationery
Open Print & export:
- Seating chart — for the coordinator and as a keepsake.
- Find your seat (A–Z list) — for the entrance. It shows each guest’s table, which is all they need.
- Table-by-table list — for the venue and caterers.
- Name cards — four per page, folding in half, with name and table.
Check the readiness warnings: duplicate names (“Chris Taylor” twice) should get short names, such as “Chris T. — Groom’s college,” before you print. Details in How to Make Wedding Name Cards and a Find-Your-Seat List.
Working with a partner or planner
There are no public share links — your guest list is never stored on a server. To share:
- Print & export › Download backup (JSON).
- Send the file however you like.
- Your partner opens it with Open a backup on the My charts page. It opens as its own chart; nothing on their device is overwritten unless they choose to replace it.
Agree who edits the “main” copy, and pass the file back and forth. Saving a version before handing it over makes it easy to compare changes.
Common wedding seating mistakes
- Seating before the list is final. Small changes are fine; large ones mean redoing tables.
- Making every preference a must. Keep musts for genuine conflicts.
- Forgetting the head table. Seat it first and lock it.
- Tables that are too full. Leave one spare seat at a few tables for late changes.
- Not checking duplicate names. The guest index is useless if two lines read the same.
Next steps
- Choose table shapes with Round vs Rectangular Tables.
- Write clearer rules with How to Use Keep-Apart and Sit-Together Rules Well.
Put this guide into practice — it’s free and takes a few minutes.
Open the templateNew here? Read the complete guide to the free seating chart maker or the Wedding seating chart maker page .