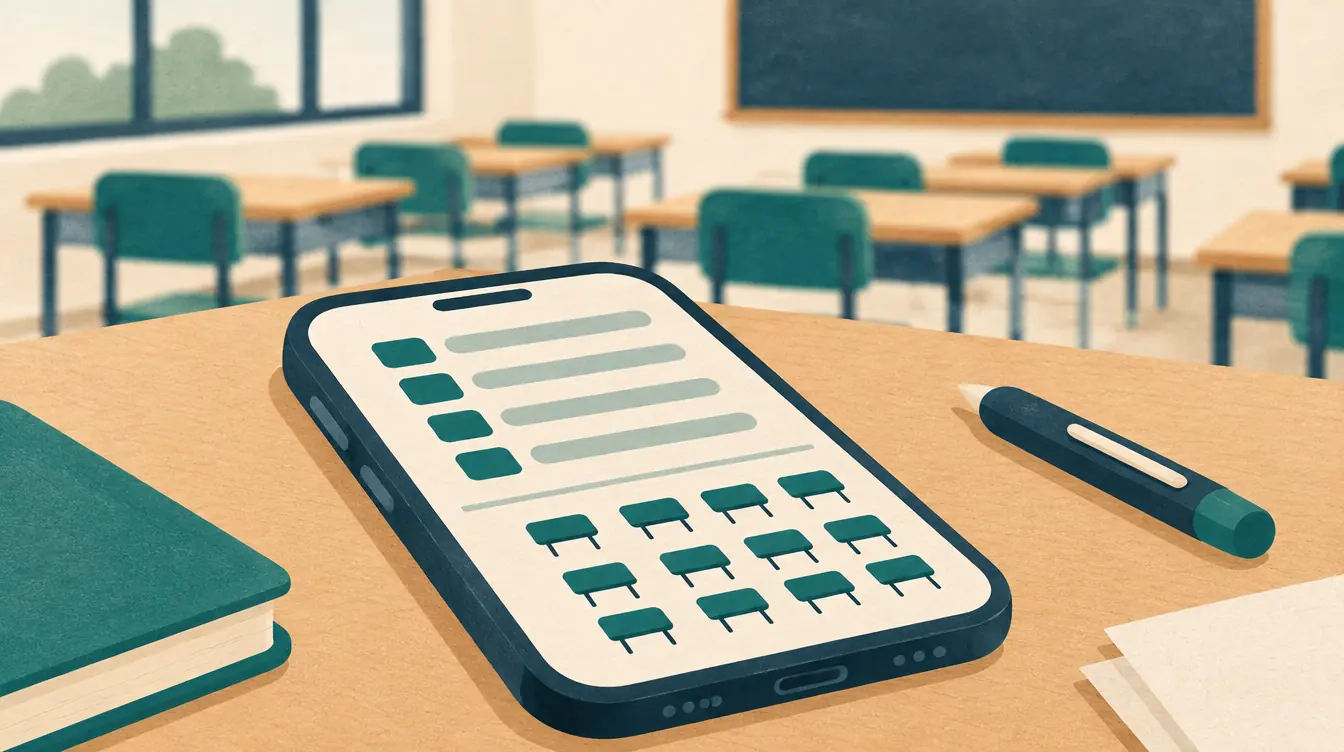
How to Make a Seating Chart on a Phone or Tablet
Seating plans often get finished away from a desk: in a classroom before the bell, at a venue walkthrough, at the kitchen table. The free online seating chart maker is built so you can do the whole job on a phone — not just look at a chart someone made on a laptop.
What changes on a small screen
On a phone, the editor becomes five full-screen views — Plan, People, Seats, Rules and More — switched from a bar at the bottom. Nothing requires dragging or landscape mode. You place people by tapping a name and then a seat.
On tablets, the people list stays beside the plan and the details panel slides in from the side when you need it.
Step 1: Start a chart
Open the editor in your phone’s browser (no app to install) and choose a chart type. Templates show a preview; tap Use this template, or Try with sample names to experiment first.
Step 2: Add names
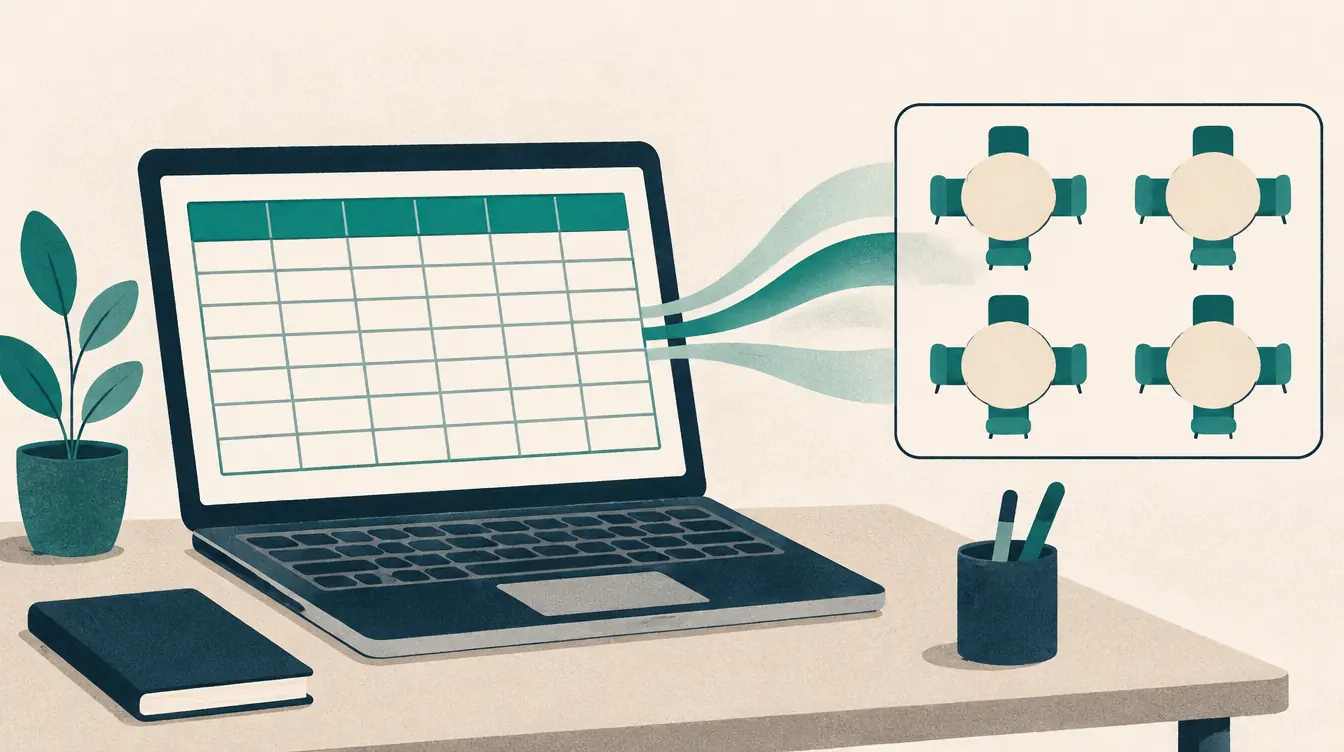
Open People and tap Add names. Paste a list — one name per line — from Notes, an email or a spreadsheet app. To import a CSV, tap Import CSV and choose the file from your phone’s files. The preview and column choices work the same as on a laptop.
Step 3: Place people by tapping
- In People, tap a name. A bar says “Choose a seat for …”.
- Tap Seat list in that bar (or open Seats) to see every seat grouped by table or row, with large rows to tap.
- Tap a seat. The person is placed, and a message confirms where — with Undo.
Prefer the drawing? Open Plan instead and tap a seat there. Pinch to zoom the plan, drag an empty area to move around, and tap Fit to see the whole room again. Pinching and panning stay inside the plan, so the page itself doesn’t jump around.
Seats that would break a must-rule are marked “Not allowed” in the seat list, so you can see safe options before you tap.
Step 4: Rules and arranging
Open Rules to:
- Shuffle unlocked seats or Seat everyone who needs a seat,
- add keep-apart, sit-together, preferred-area or avoid-previous-neighbors rules.
The rule editor lists people with checkboxes and a search box, which is easy on a phone.
To lock a seat, tap it in Seats or Plan, open More › Details, and tap Lock seat.
Step 5: Save, back up and print
Your chart saves automatically — the title bar says “Saved on this device.” Because a phone’s storage is separate from your laptop’s, download a backup if you’ll continue elsewhere: More › Print & export › Download backup (JSON), then open the file on the other device.
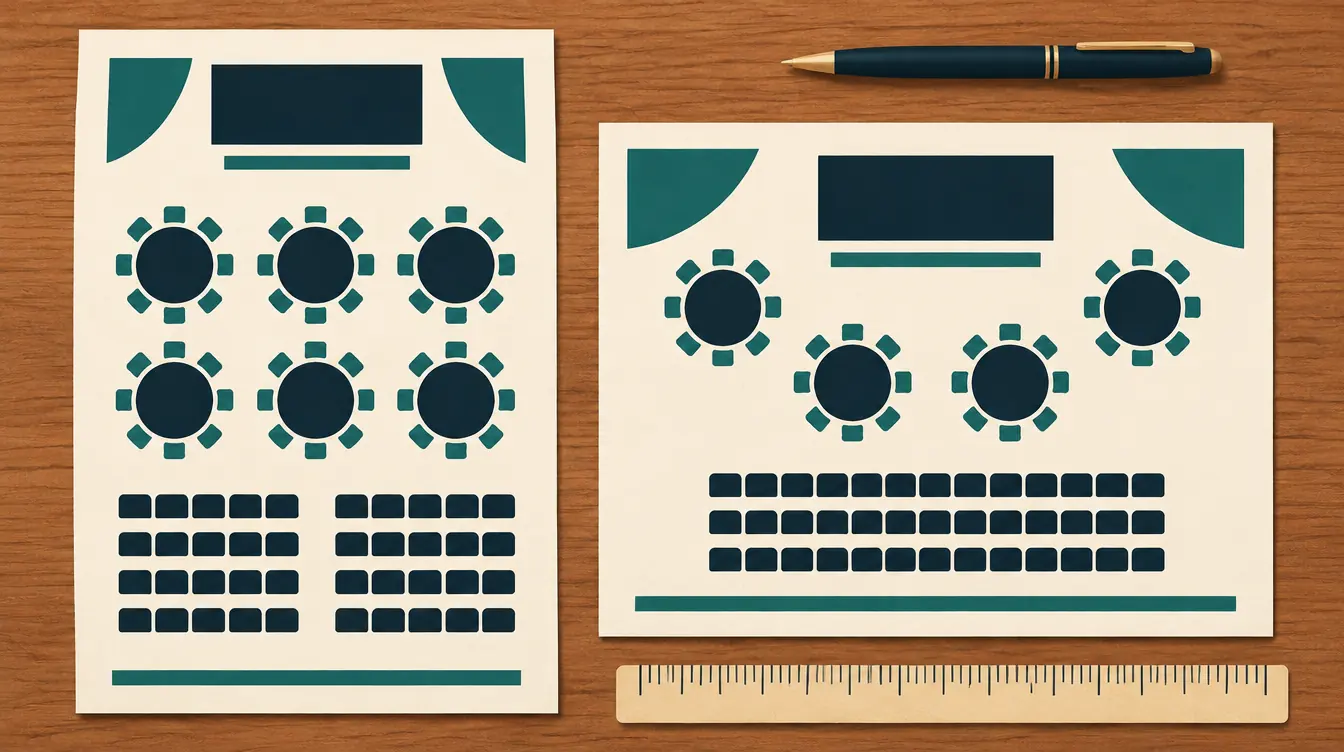
To print, open Print & export from the top bar. The preview is scaled to your screen; the printout is full size. Choose Letter or A4, then Print / Save as PDF — your phone’s print dialog opens, where you can print to a nearby printer or save a PDF to send.
Tips for small screens
- Use the seat list for placing many people; it’s faster than zooming the plan.
- Search the People list by name or group instead of scrolling.
- Short names keep the plan readable on a phone and on paper.
- Rotate if you like, but you don’t have to. Every view works in portrait.
- Large text settings are respected; the layout reflows rather than cutting off.
Tablets in the classroom
A tablet works well as the teacher’s copy:
- Keep the plan open during a lesson and use the seat list to check names.
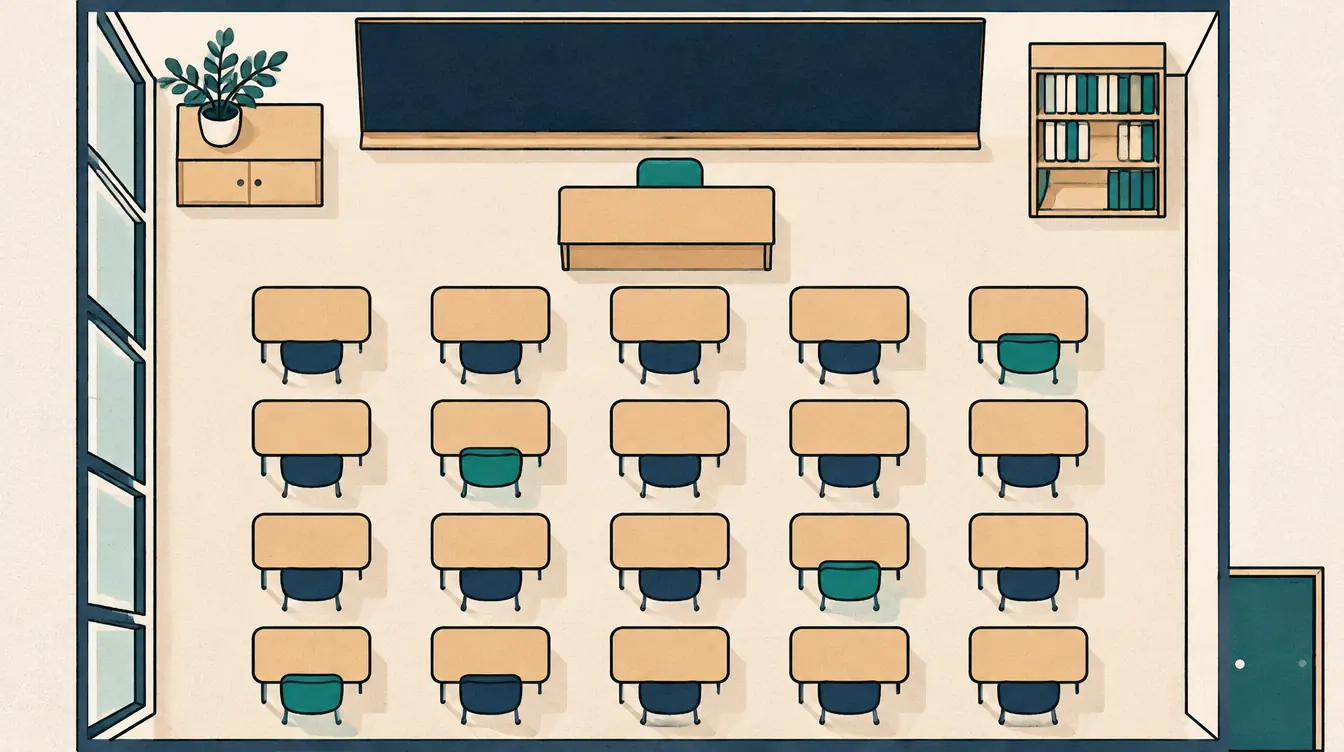
- Use Teacher’s view (Layout) so the front of the room is at the bottom, as you see it.
- Move a student by tapping their name and their new seat.
Related
Put this guide into practice — it’s free and takes a few minutes.
Create a chartNew here? Read the complete guide to the free seating chart maker or the Classroom seating chart maker page .